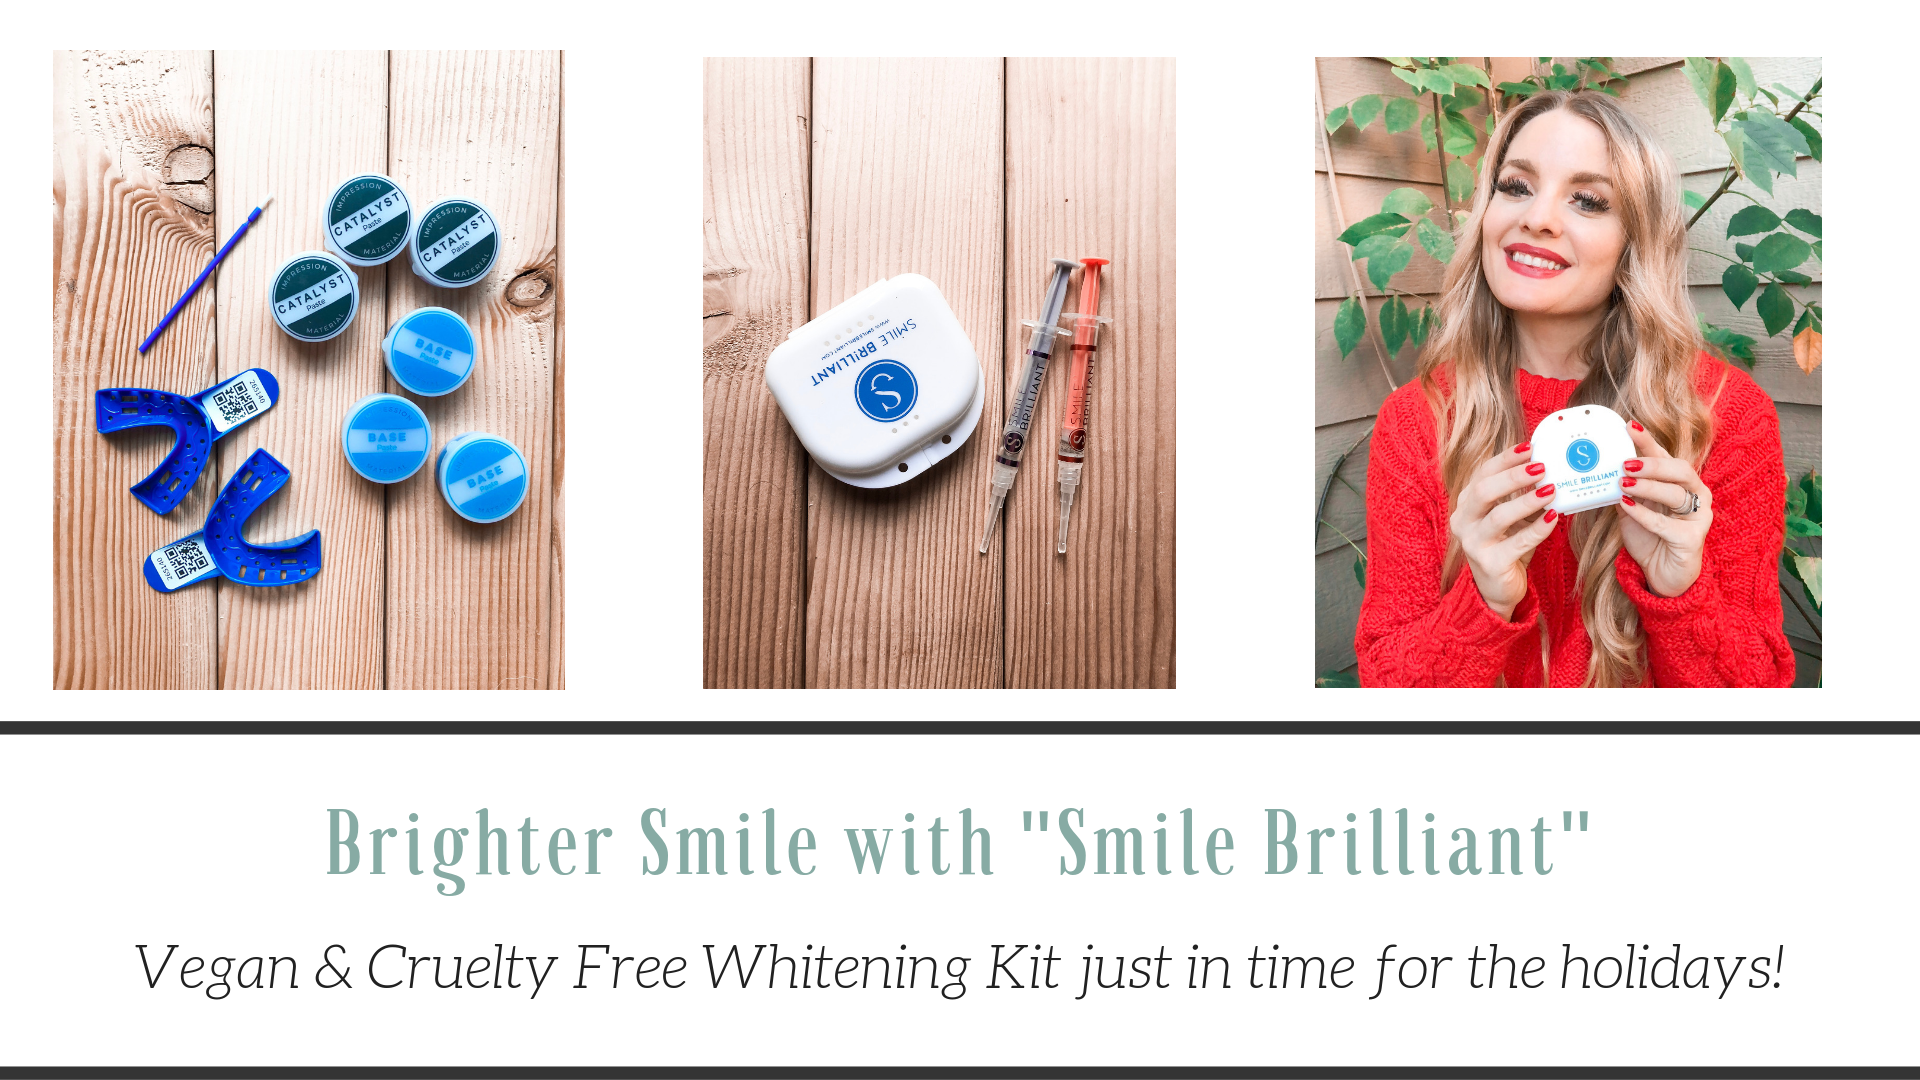
Professional Teeth Whitening – In the Comfort of Your Home!
Hey everyone!
I hope you all have been having a wonderful December so far! I don’t know about you, but I am already a bit overwhelmed with my holiday season to-do list. As a full time music teacher, most of my energy has been spent on preparing my students for their concerts and holiday performances. On top of that, it feels like there is some family holiday event happening every weekend until January. Sound familiar?
While I love being busy with the holidays, I just struggle to find the time to take care of myself. So, when Smile Brilliant reached out to me with their at home teeth whitening kit, I was all in! A professional and custom fitted whitening treatment that could be done in the comfort of my home?! While wearing my Christmas jammies?! Yes please!
Before I talk about the entire process, I want to give you a little background on my teeth. I have moderately sensitive teeth, never had braces, and I have an overbite. I have used over the counter trays and whitening strips before, however they never really worked. They would always slide around in my mouth (probably due to my imperfect bite), make me drool or just cause enough pain to my teeth that I would never finish the entire treatment. That, and I try and only use brands that are cruelty free (don’t test on animals) and that’s hard to find when it comes to over the counter dental products.
Smile Brilliant’s vegan and cruelty free whitening kit was a game changer! I can’t wait to share my experience and results with Smile Brilliant’s Whitening Kit. Keep reading 🙂
Professional Teeth Whitening – In the Comfort of Your Home!
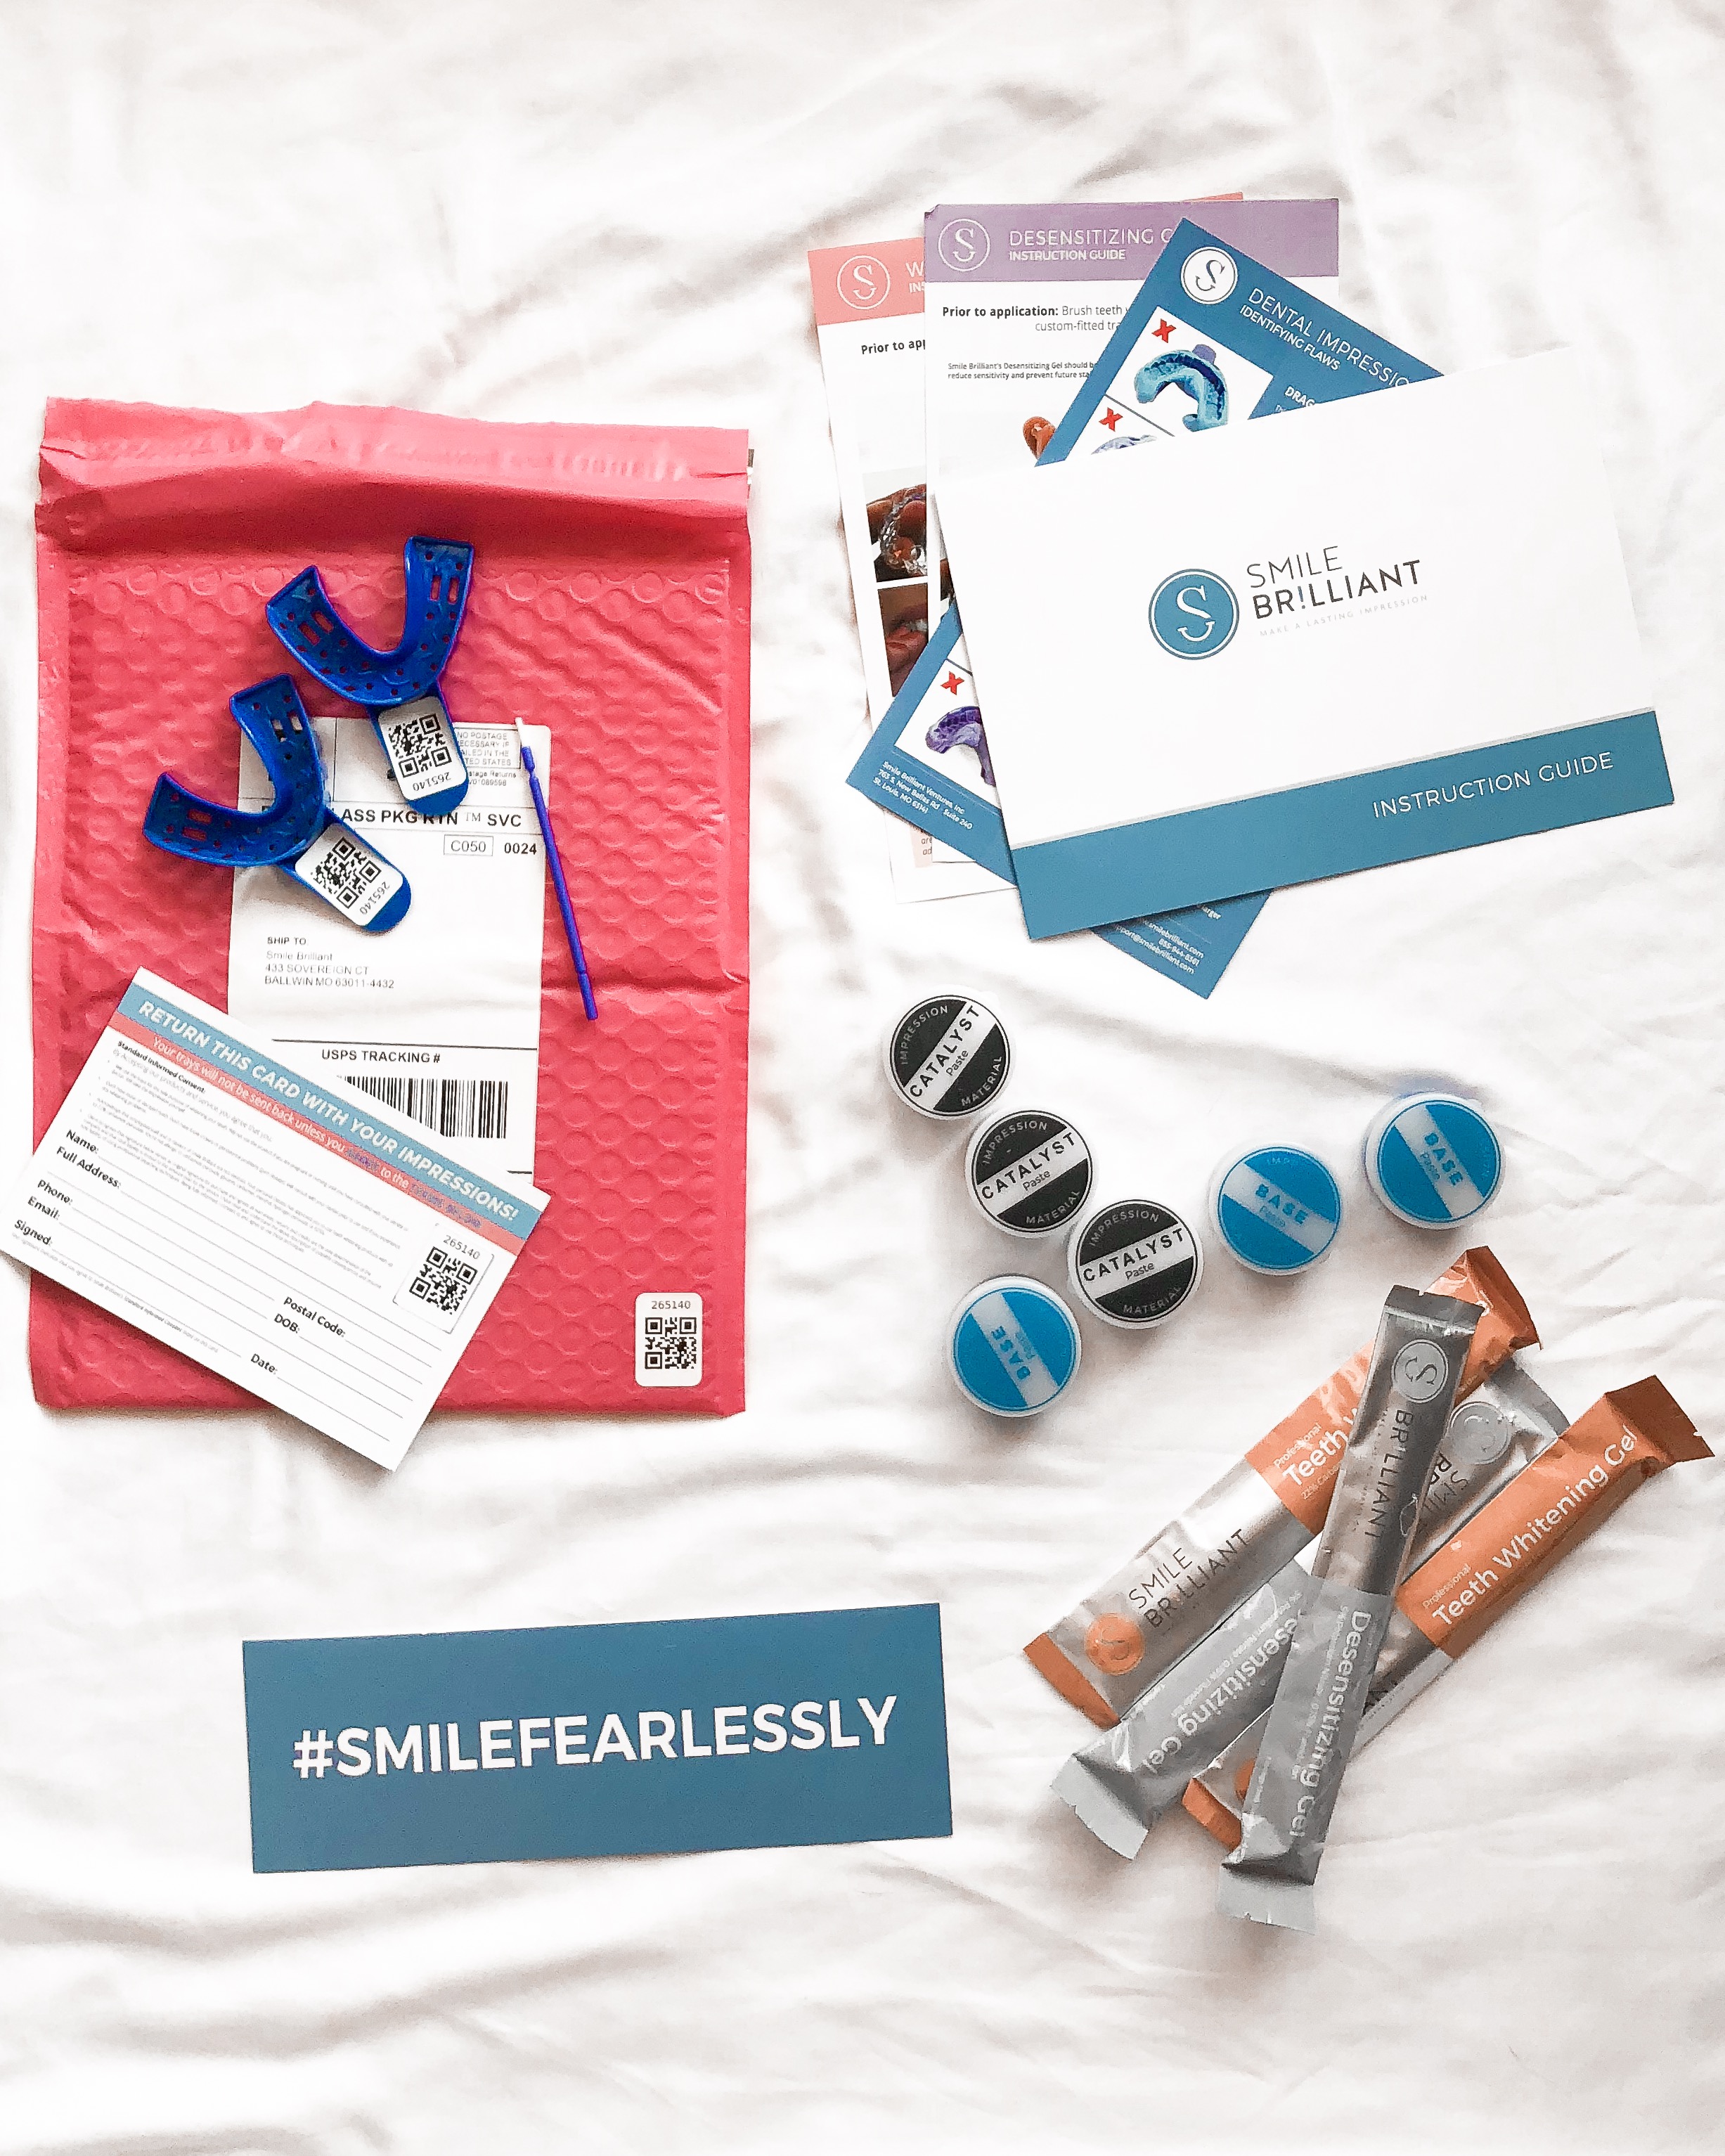
Materials Included:
- 2 impression trays
- 3 Base material for impression mold
- 3 Catalyst material for impression mold
- 1 Return Envelope to Mail back Impressions
- 4 Teeth Whitening Gel Syringes
- 4 Desensitizing Gel Syringes
- 1 Small brush to help with Whitening Gels
- Plenty of Detail Instructions and Helpful Guides!
- Everything is Vegan and Cruelty Free! I love them!!!
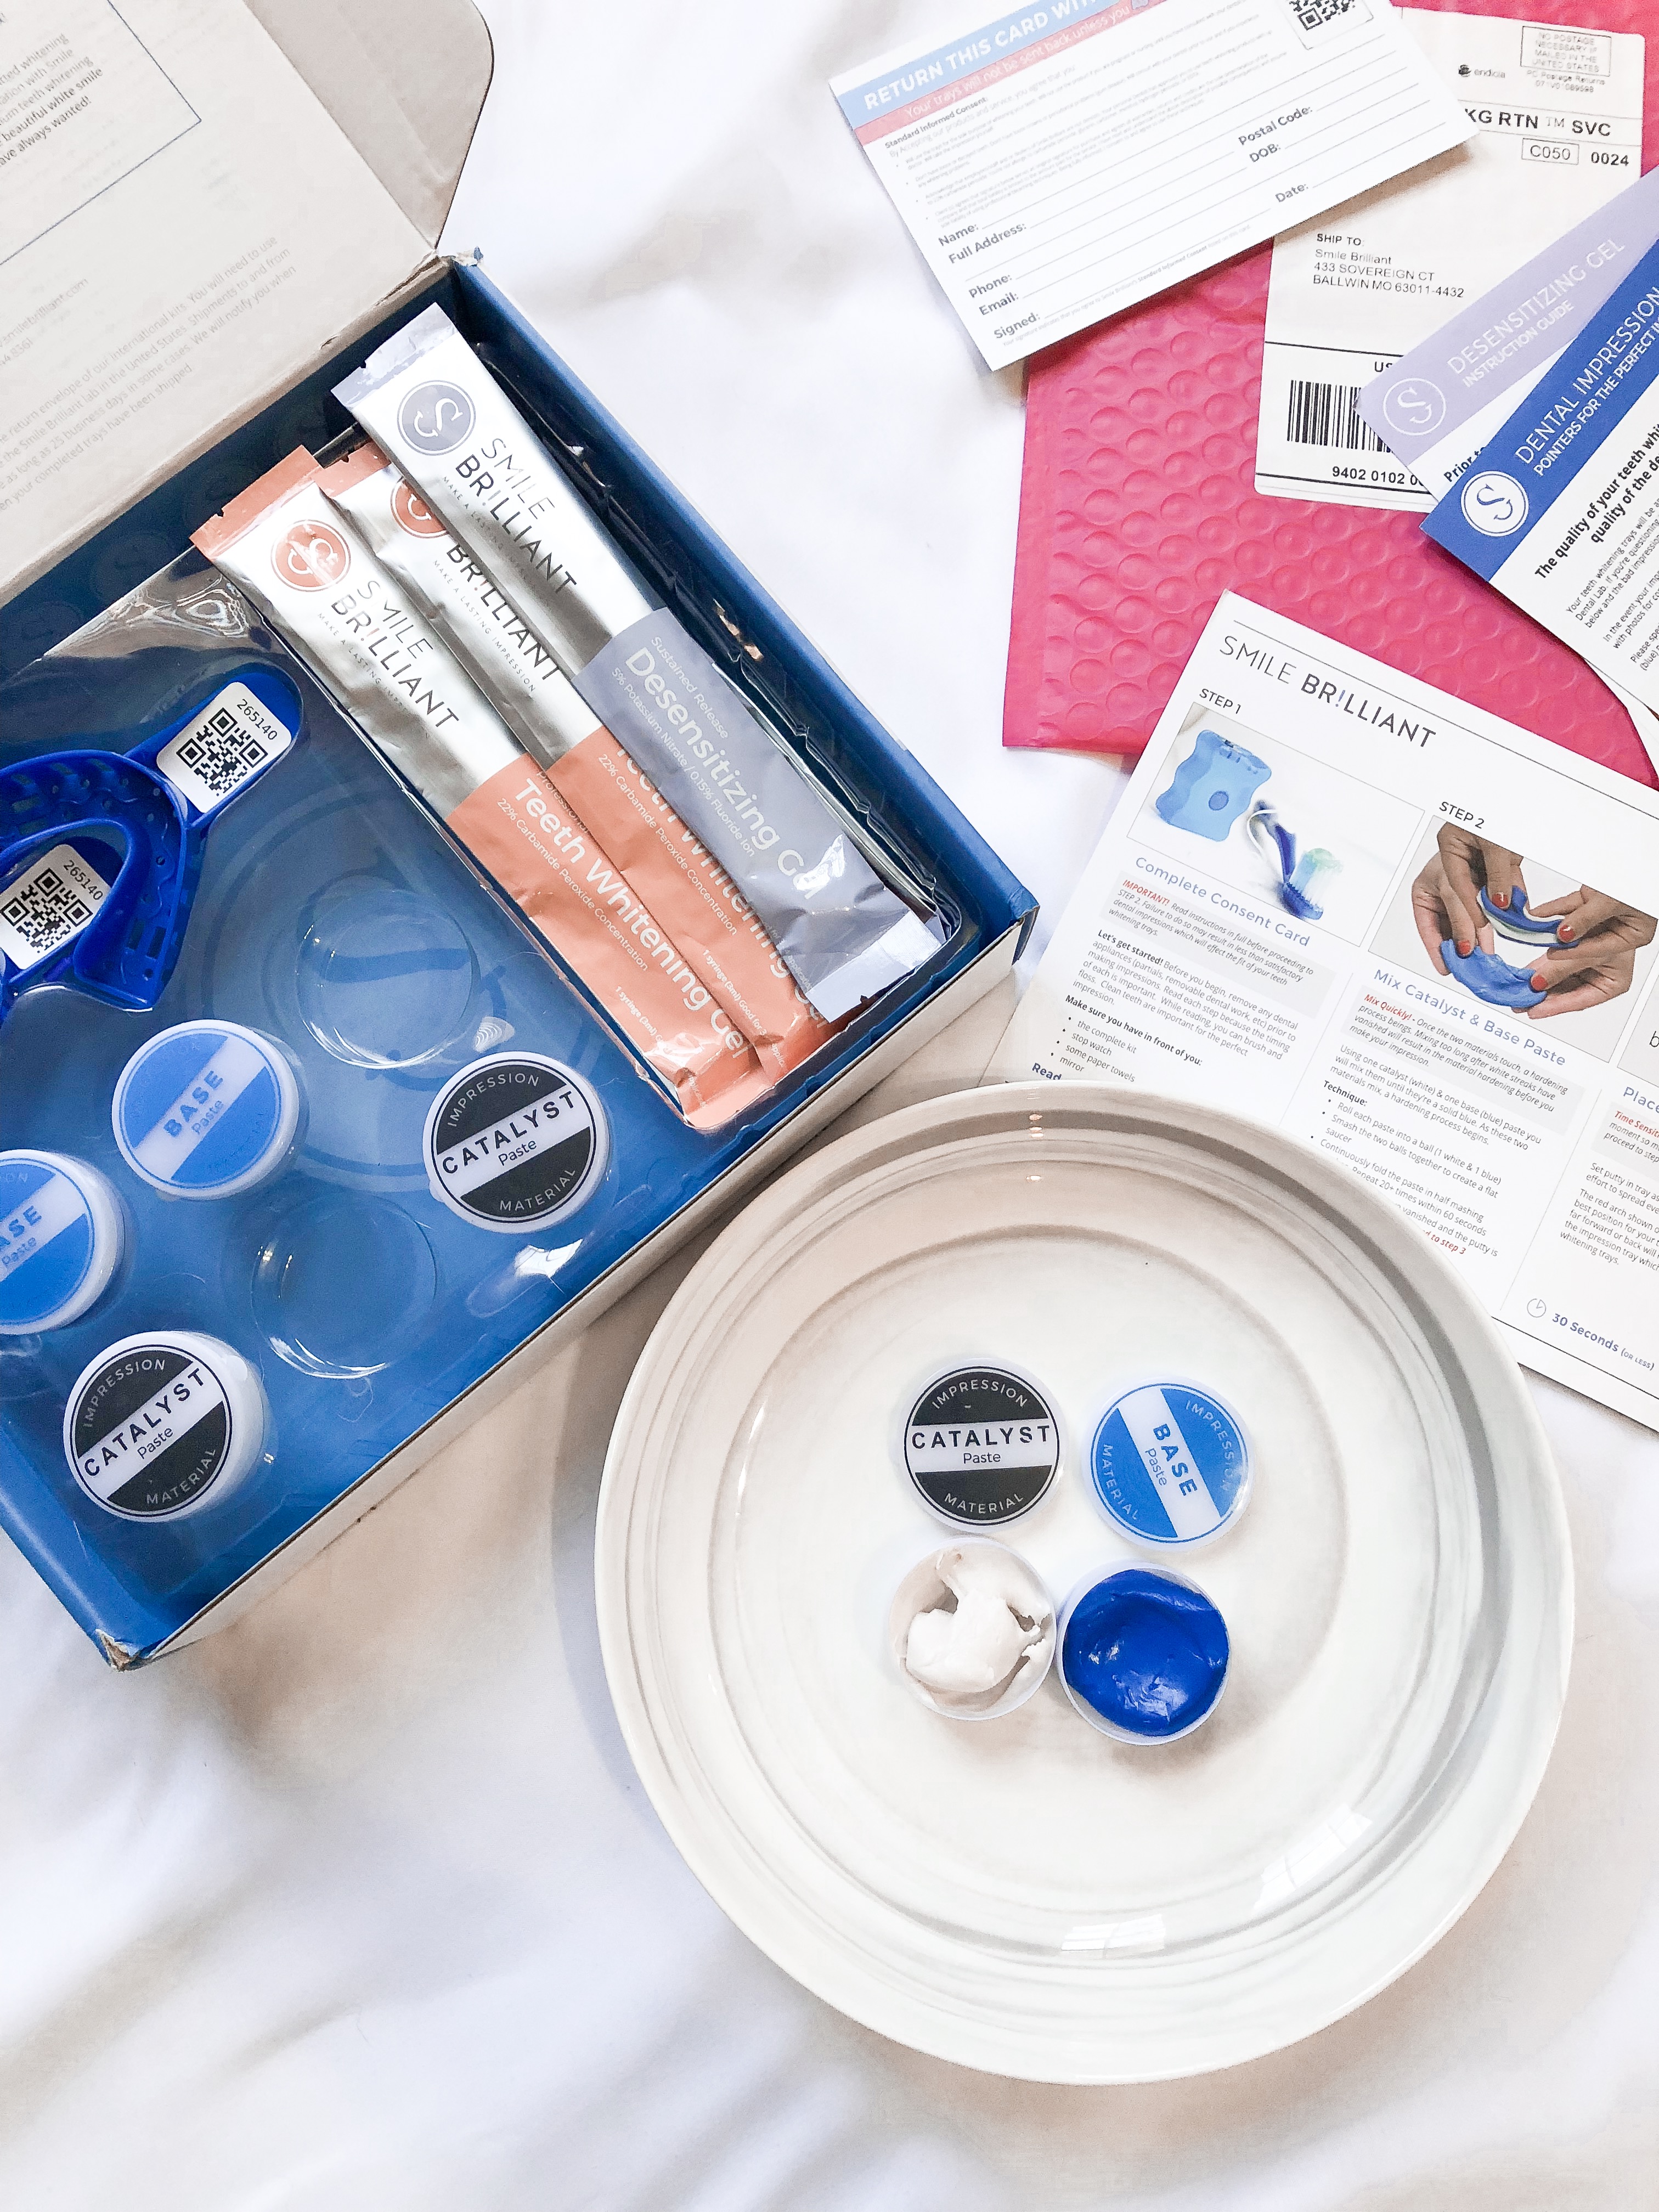
The Beginning Process:
I received my kit very quickly! After reading the simple instructions I created my impressions. It was super easy!
Basically, I mixed the blue base material with the catalyst material until it was solid blue and placed the product in the impression tray. Then, I gently pressed the tray and material into my top set of teeth and held it in place for 3 minutes. Lastly, I slowly removed the dried impressions by pulling down. I did the same with my bottom teeth. They send you extra material in case you mess up!
Once both impressions were finished, I let them sit in their trays overnight. The following morning, I placed the impressions (still in their trays) in the return envelope with my filled out information card and mailed them off! It was that easy! I was just glad to not have to sit at the dentist for hours.
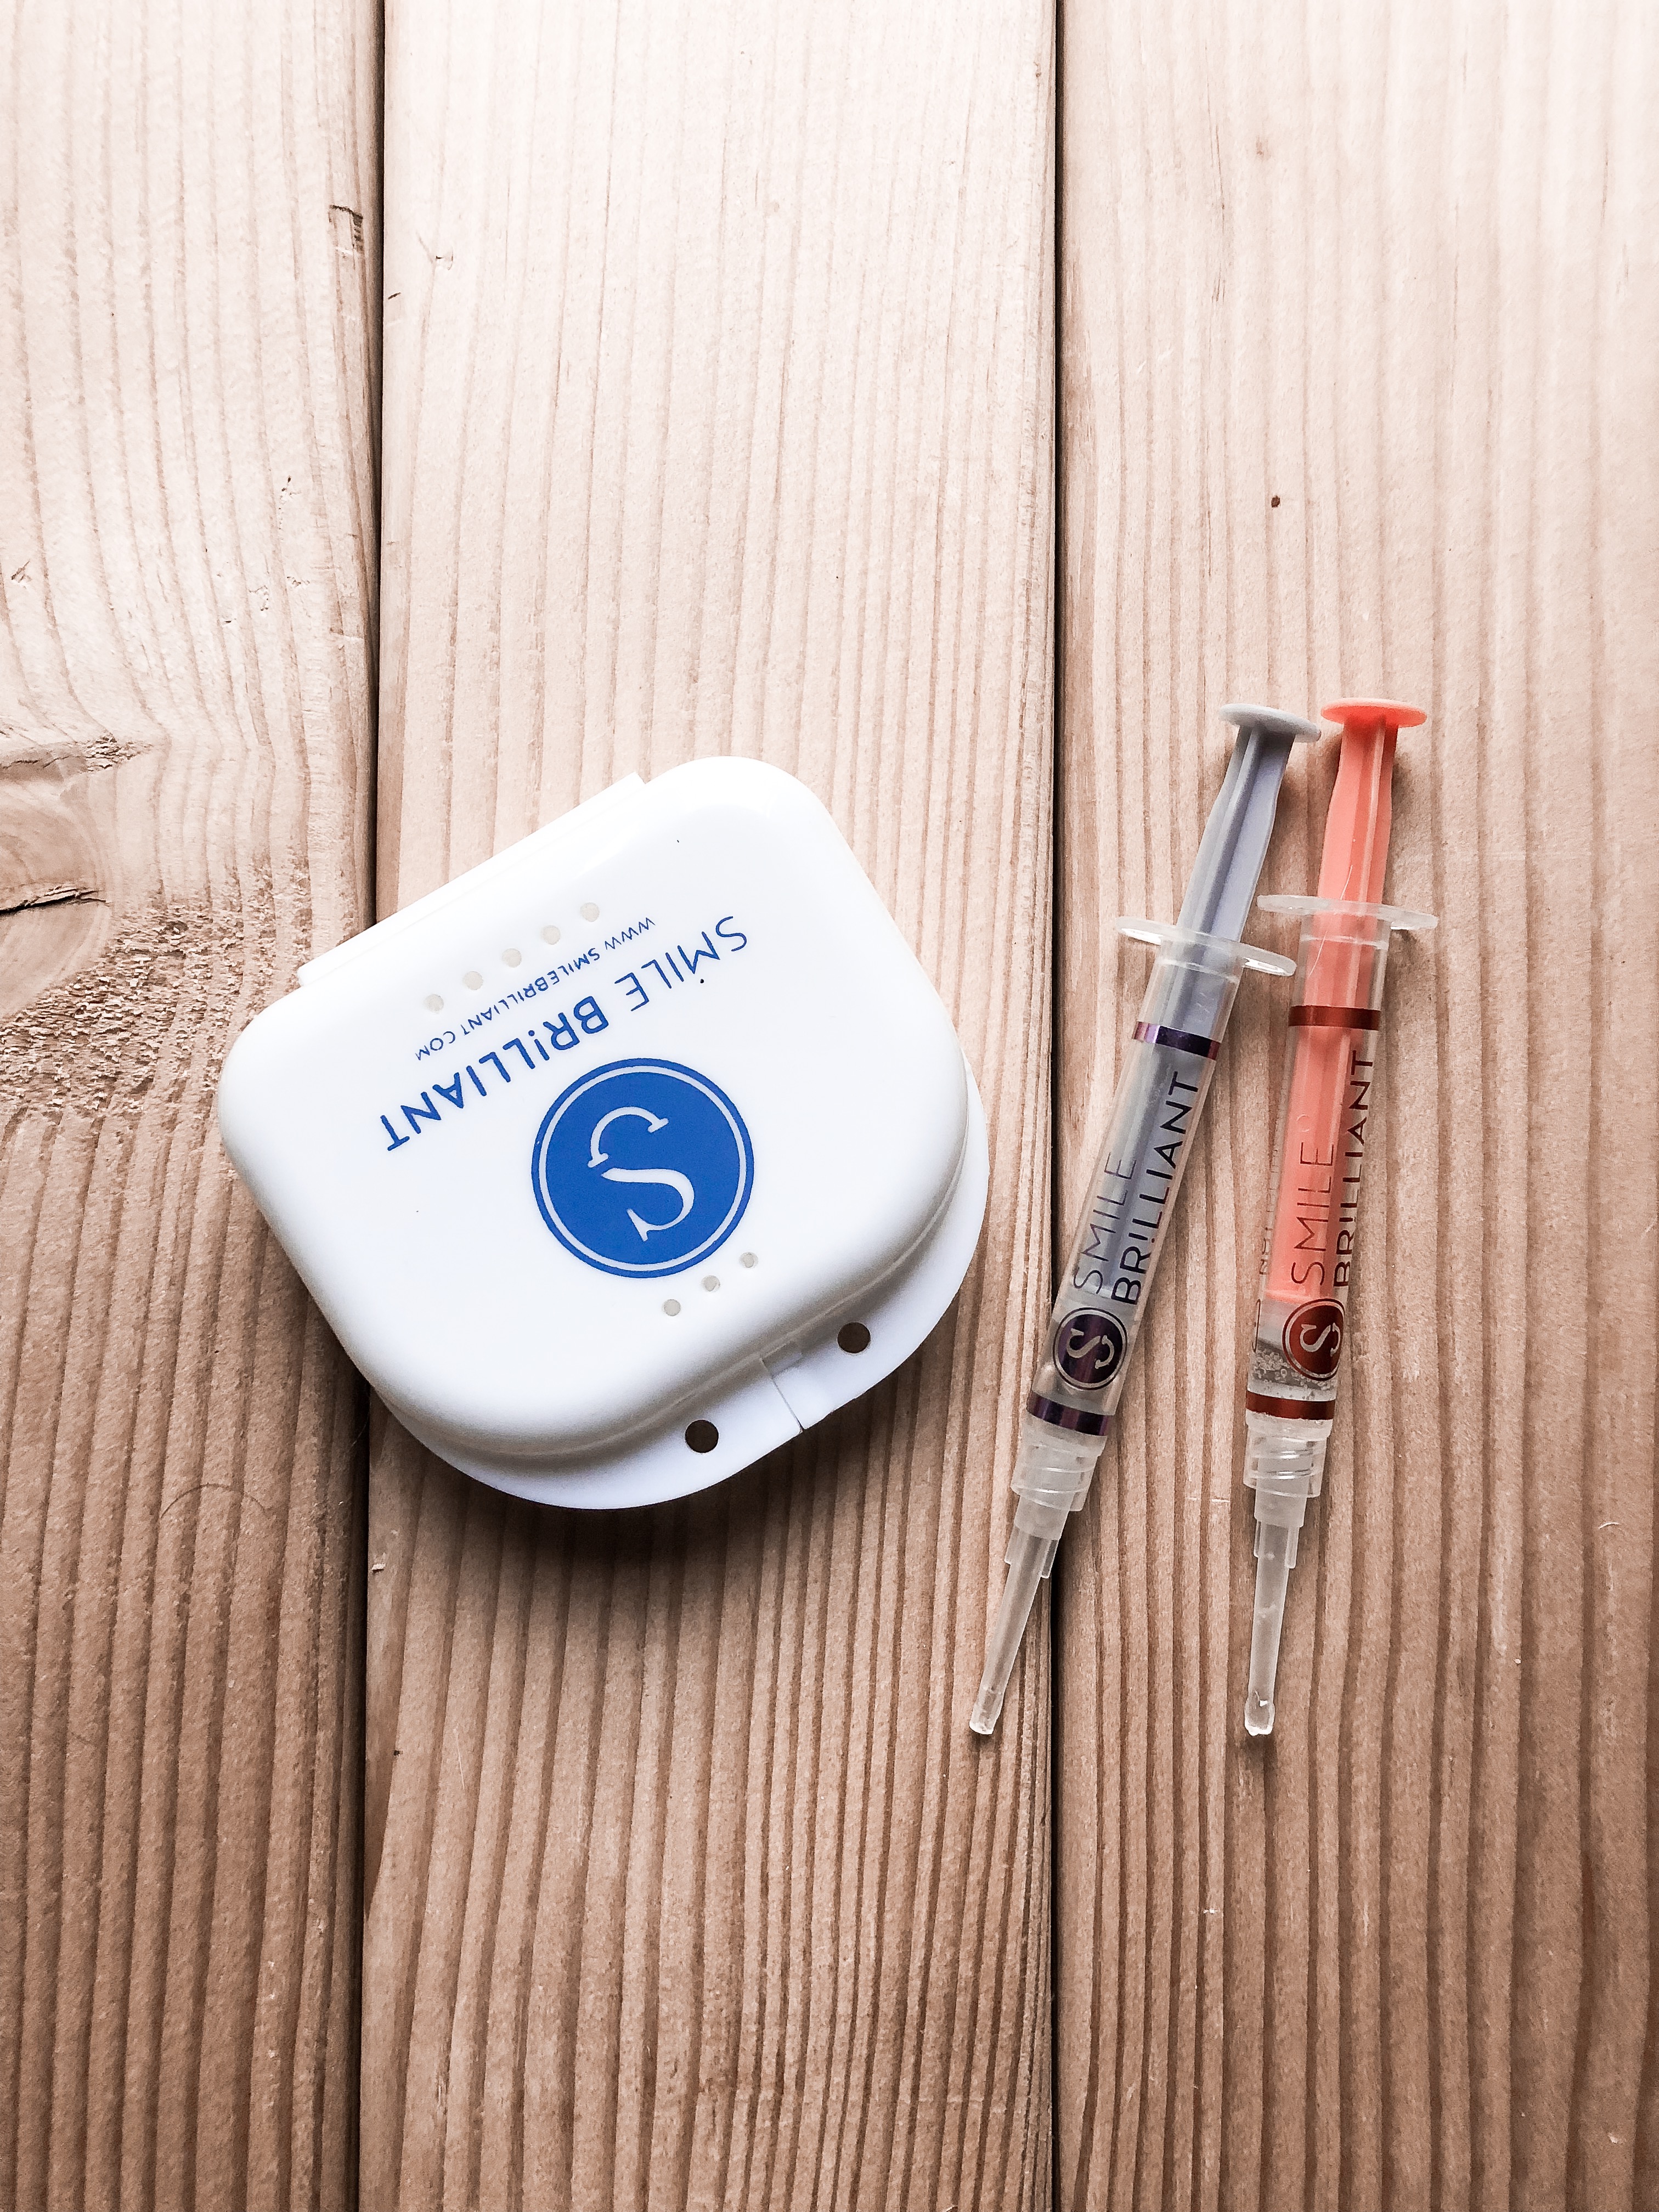
The Whitening Process:
I received my custom-fitted trays a week later. Now for the magic! The original kit comes with all of the whitening and desensitizing gels. I just apply a thin amount of whitening gel to my impressions and secure them into my teeth.
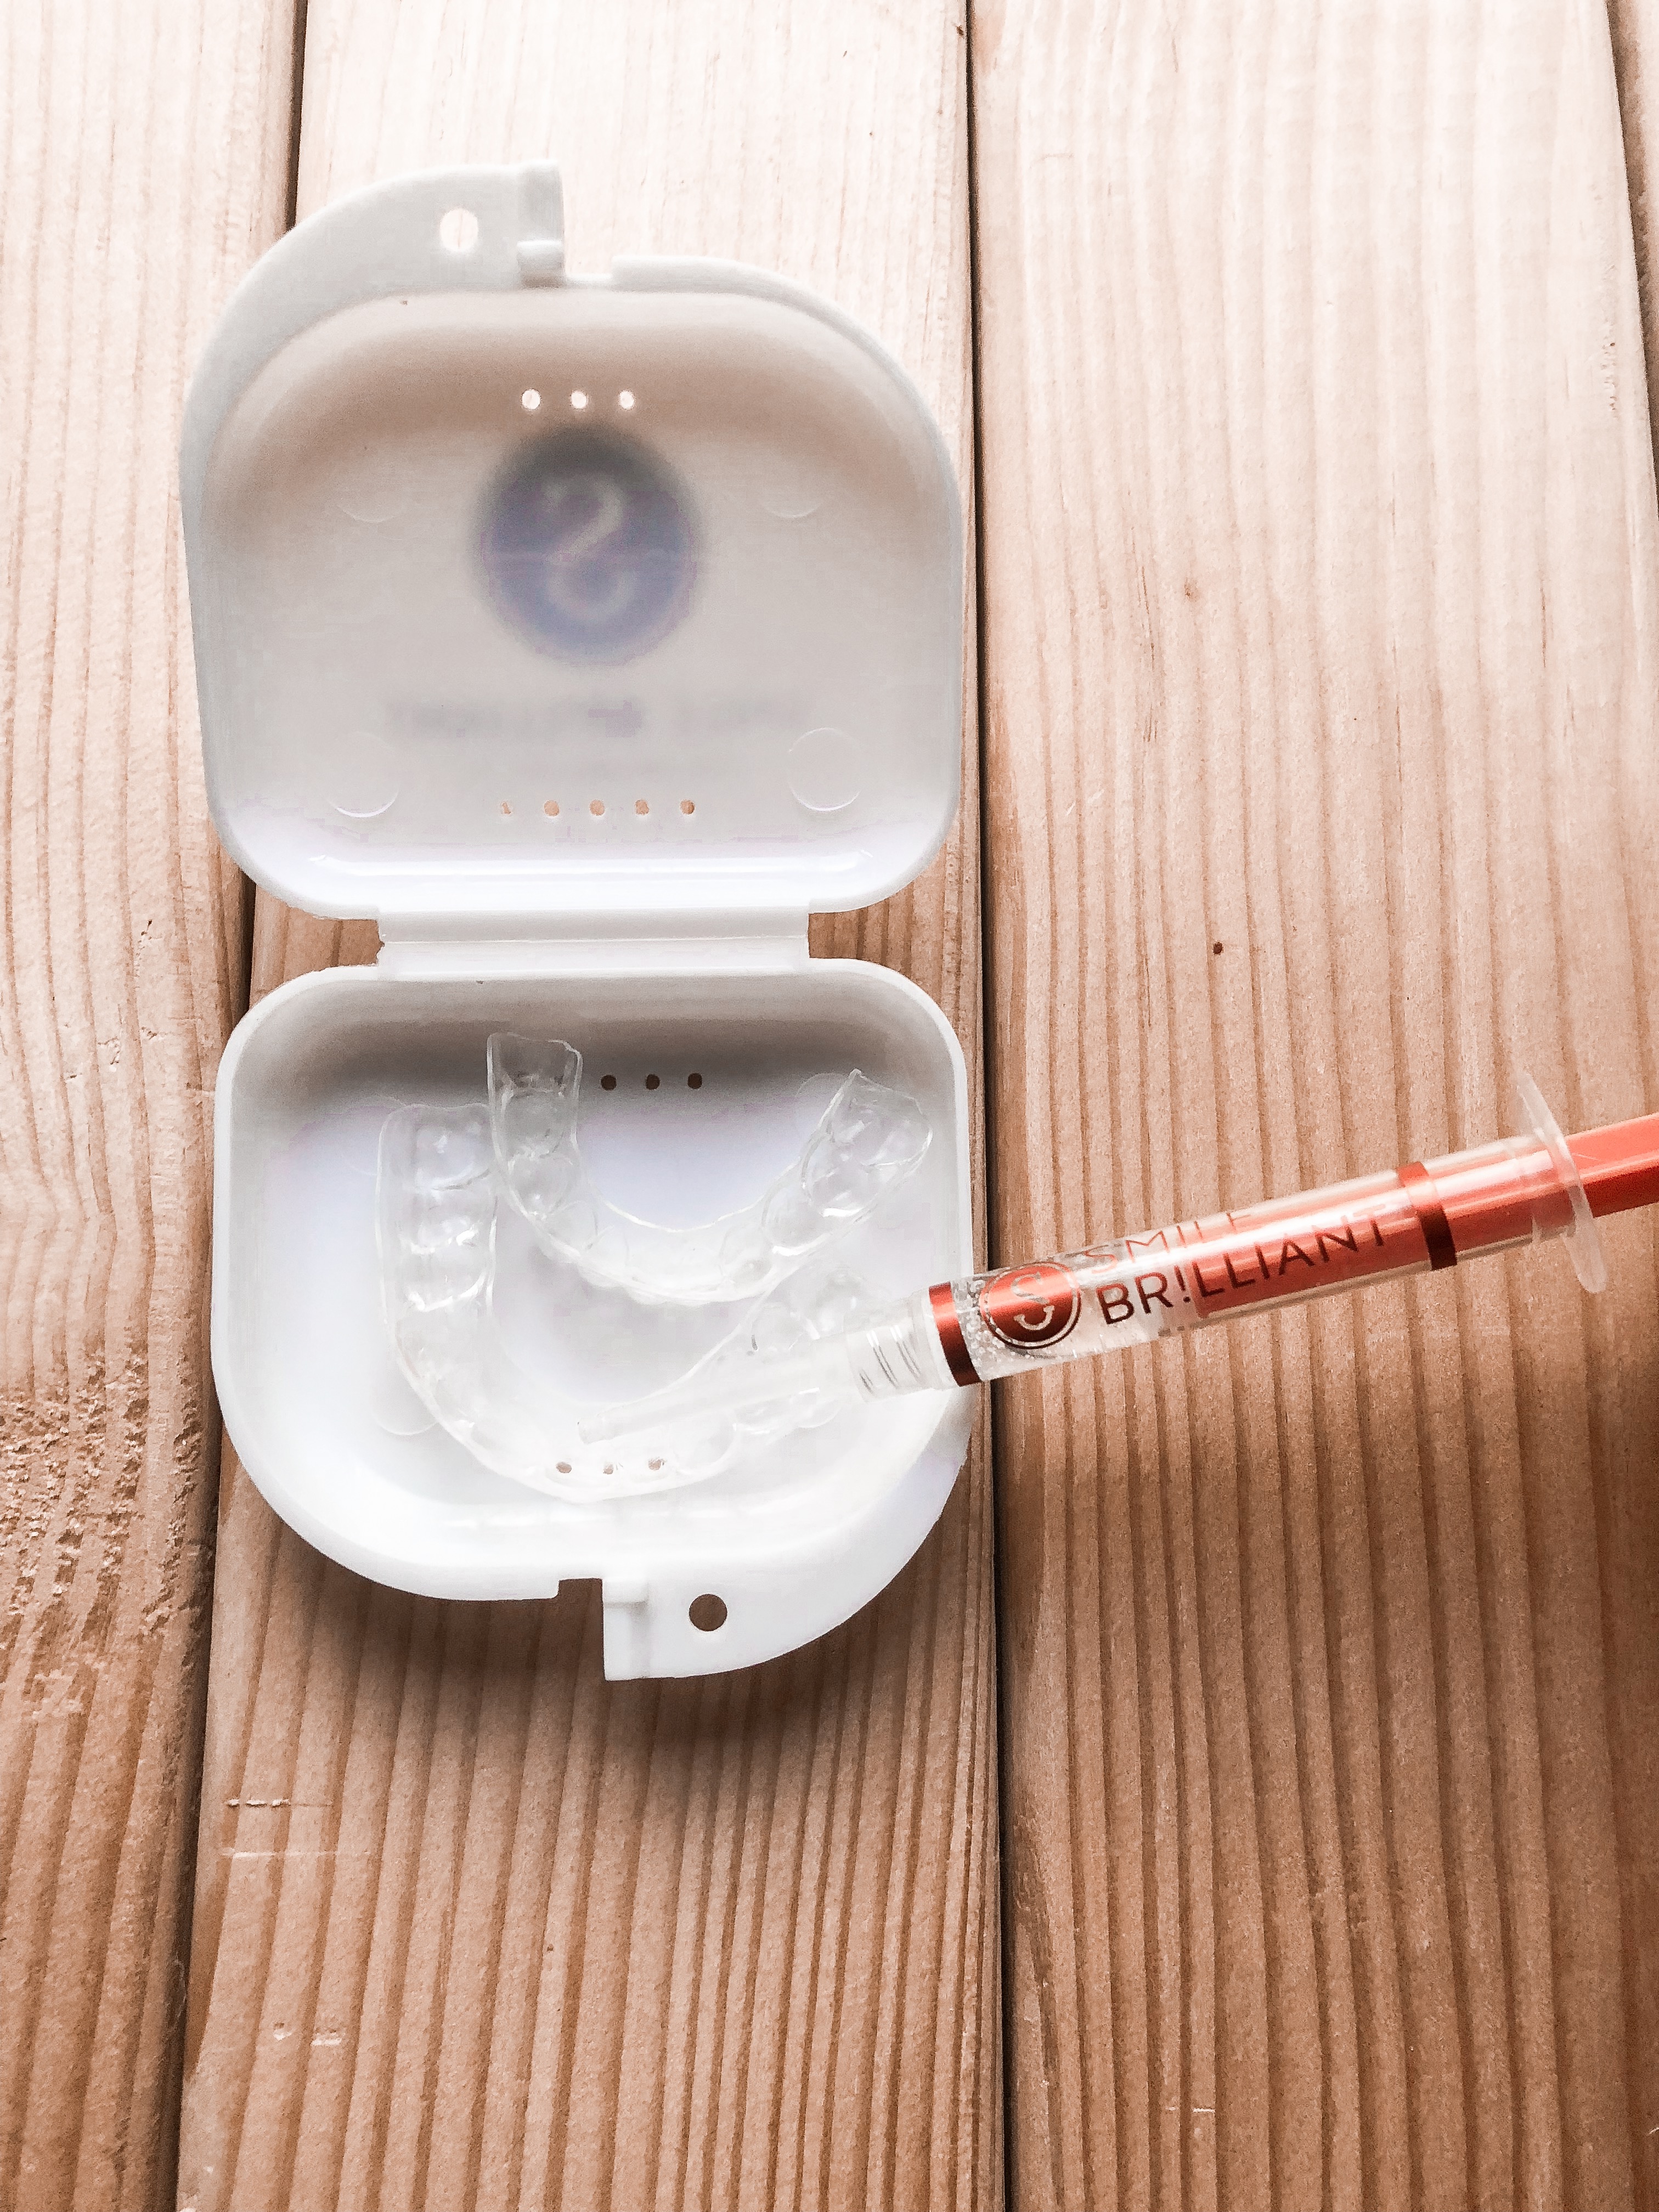
The best part is, I can go about my normal day with these in! They do not slip, slide or cause me to drool excessively like other kits. They do not taste bad or foam in your mouth either! I love that I can wear these while grocery shopping, cleaning around the house or right before bedtime. Anything that can allow me to multi-task, please!
After the whitening session is done, (They recommend 45min-3 hours. I leave them in for about an hour.) I rinse out my impressions and blot them dry with a paper towel. Then, I apply the desensitizing gel and let them sit in my teeth for 20minutes or more. This gel makes such a difference during the treatment!

Results:
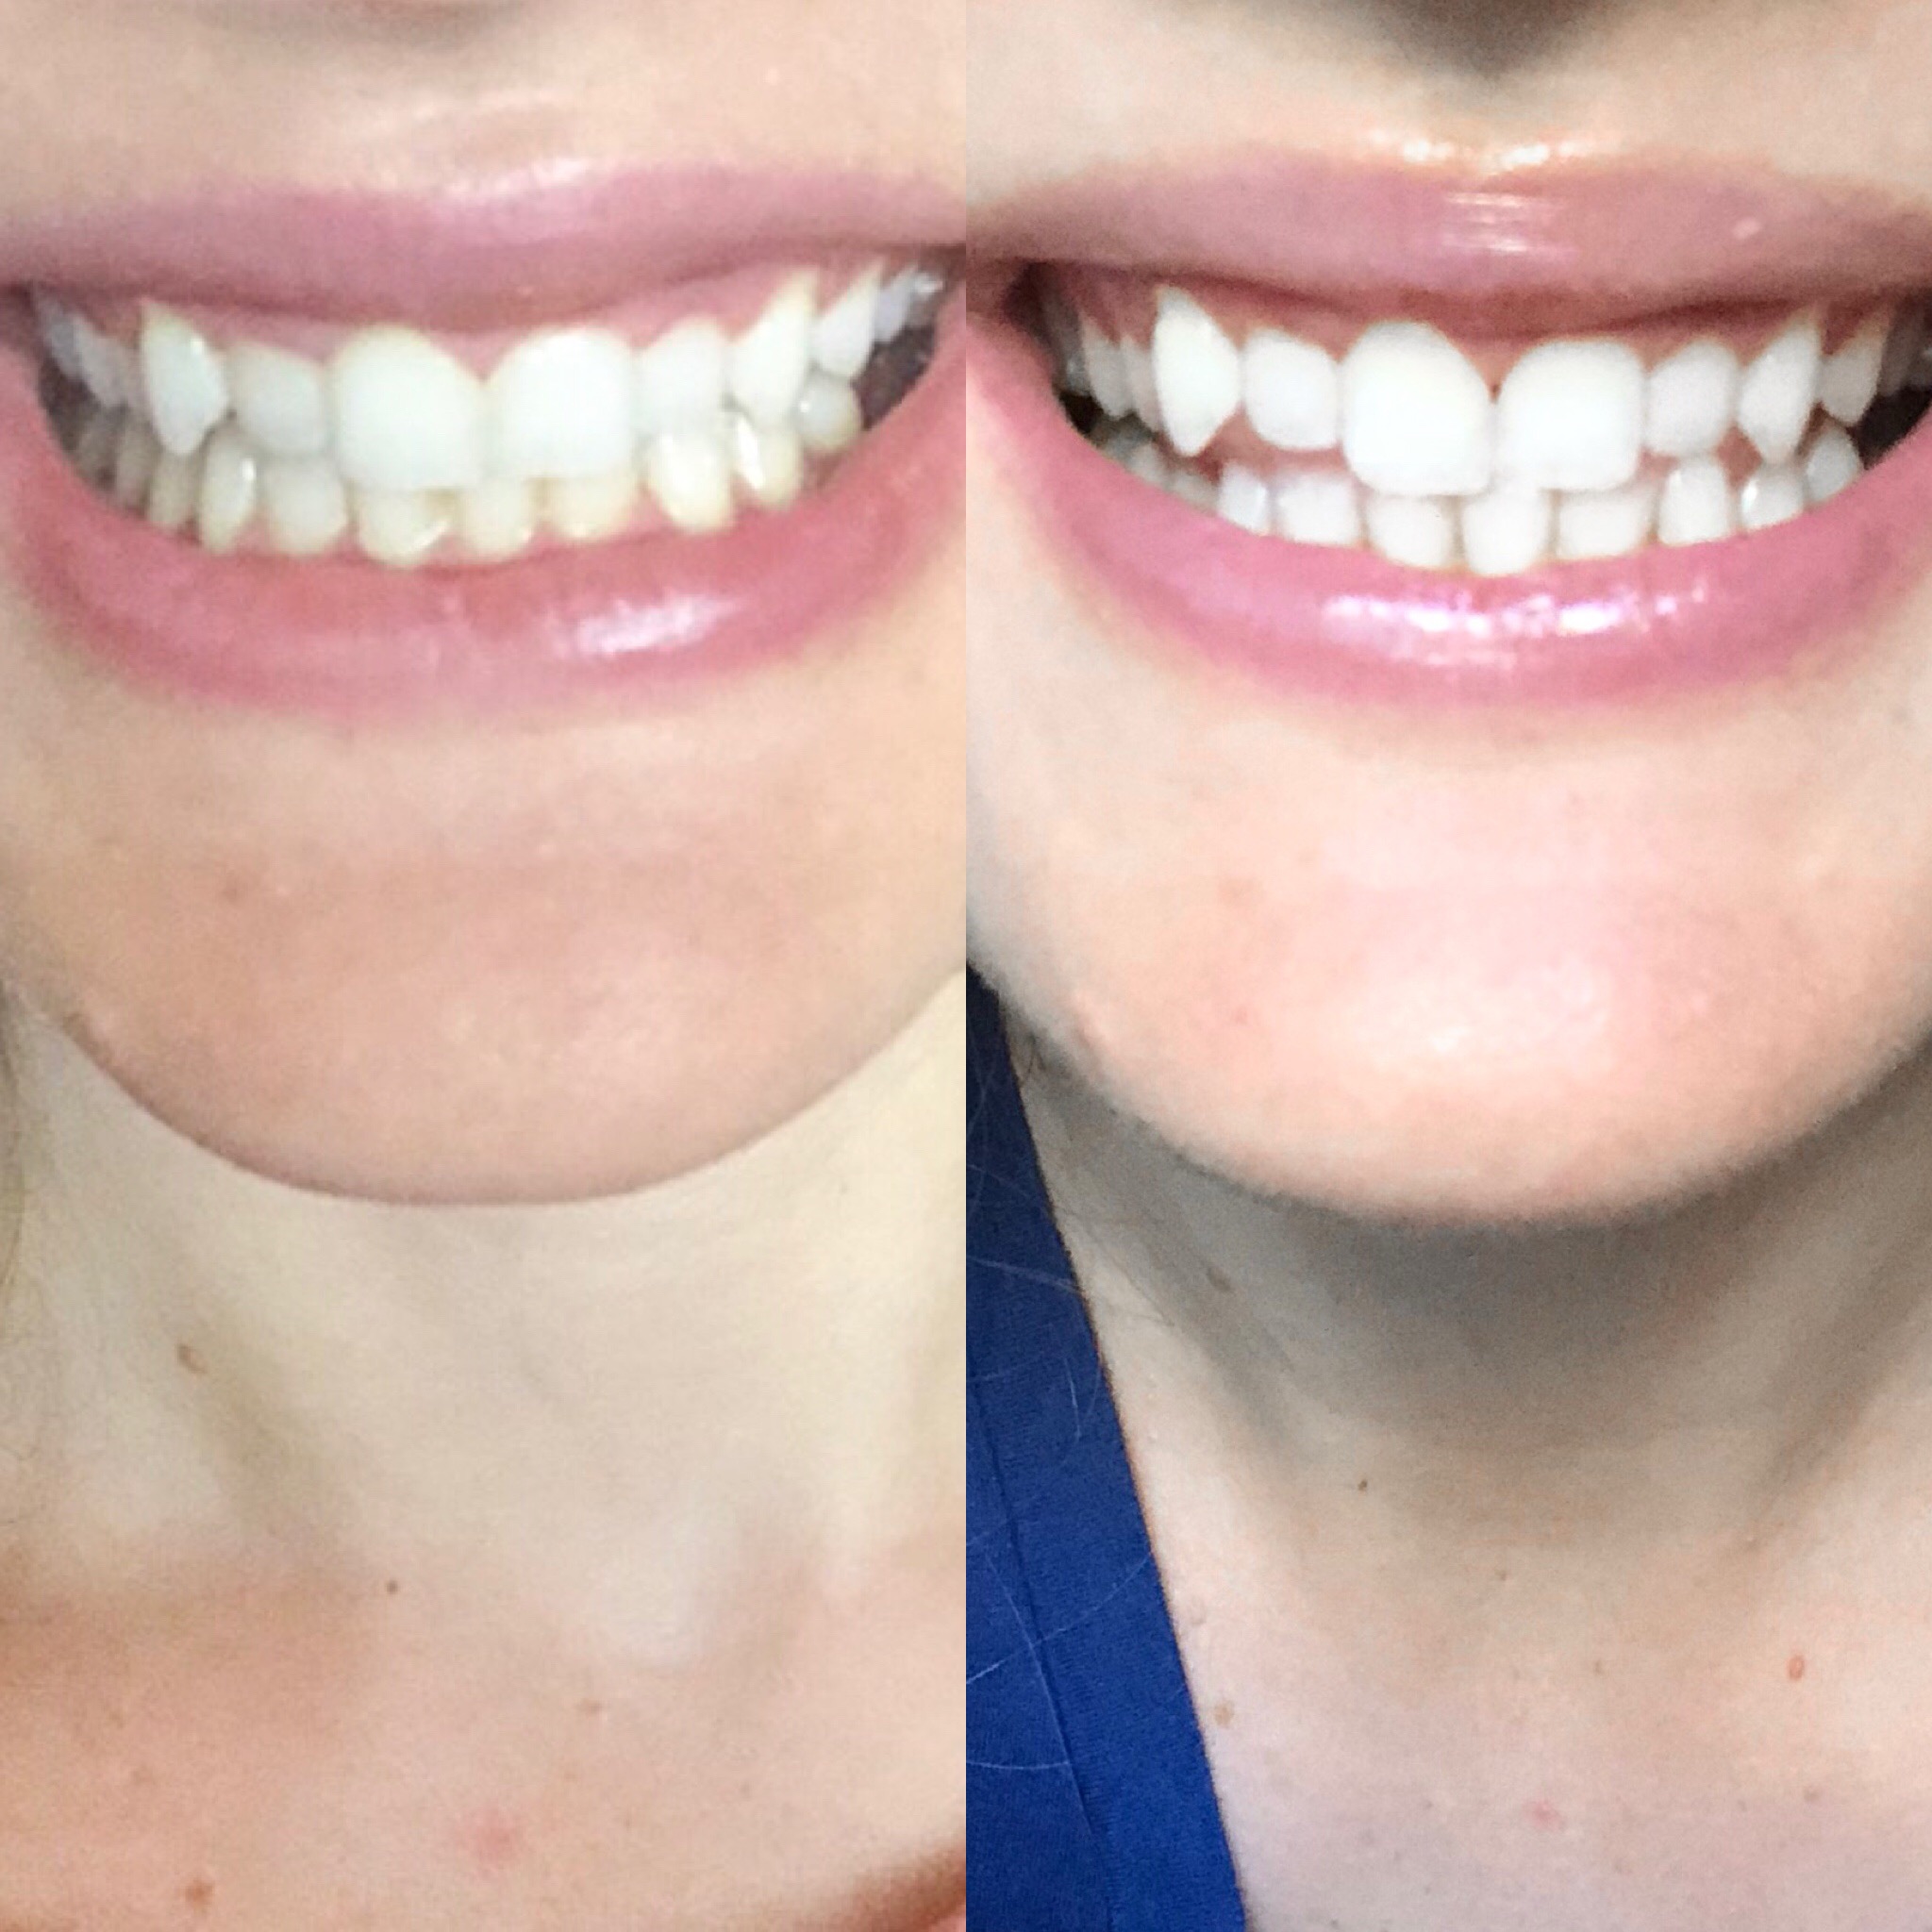
While my teeth were mostly white prior to treatment, I definitely had some coffee/tea stains near my gums that I wanted to fix. After about 7 sessions, I definitely saw a more even and brighter shade of white. Likewise, those coffee stains have faded tremendously! I still have plenty of whitening and desensitizing gel left for future treatments!
There is a little bit of downtime between making the impressions and receiving the custom tray, but it was all worth it! A professional whitening would have costed more than double at the dentist and would have required multiple sessions and multiple trips to the dentist. Believe me, I am not a fan of driving anywhere after a long day of teaching. Likewise, I loved knowing that the gels were vegan, cruelty free and FDA approved.
Most importantly, I love seeing a brighter and whiter smile just in time for the holidays!
Before & After:
Giveaway!
Smile Brilliant has been such an incredible company to work with! They have been so helpful throughout the entire process. In fact, they are so generous that they will be giving one of you a $149 credit to use on their website! Just in time for the holidays 🙂
Click here to enter the giveaway!
Want your whitening kit now? 15% off coupon code: guitarandlace15
Pin it:

Thank you to Smile Brilliant for sponsoring this post!
Your smile is really nice. And your teeth whitening kit is also good.