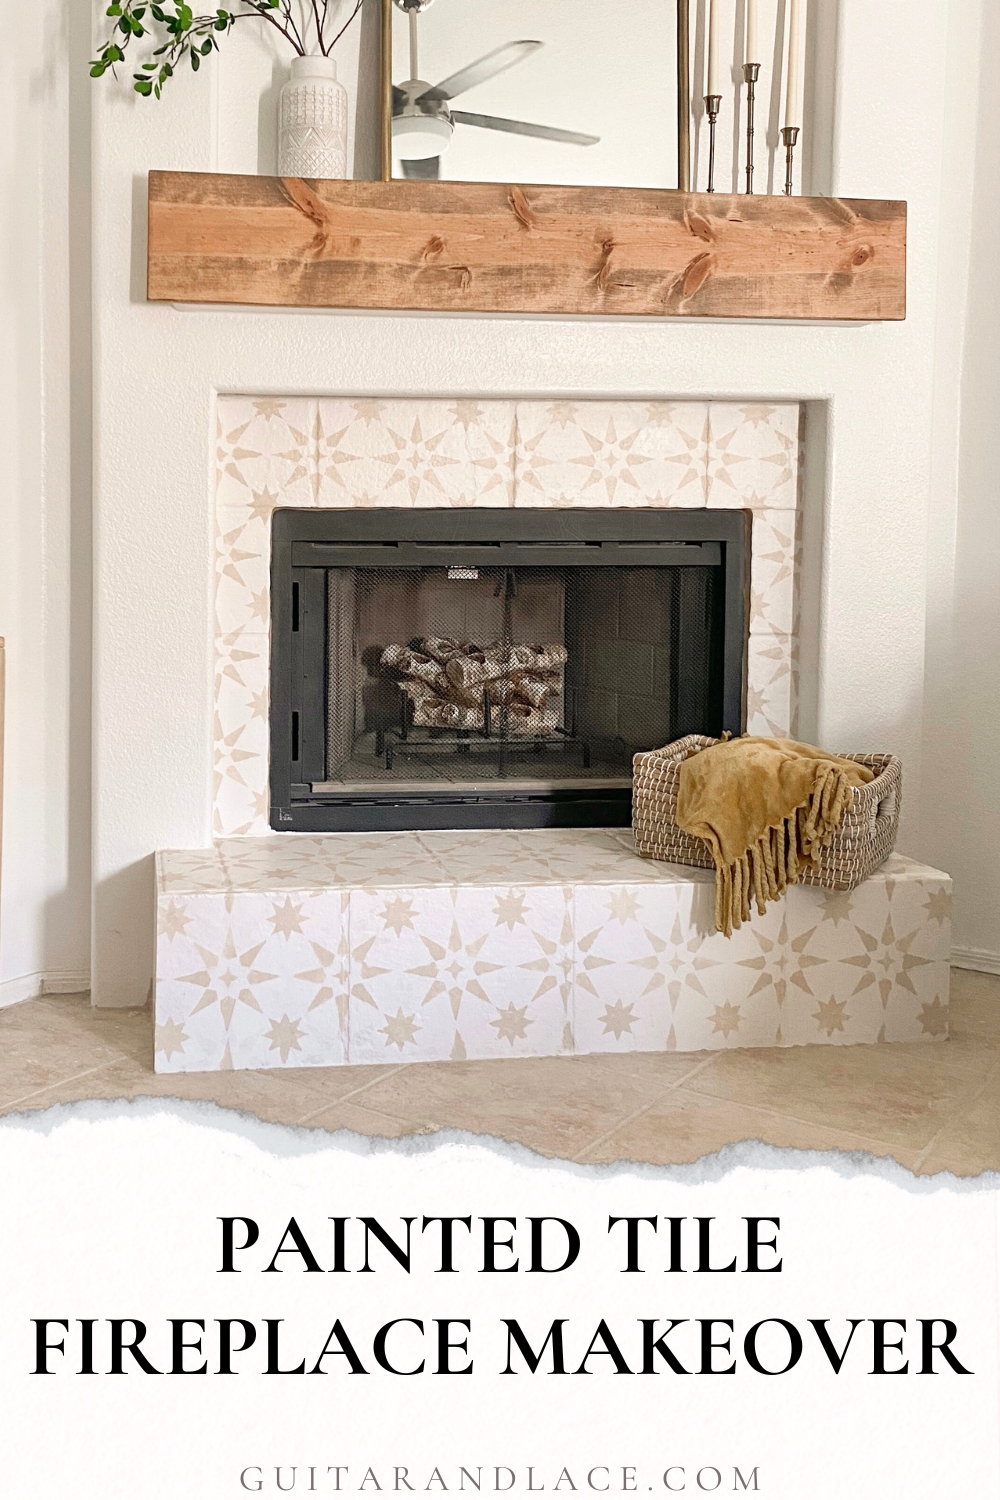
Easy DIY Fireplace Makeover – How to Stencil Paint Tile
Easy DIY Fireplace Makeover – How to Stencil Paint Tile
Goodbye 2000’s Era Builder Grade Fireplace…
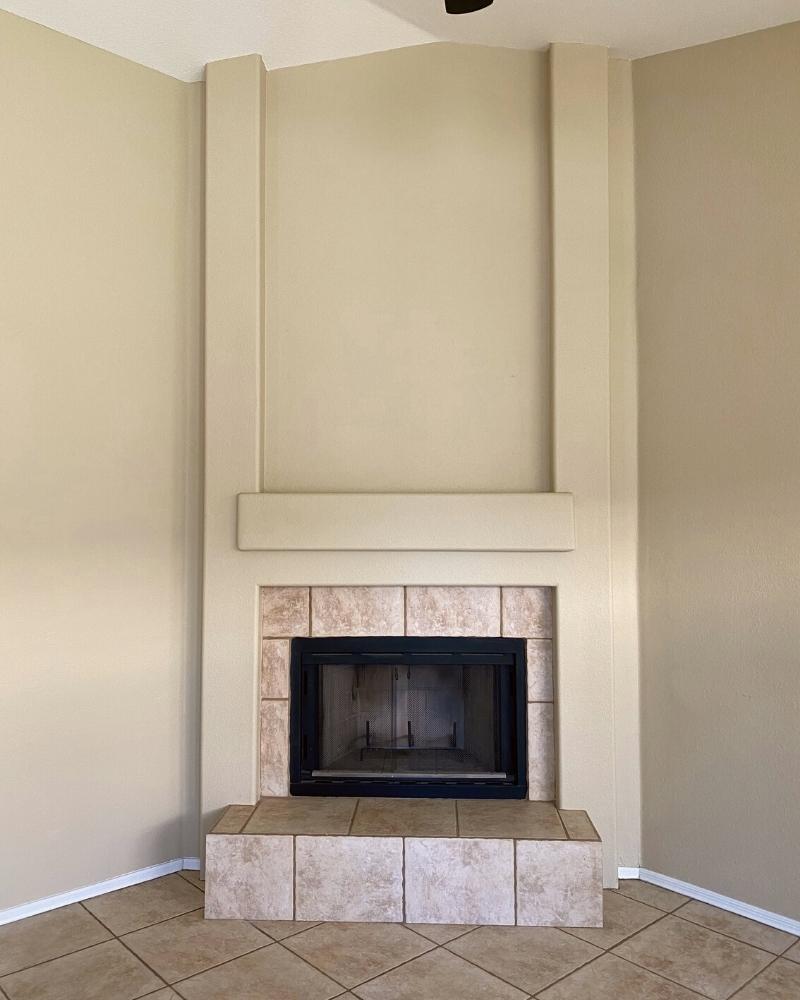
Once upon a y2k time this fireplace was it. I could just imagine the nostalgic brown reclining sofas, cup holders and everything! The kind of microsuede fabric that you could “draw” on with your finger as the color would appear darker in one direction and lighter in the other.
There probably was a square Toshiba TV hidden within a golden oak media armoire to the left of the fireplace. Just to the side of the armoire, an oak bookshelf with every Disney VHS stacked neatly… the late 90s dream home!
I will accept no other imaginary way for my precious house.
Now let’s change everything… haha!
Easy DIY Fireplace Makeover – How to Stencil Paint Tile


Quick List of Products I used:
Products used for my DIY Fireplace Makeover
- Paint Primer – this formula allows paint to stick to tiles
- Stencil Tile (16×16) – also available on Amazon
- Stencil Brush – helps prevent paint from bleeding under the stencil
- Small paint roller and tray
- Extra paint tray for paint primer
- 2+ Paint colors (I used the blue jar of Behr sample paint in “Smokey White & “Adobe Sand” both satin finish)
- Painter’s Tape

DIY Wooden Mantle
- 1″x10″x8′ board cut to fit mantle space
- Minwax stain “early american”
- New wall color: Pure White, SW
- Tile paint color: Smokey White and Adobe sand by Behr
Step 1. Prepare your Tile
Clean the Tile
Prior to priming, I wiped the tiles down with a microfiber cloth to ensure there wasn’t any dog fur (beagle sparkles) or dust. I then used equal parts cleaning vinegar and warm water to clean the tiles thoroughly.
You will want your tiles to be as clean and dry as possible before using primer.
Step 2. Prime Fireplace Tile
If you’ve ever painted your walls and splattered a bit onto your floor (tile), you may have been happy to discover how easy paint can peel off the tile. In order for the paint to stick to the tile, you will need a good bonding primer.
Tile Paint Primer is key!
I found this Bonding Paint Primer on Amazon. The formula is made especially to ensure paint sticks to tile.
The Primer formula is a bit sticky compared to normal paint, but still easy to work with. I did 2 coats of primer, but you may want to do 3 if your original tile is very smooth and shiny.
Dry time between coats
The directions on the primer can suggest waiting 3-4 hours between coats and 3-4 days to fully cure.
I am not telling you not to follow the directions, but for me, the primer felt dry enough to do a second coat within an hour. After about 3 hours, it felt dry enough to paint over entirely.
Keep in mind, I live in Phoenix where everything dries within minutes. Use your best judgment with dry time!
Also, my original tile has a bit of a texture to it, so the primer paint job didn’t have to be icy smooth. If you are painting over smooth tile, I would carefully follow the directions on the primer can to ensure the best results.
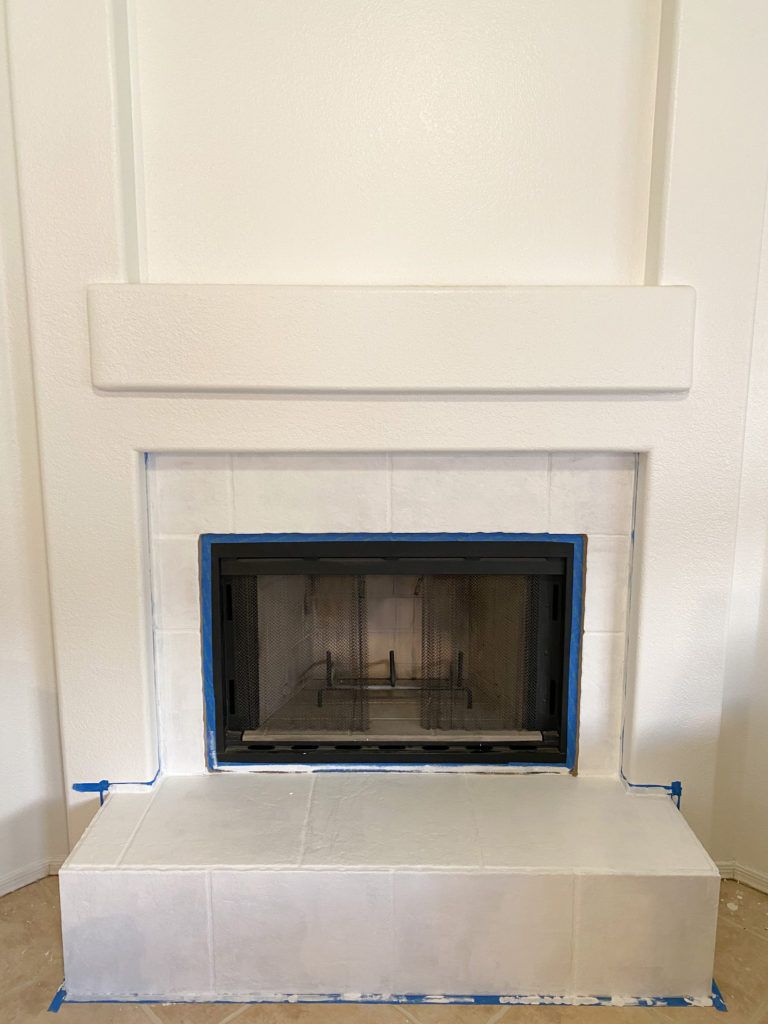
Step 3. Paint your Fireplace Tile Background Color
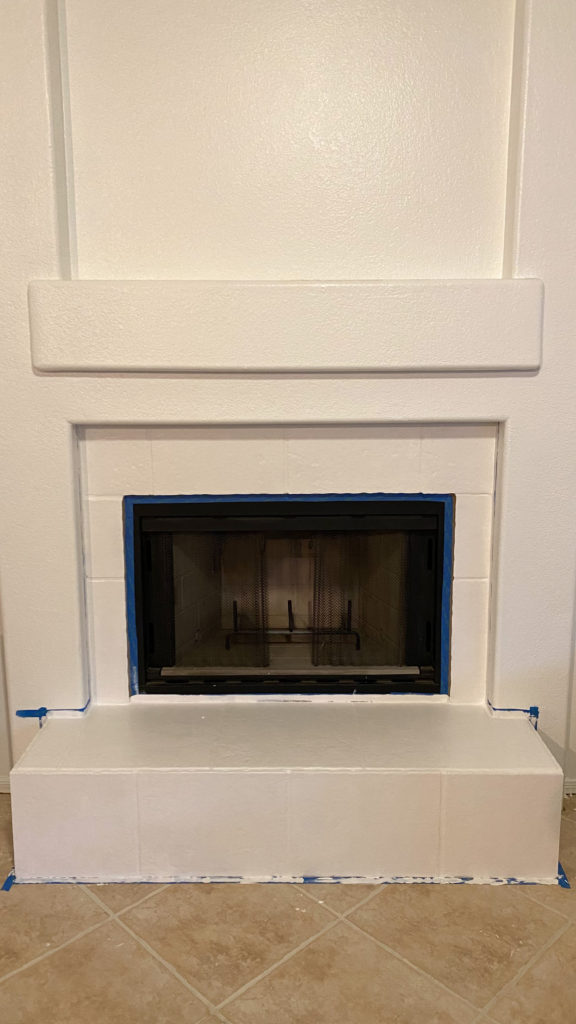
Painting the Tile Background color
Once your paint primer has dried, it is time to put on your first coat of color! The first paint you use will be the background color of the stencil design.
I chose smokey white by Behr. We used Behr’s interior/exterior paint & primer combo in a satin finish.
I only did one saturated coat. I always find Behr paint so easy to work with and it usually does not require multiple coats. However, If you are painting a darker color, you may need an additional coat.
Do I need special heat resistant paint for my DIY Fireplace Makeover?
I decided on Behr paint after reading this article on Home Depot’s website. According to Behr, their paint is safe to use on the outside of a fireplace.
To make this project budget friendly, I purchased paint samples for each color. This was the exact sample we used (the blue jar). Your home depot should have the same samples that you can request to be made into any color.
If you are painting inside of the fireplace or any part of the actual firebox, you will need a high heat resistant paint.
Step 4. Secure your tile stencil & paint


Once your tile background paint color has fully dried, it’s time to get stenciling!
Choosing a stencil for your tile
I purchased this stencil off of Etsy. They have tons of designs and sizes to choose from! This shop also sells their stencils on Amazon if you prefer to shop from there.
The size (16×16) perfectly fit over my tiles. However, if I wanted the design to be smaller and more condensed looking, I could have chosen the 8×8 size and repeated the stencil 4 times per tile.
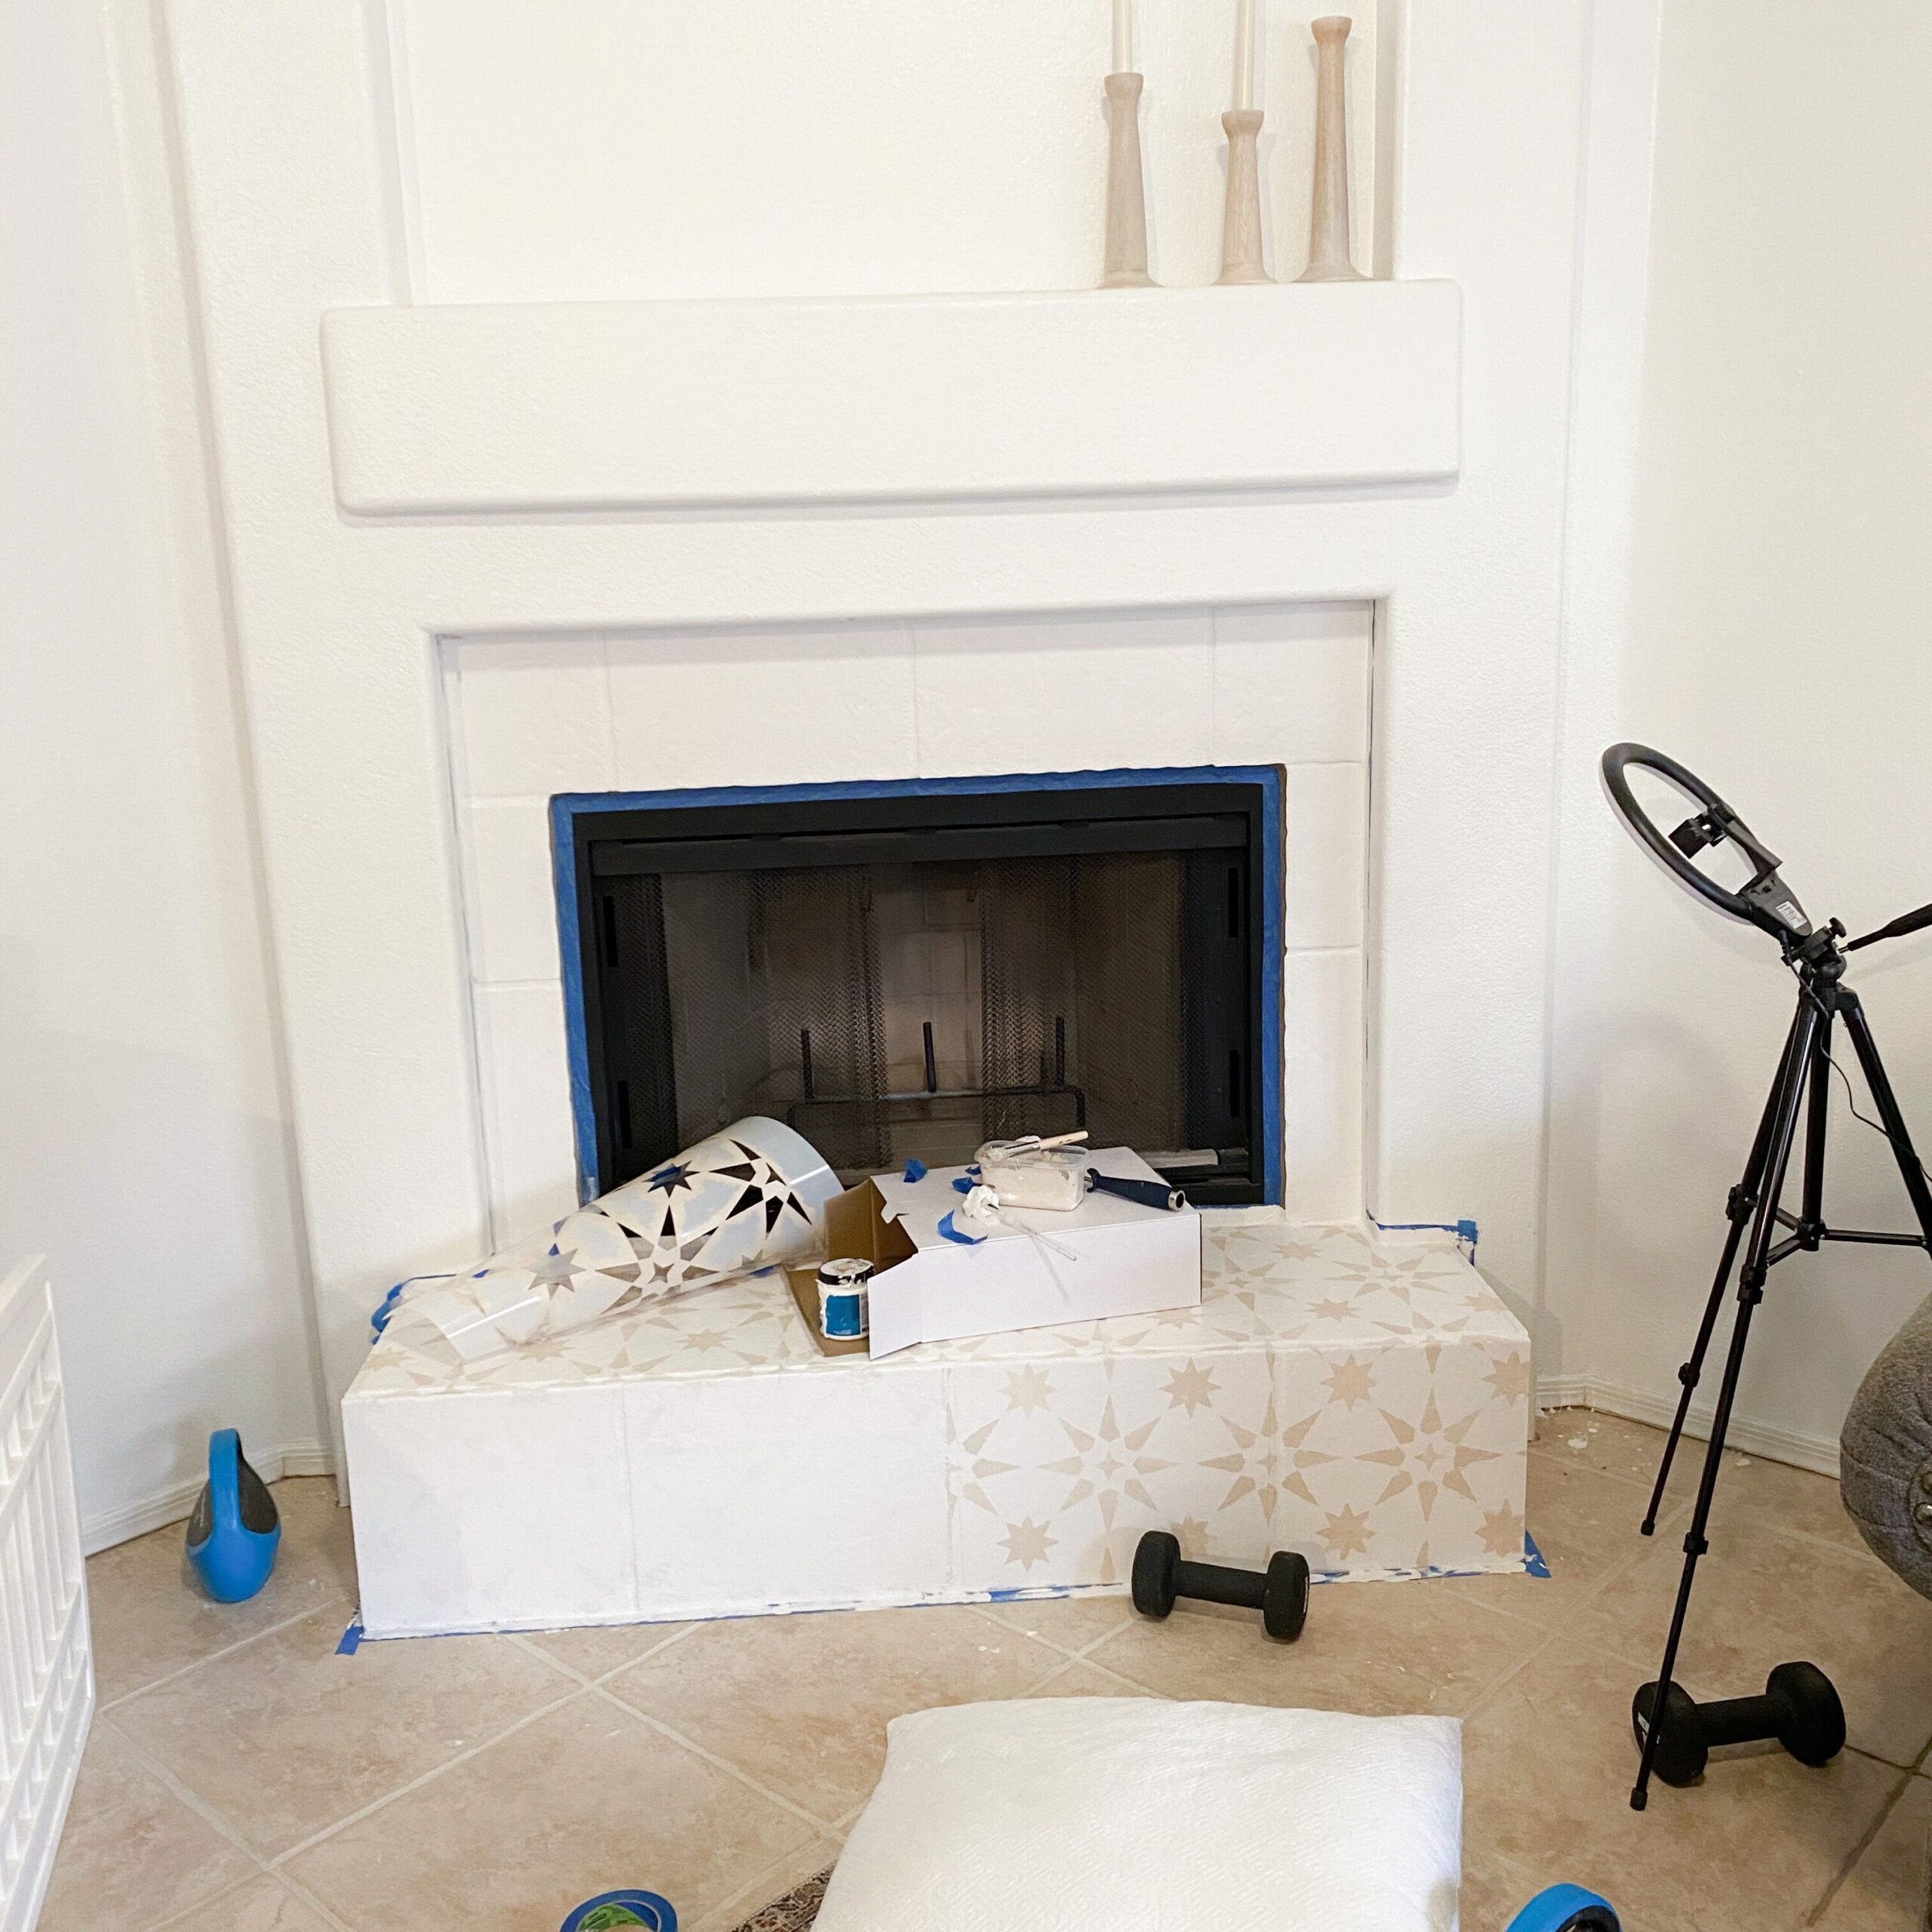
Securing the Stencil before painting
Most stencils will be shipped in a tubular packaging which may result in a stencil that does not lay flat right away. A few days before this project, I placed a few dumbell weights on top of my stencil in order to train it to stay flat.
Once it was painting day, my stencil was ready to go! I secured the edges with painters tape to ensure the tile did not slide around.
Stencil Tile Paint Technique
You may be tempted to roll your second paint color onto the stencil with a rolling brush, but I highly recommend using a stencil paint brush.
Rolling the paint over the stencil will not only make the stencil messy to handle, but the paint may end up bleeding through in places you do not want it.
The key is to lightly coat the top of your stencil brush with paint and then lightly stipple the paint onto your stencil. I varied my stipple intensity to give the tile a more worn vintage look
Step 5. Move your stencil and repeat
Once your first tile stencil paint is fully dry, you can remove the stencil and move on to the next spot. Dry time was way faster since the amount of paint used was very minimal.
Lining up your stencil pattern
Most stencil patterns will be pretty easy to line up as you move to the next adjacent spot.
My stencil made it pretty easy to line the outer design up with the new spot. It also helped that I did not get paint on any of the outer edges, so I could see through the stencil to ensure my patterns were lining up.
Using the large stencil in smaller areas
As you can see, my fireplace tile surface area is pretty small in the upper face. I saved these slender tile pieces for last, because I knew I would have to potentially bend my stencil.
For the smaller areas, I just lined my stencil up vertically with the pattern I created in the large bottom portion of the fireplace. Then, I folded the outer right and left edges outward until it fit tile space.
Step 6. Finishing Touches
Once your entire fireplace is fully dried, you can go back to do any touch ups.
Optional: Use a small paint brush with your tile background color to conceal any errors and sharpen the stencil design.
For the most part, my stencil paint job turned out pretty good! I wasn’t going for perfection and my “stipple” paint brush technique gave the design a lived in vintage tile look. However, there were some smaller stencil stars that needed their edges defined better.
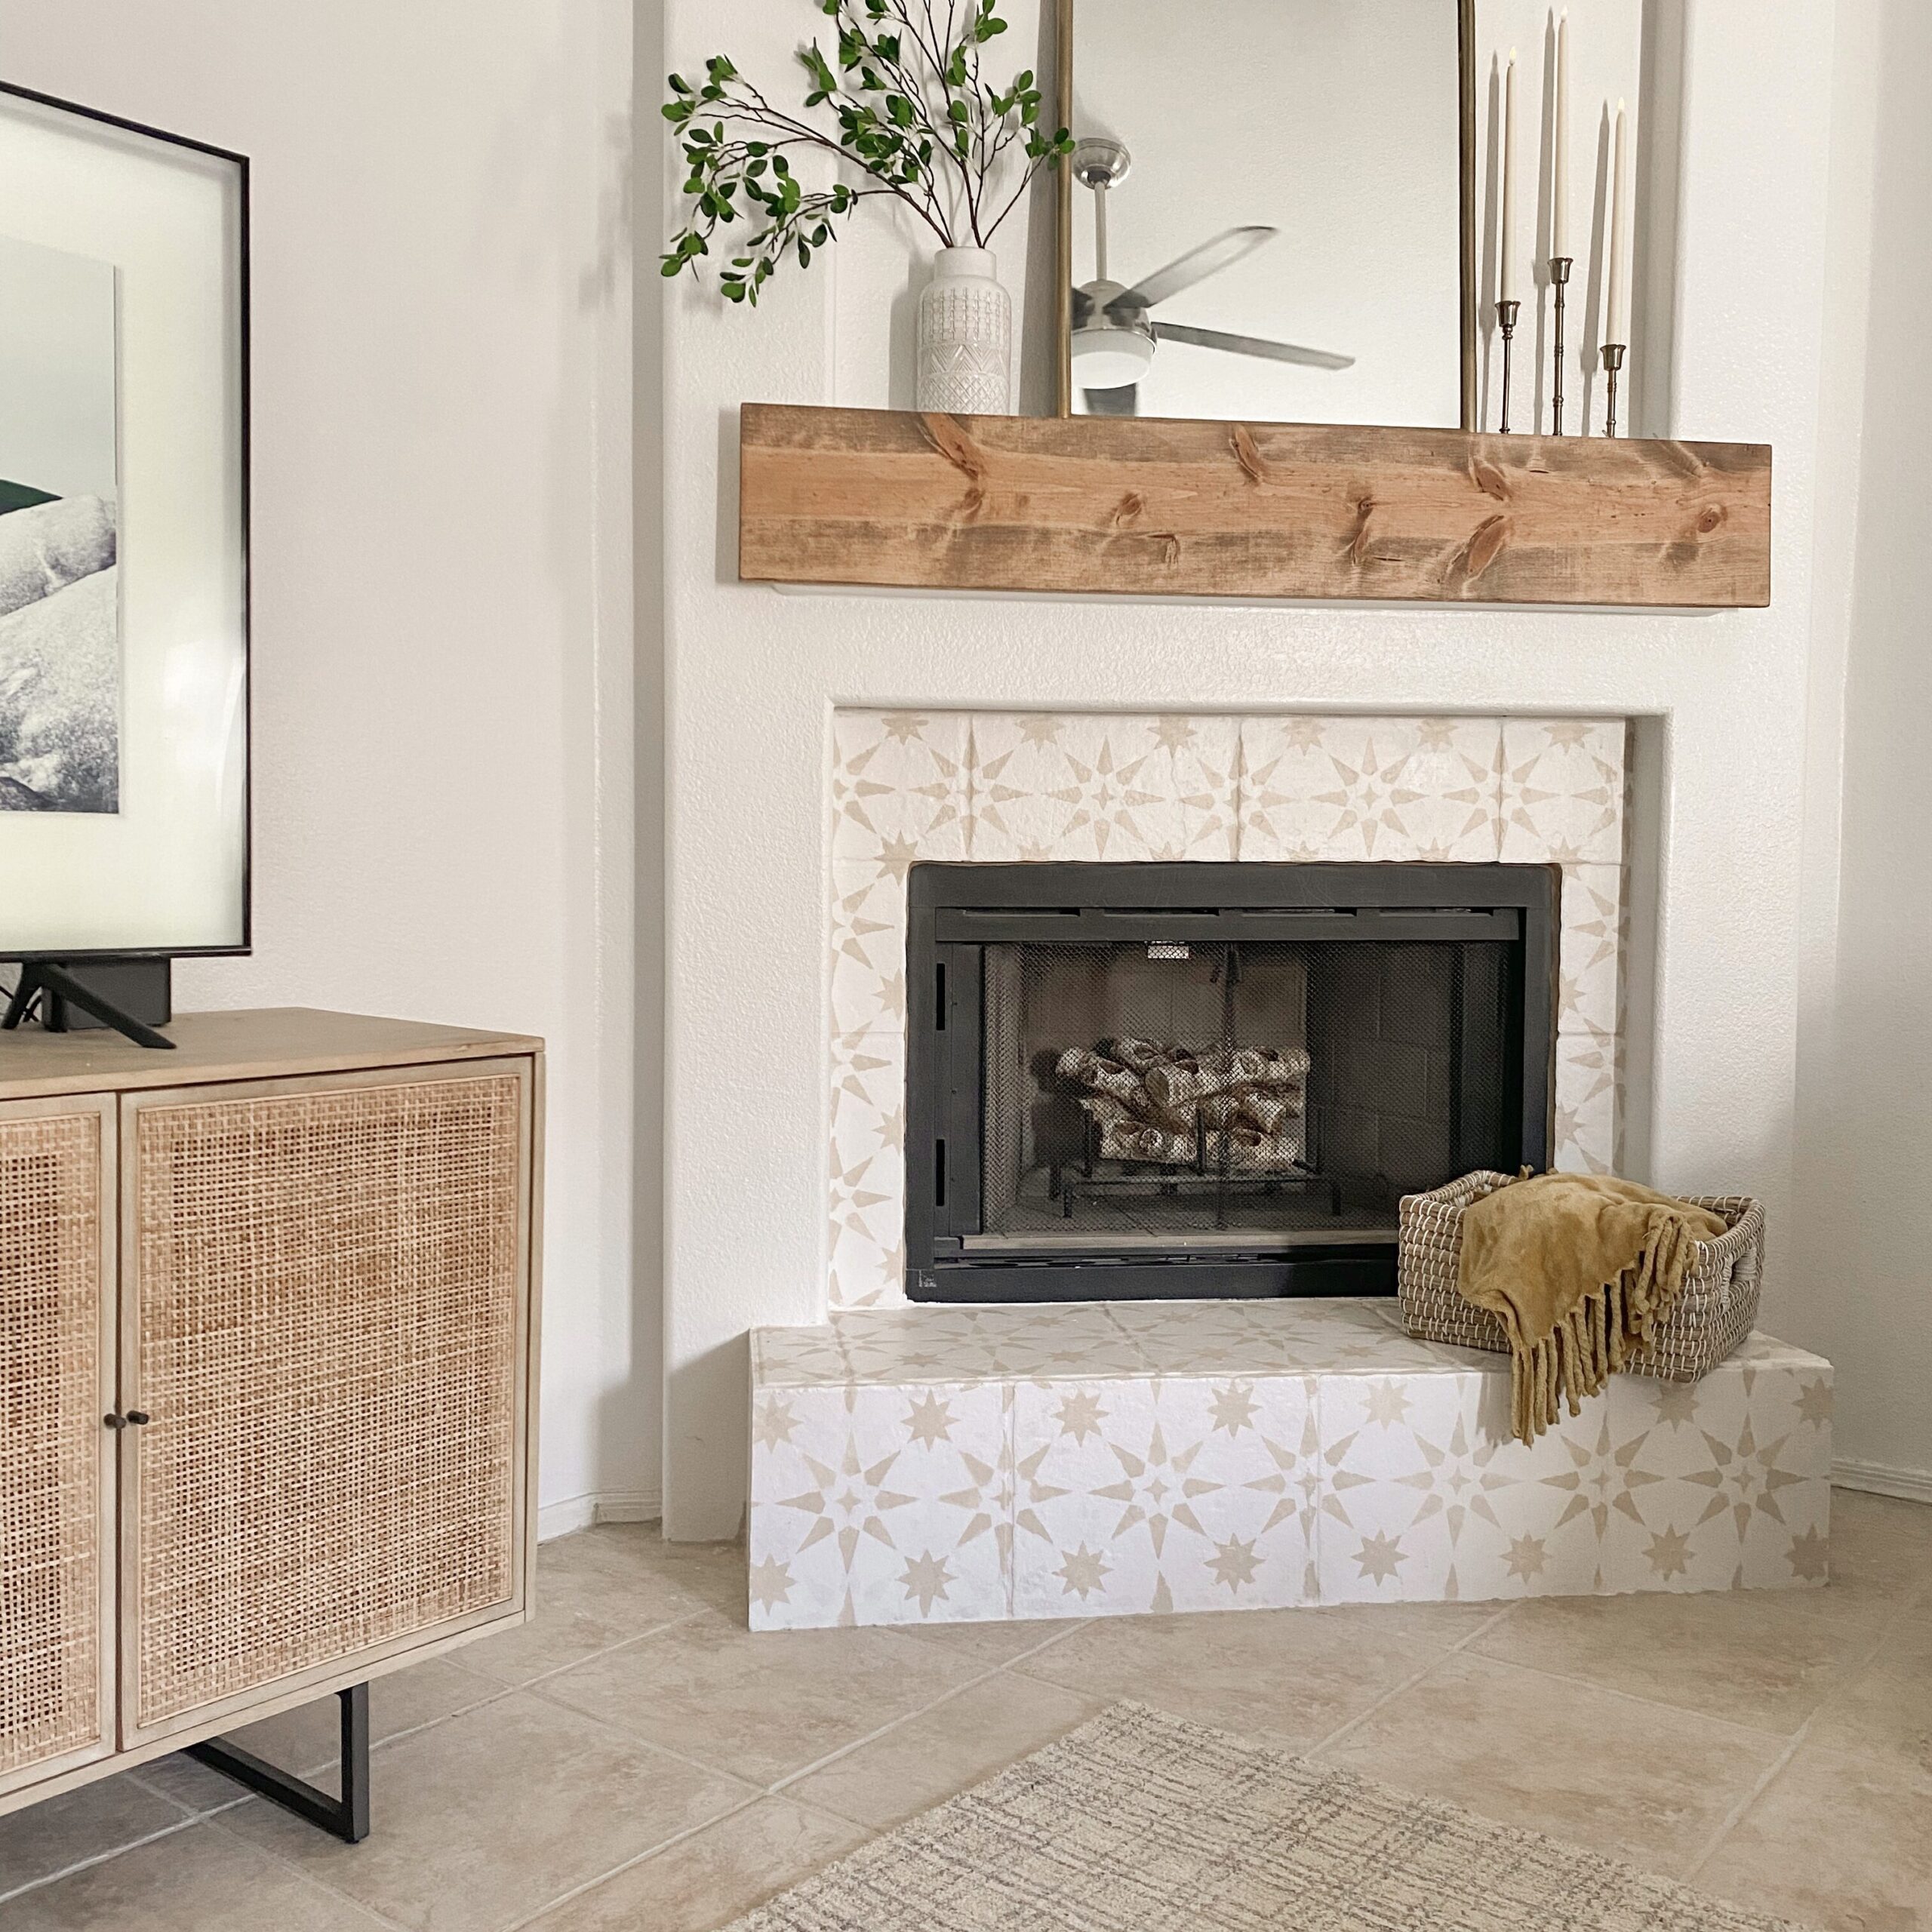
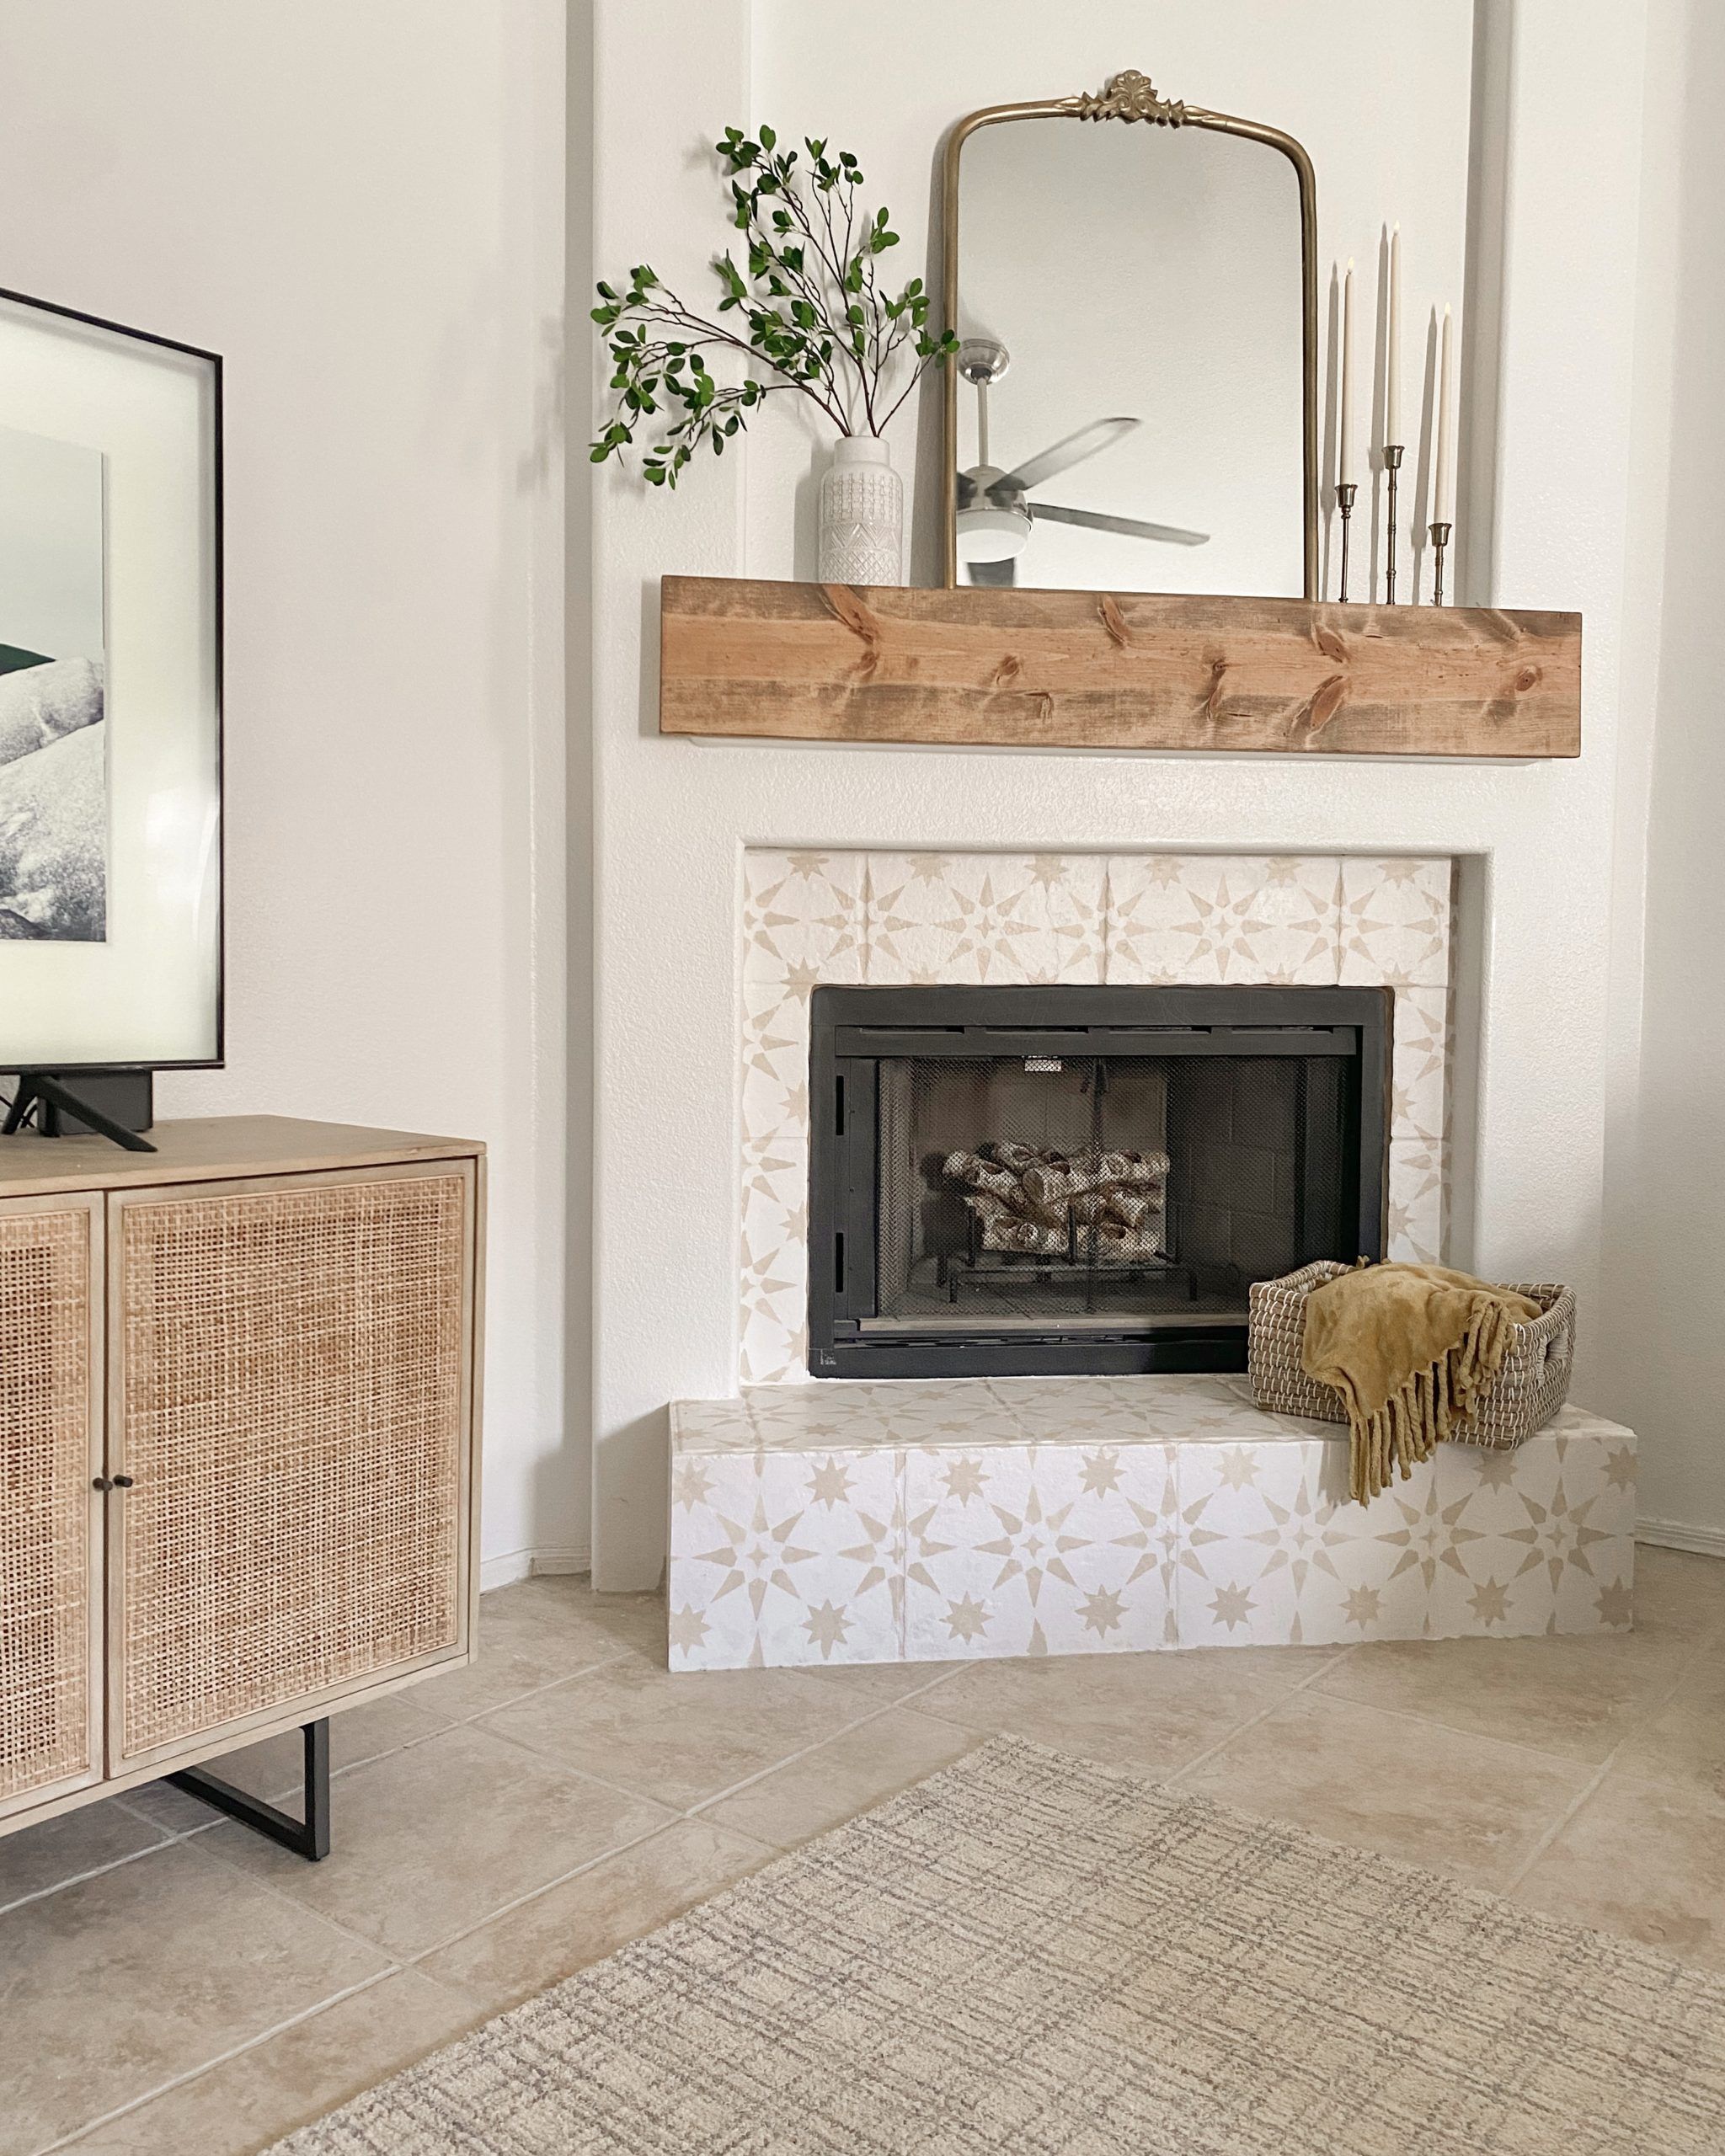
Finished DIY Fireplace Makeover
How long did this DIY Fireplace Makeover take?
This entire project was done while my husband was at work! …the best time to do diy projects 😉 No more than 6 hours total! Most of the time was spent waiting for the primer and paint to dry.
Did I seal the tile after painting?
Nope! Since the tile on the Fireplace does not receive foot traffic (it honestly rarely gets touched), I did not feel the need to seal anything.
Honestly, the tile looks and feels like it has always been this design!
update: it’s now 2024 (this diy was from 2021) and the paint looks the same as the day it was finished! We now have a toddler who does enjoy “chilling” on the step. Let’s just say, this fireplace has seen the occasional juice box spill… I also use the bottom step portion as a step stool while decorating for the seasons. There has been no signs of wear and tear!
Did you paint over grout lines?
Yes. The original grout was a very dark color, and I did not want the huge contrast with a dark grout line and mostly white tile. I do think it would also look great with a lighter sand color paint over the grout line to create a natural grouted tile look.
If I ever feel like making any changes, I could always go over the grout with a grout paint pen!
Overall Experience
Out of all the DIY home projects I’ve done, this has been my favorite! It wasn’t difficult at all. Maybe just time consuming? If anything, I have to stop myself from painting a new stencil design every year. It’s so tempting! However, I LOVE how this neutral boho design looks in our space.
We have had so many guests compliment our fireplace and examine the tile in disbelief once they find out that the tile design is all paint.
All in all, I am so So SO happy with how it turned out! It really gave the living room a whole new personality.
You may be interested in:
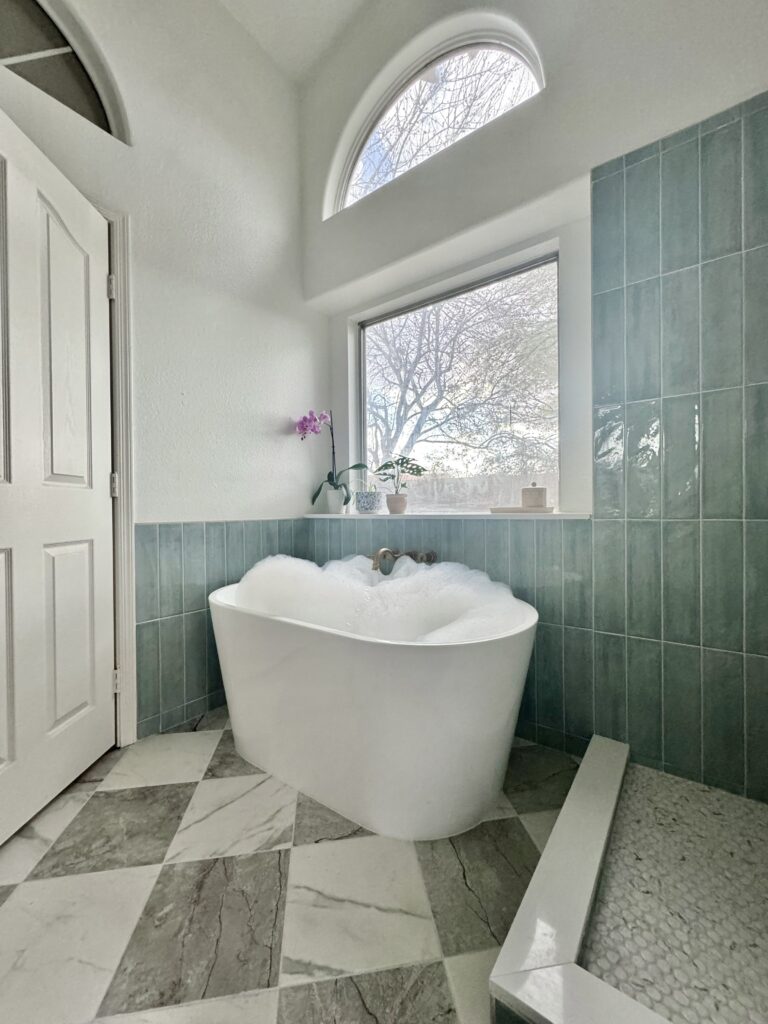
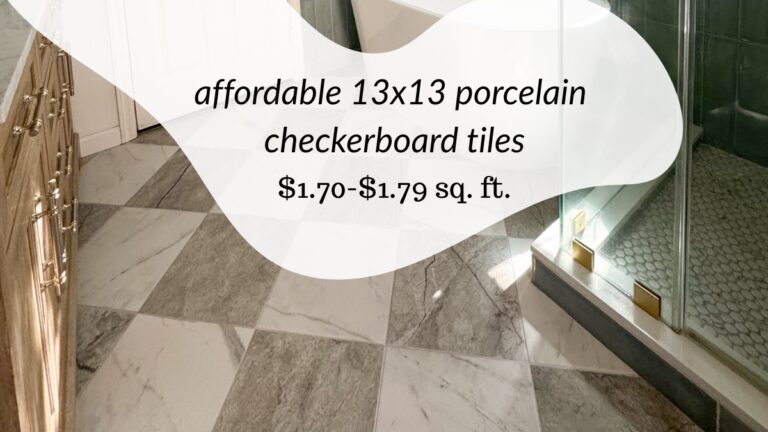
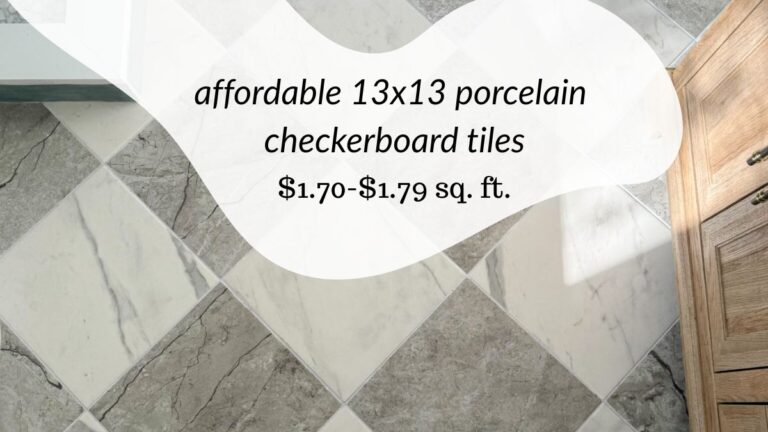
- Primary Bathroom Remodel Reveal – from Outdated Beige to Beautiful Blue
- Affordable Patio Decor Ideas
- Affordable Transitional Home Decor
pin it:
This post contains affiliate links through Amazon Associates and LIKEtoKNOW.it