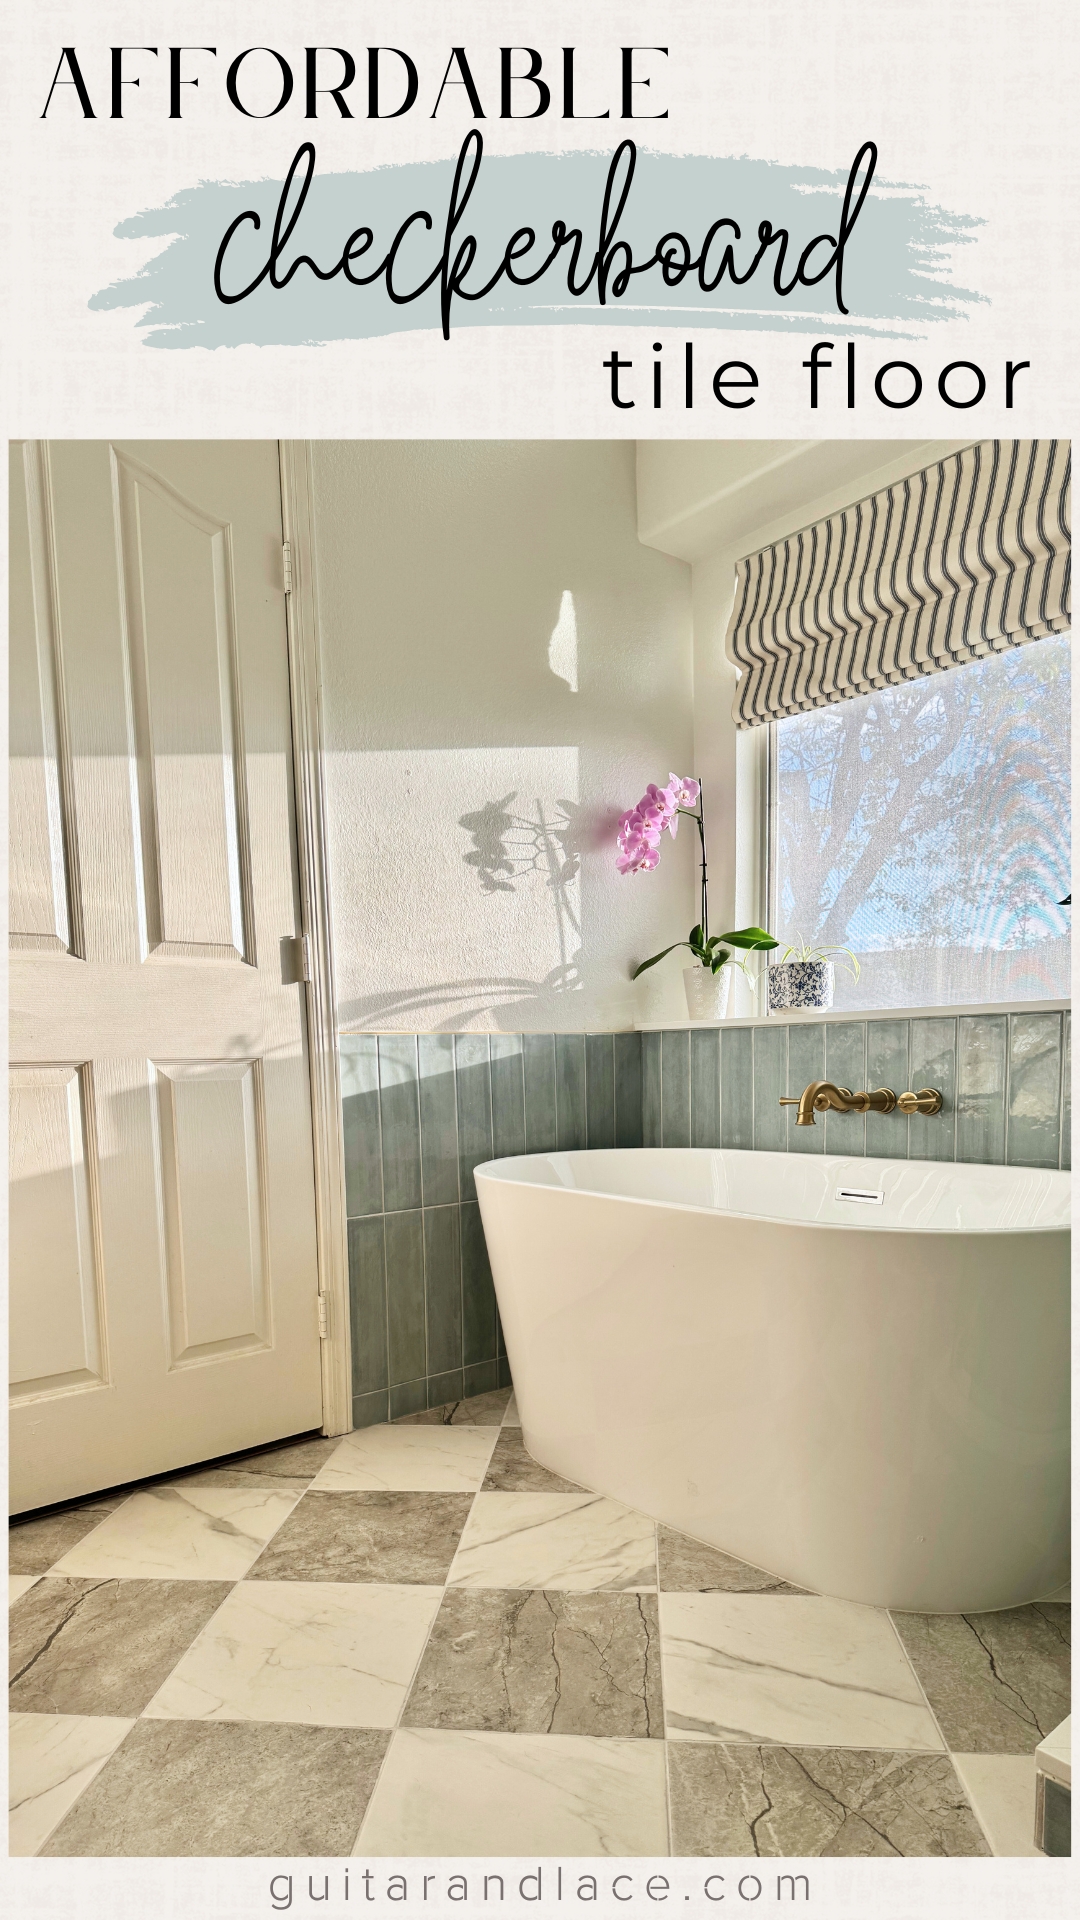
We found the Perfect Checkerboard Floor Tile – and it’s affordable!
Checkerboard Floor Tile is definitely having a moment right now. I mean, when is it not having a moment?
On the other hand, I didn’t realize just how difficult it would be to locate affordable checkerboard tiles that matched in size, thickness and more.
However, I was determined to make it work. At last, I did end up finding the perfect AFFORDABLE Checkerboard Porcelain Tile.
Best of all, these porcelain checkerboard compatible tiles are both priced under $2/Sq.Ft. Easily one of the most affordable quality checkered tile on the market!
We found the Perfect Checkerboard Floor Tile – and it’s affordable!
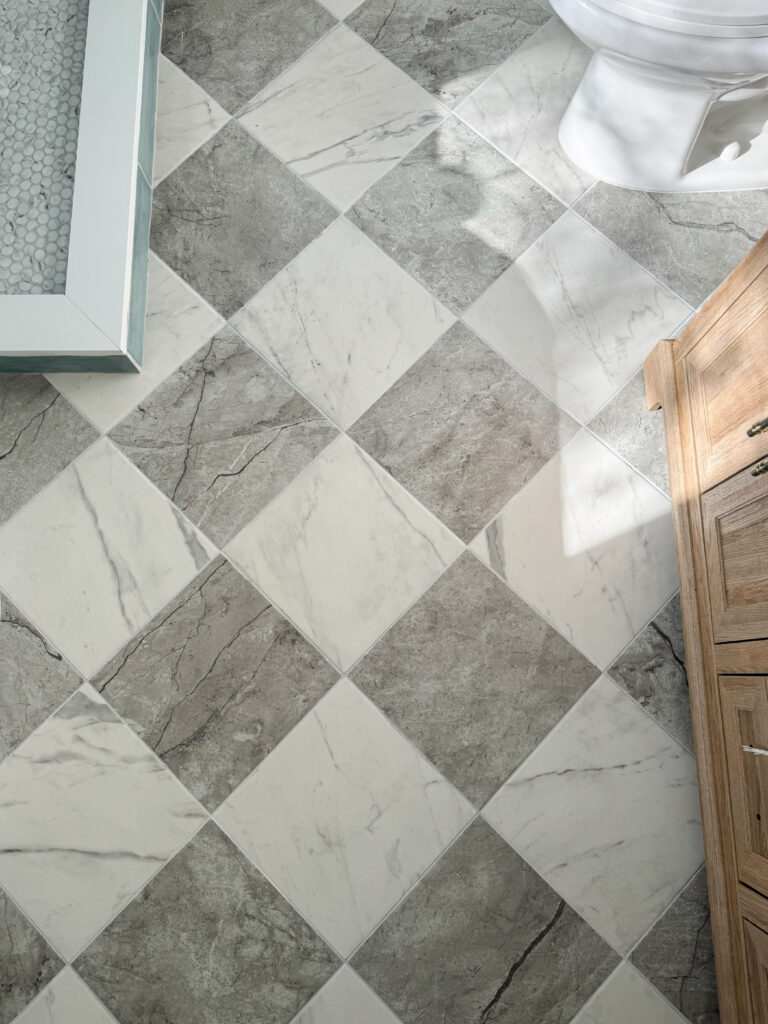
Our Checkerboard Floor Tile Materials
- Grey Floor Tile (12.99” x 12.99” & 7.5mm thickness)
- White Floor Tile (12.99” x 12.99” & 7.5mm thickness)
- Grout color: “silver shadow”
- 1/8 Grout Spacers
- our 60″ Wooden Vanity
Different types of Checkerboard Floor Tile
(I share more specifics about our Porcelain checkerboard tile closer to the end!)
Checkerboard flooring can be styled in so many color variations! The most popular style would be the classic solid black & white coloring. However, my husband and I really wanted a softer version of this classic coloring: the trending Grey & White marble look.
If you have the budget, finding both a grey and white marble tile that would be compatible with one another is a much easier task. At least, that is all I was able to find at first.
Likewise, there is a STUNNING grey and white checkerboard Peel & Stick Tile that has become popular lately. This would be perfect if you are looking for a super affordable, somewhat temporary approach.
For us, marble tile was not in the budget and Peel & Stick just wasn’t permanent enough for what we wanted. Finding an affordable porcelain checkerboard tile should be easy, right? …Right?!
As classic as checkerboard flooring is, it was SO difficult to find two contrasting porcelain tiles that were compatible with one another, affordable AND actually in stock.
Checkerboard Floor Tile Qualifications:
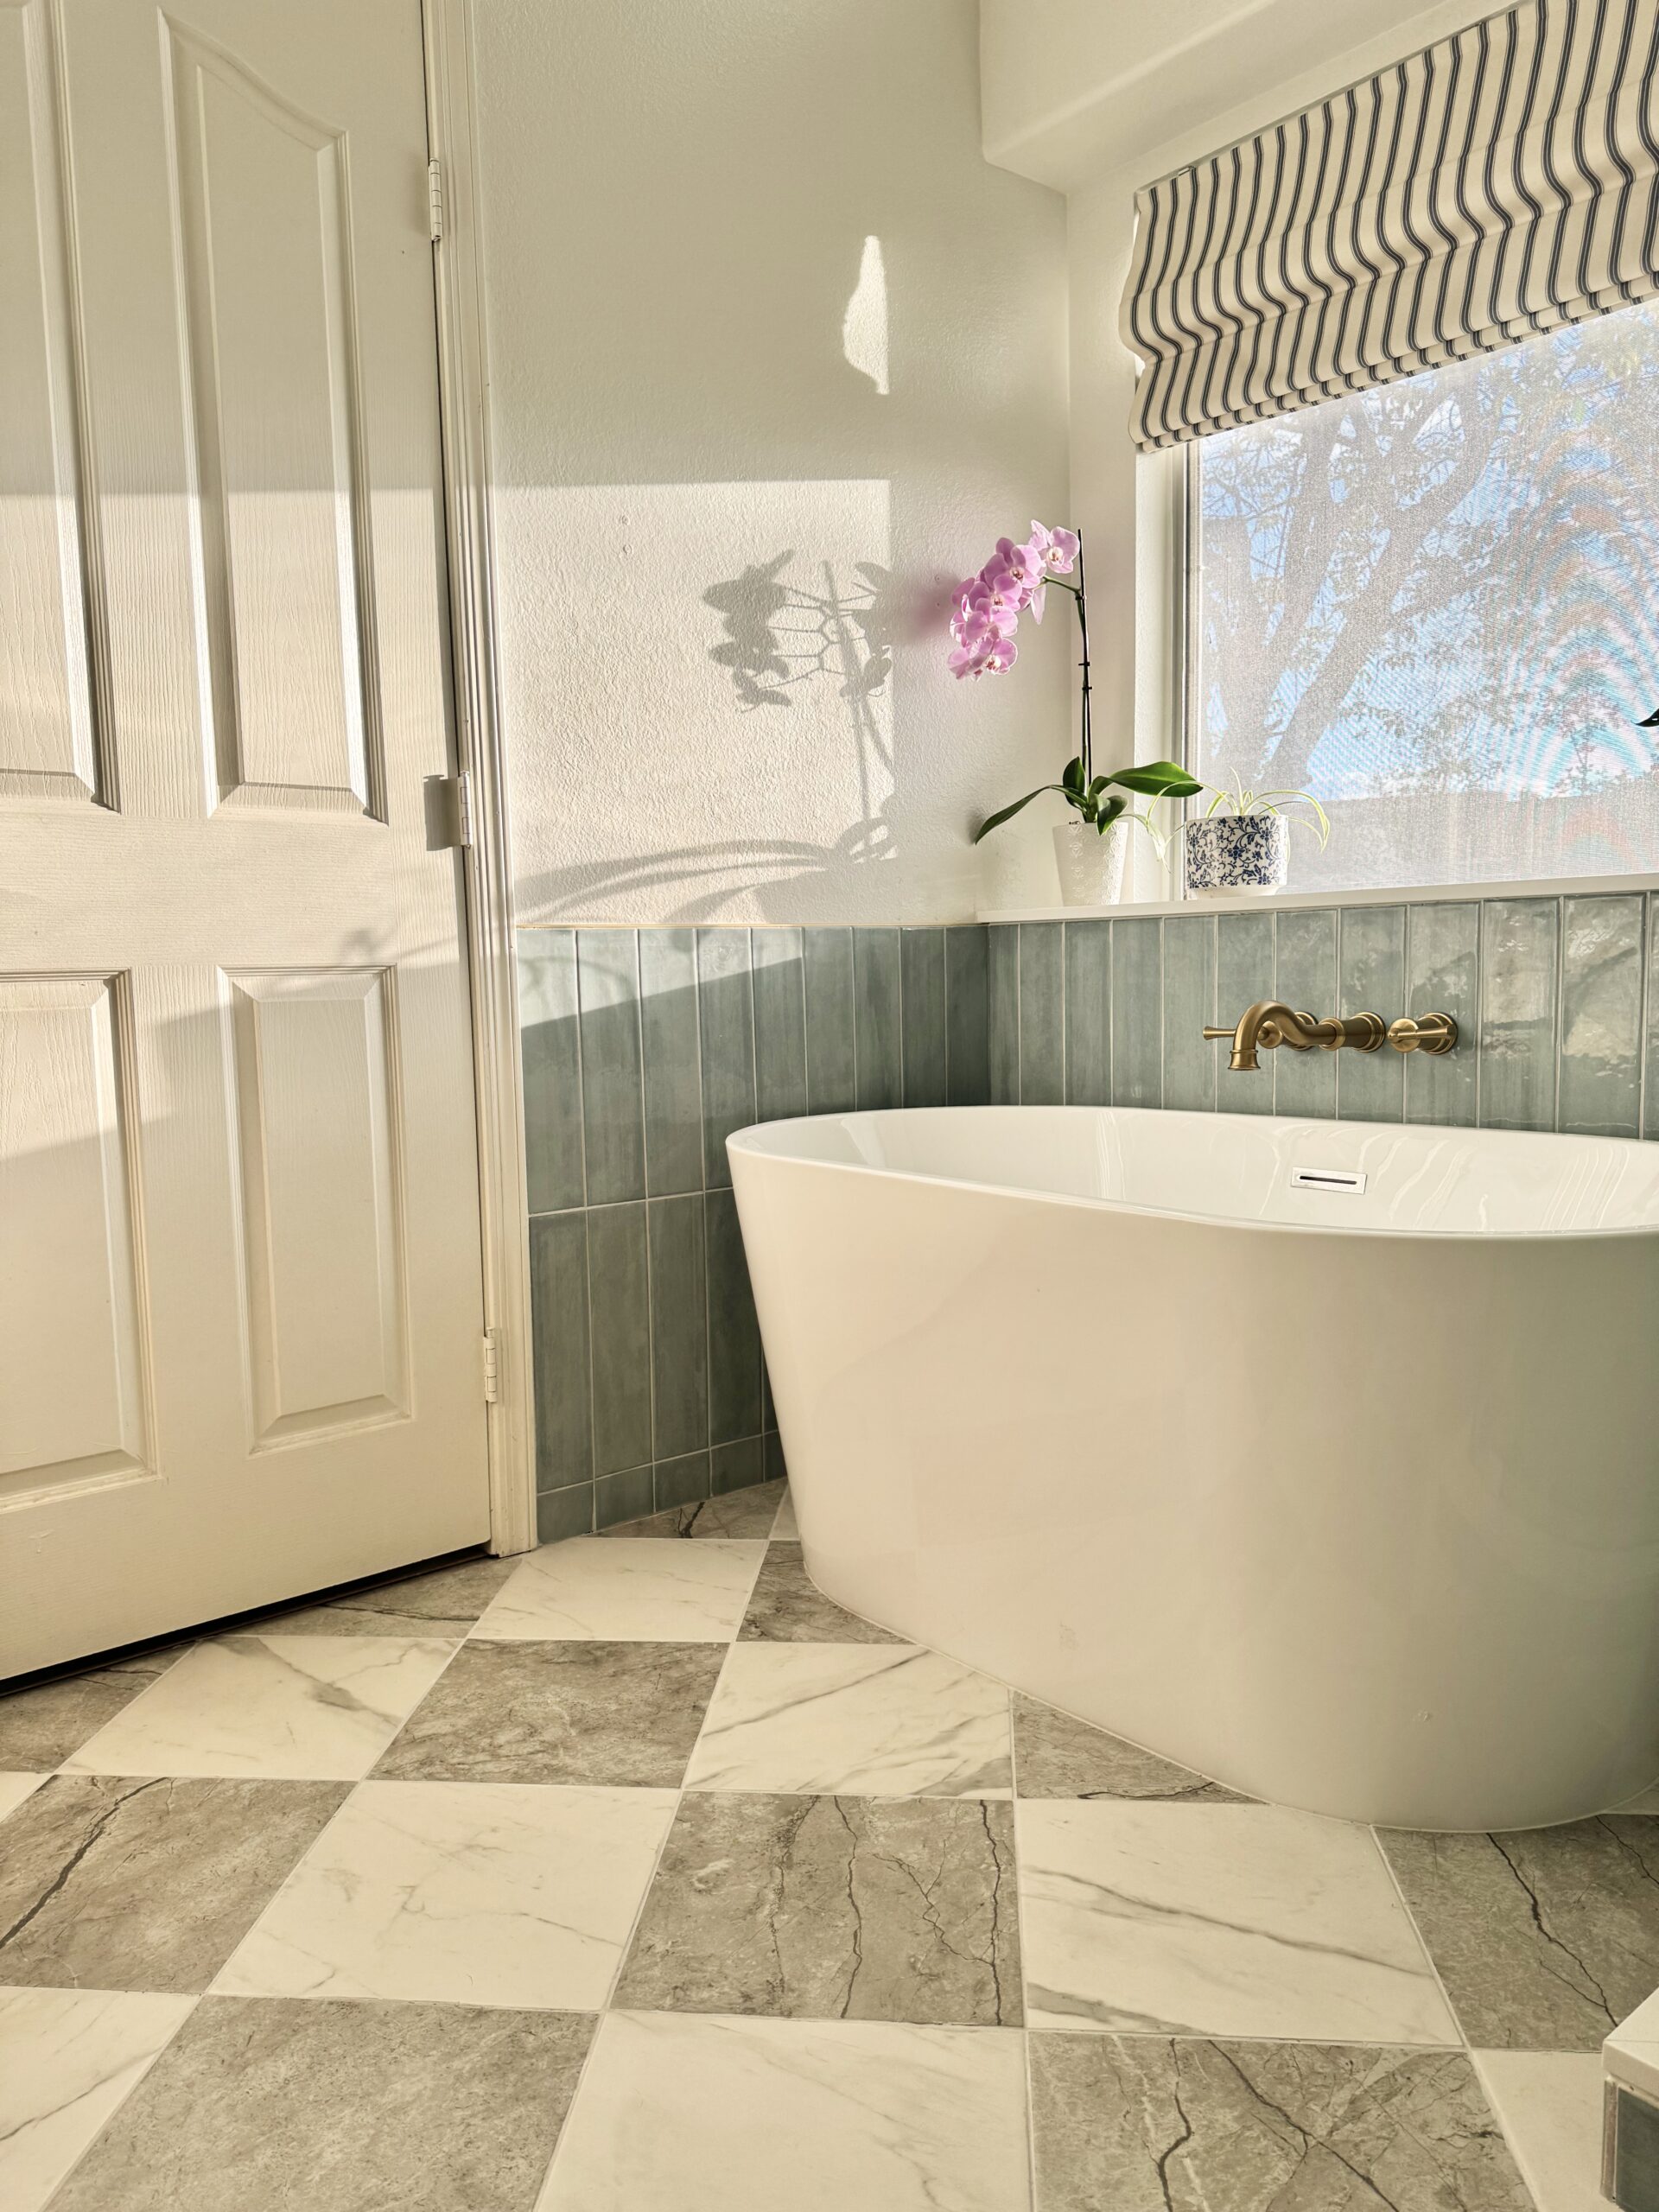
When searching for two tile colors to create the checkerboard look you will need to make sure they will actually be compatible with one another. Not only in visual appearance, but the size, thickness, finish and edge cut will need to be the same.
Equal Sizes
Here lies the most frustrating part of finding two tiles for the checkerboard look. Both tiles (the grey & white) must be the exact same size AND thickness, down to the most precise millimeter.
- Grey Floor Tile (12.99” x 12.99” & 7.5mm thickness)
- White Floor Tile (12.99” x 12.99” & 7.5mm thickness)
Most square tile sizes are labelled as 12″x12″, 13″x13″, 24″x24″, until you check for exact measurements. For instance, most 12″x12″ tiles are actually 11.89″ or 11. 78″. A few tenths of an inch will definitely add up within a checkerboard layout using two different tile sizes.
Equal Thickness
If we ever found a grey and a white porcelain tile that happened to be the exact same size, we would be humbled quickly by the variation in thickness.
In order to have a checkerboard tile flooring that would be levelled, both contrasting tiles need to be the same thickness. Otherwise, you will end up with slight dips and hills in the flooring as one tile would be slightly thinner than the other.
Same Finish
Porcelain tile can come in a few different finishes: matte, satin and polished.
After finding two compatible tiles in size and thickness, you will need to ensure they share the same finish. Otherwise, you may end up with one tile being very glossy while the other is very matte. Stylistically, this isn’t ideal but I suppose it could work in a modern setting. (everything can be a vibe if you just let it be a vibe…lol)
Same Edge Cuts
All tile edges are typically either ‘Pressed’ or ‘Rectified’. When pairing two separate tiles for the checkerboard floor tile look, you must ensure both tiles have the same edge style. Or, you may need to file down half your tile to match the other (no one wants to do that).
‘Pressed’ tile edges are soft and round. Some ‘Pressed’ tile edges are a little more rounded than others, which may create a more natural ‘imperfect’ appearance when pairing two different tiles together.
‘Rectified’ tile edges are a straight 90 degree cut. This creates a seamless grout line after installation and will be compatible with other ‘rectified’ tiles.
Can I just cut 12×24 tiles in half to make checkerboard floor tile?
Okay, finding two compatible porcelain squared tiles is not as easy as I thought. Can I just use two compatible 12×24 tiles? Technically yes. This was our initial approach.
I saw so many home decor bloggers recently use these stunning grey and white 12×24 porcelain tiles within their homes and assumed it would also work out for us. They are beautiful and quite affordable too!
After speaking with a tile pro at the store, I was actually talked out of purchasing these tiles for my checkerboard flooring.
In fact, he himself had been informed by a few previous customers on just how annoying these exact tiles ended up being for their checkered flooring projects (we must all follow the same home decor accounts haha).
Here’s why:
12×24 tiles for checkerboard – The sizes aren’t exact
Both the grey and white exact sizes are: 11.902-in x 23.669-in x 0.295-in thick. When you cut this in half, you are given an almost square, 11.902″ x 11.83″.
You will either have to just accept a naturally imperfect final look (which is not a bad thing imo) or, you will have to file down the edges to create a perfect 11.83 x 11.83 size.
Most tile pros are willing to do this, but the extra time spent filing every single tile will definitely increase labor costs.
12×24 tiles for checkerboard – Pressed Edges
It gets even trickier… the edges of both of these 12×24 tiles are ‘pressed’. So now, every tile that you cut in half will have 3 rounded edges and 1 straight, 90 degree edge from the cut. While filing down the edges, you will also need round them out to somewhat match the rest.
Again, the right tile pro will be willing to make it work.
Still an option, but not for us
Not to say it can’t be done, but it’s something to keep in mind while choosing your tile for checkered flooring.
In the end, I did not want to give our bathroom contractor the annoying task of filing and rounding out 1 edge per tile. Also, I did not want to pay $$$ in the additional time and labor fees.
Our Checkerboard Floor Tile
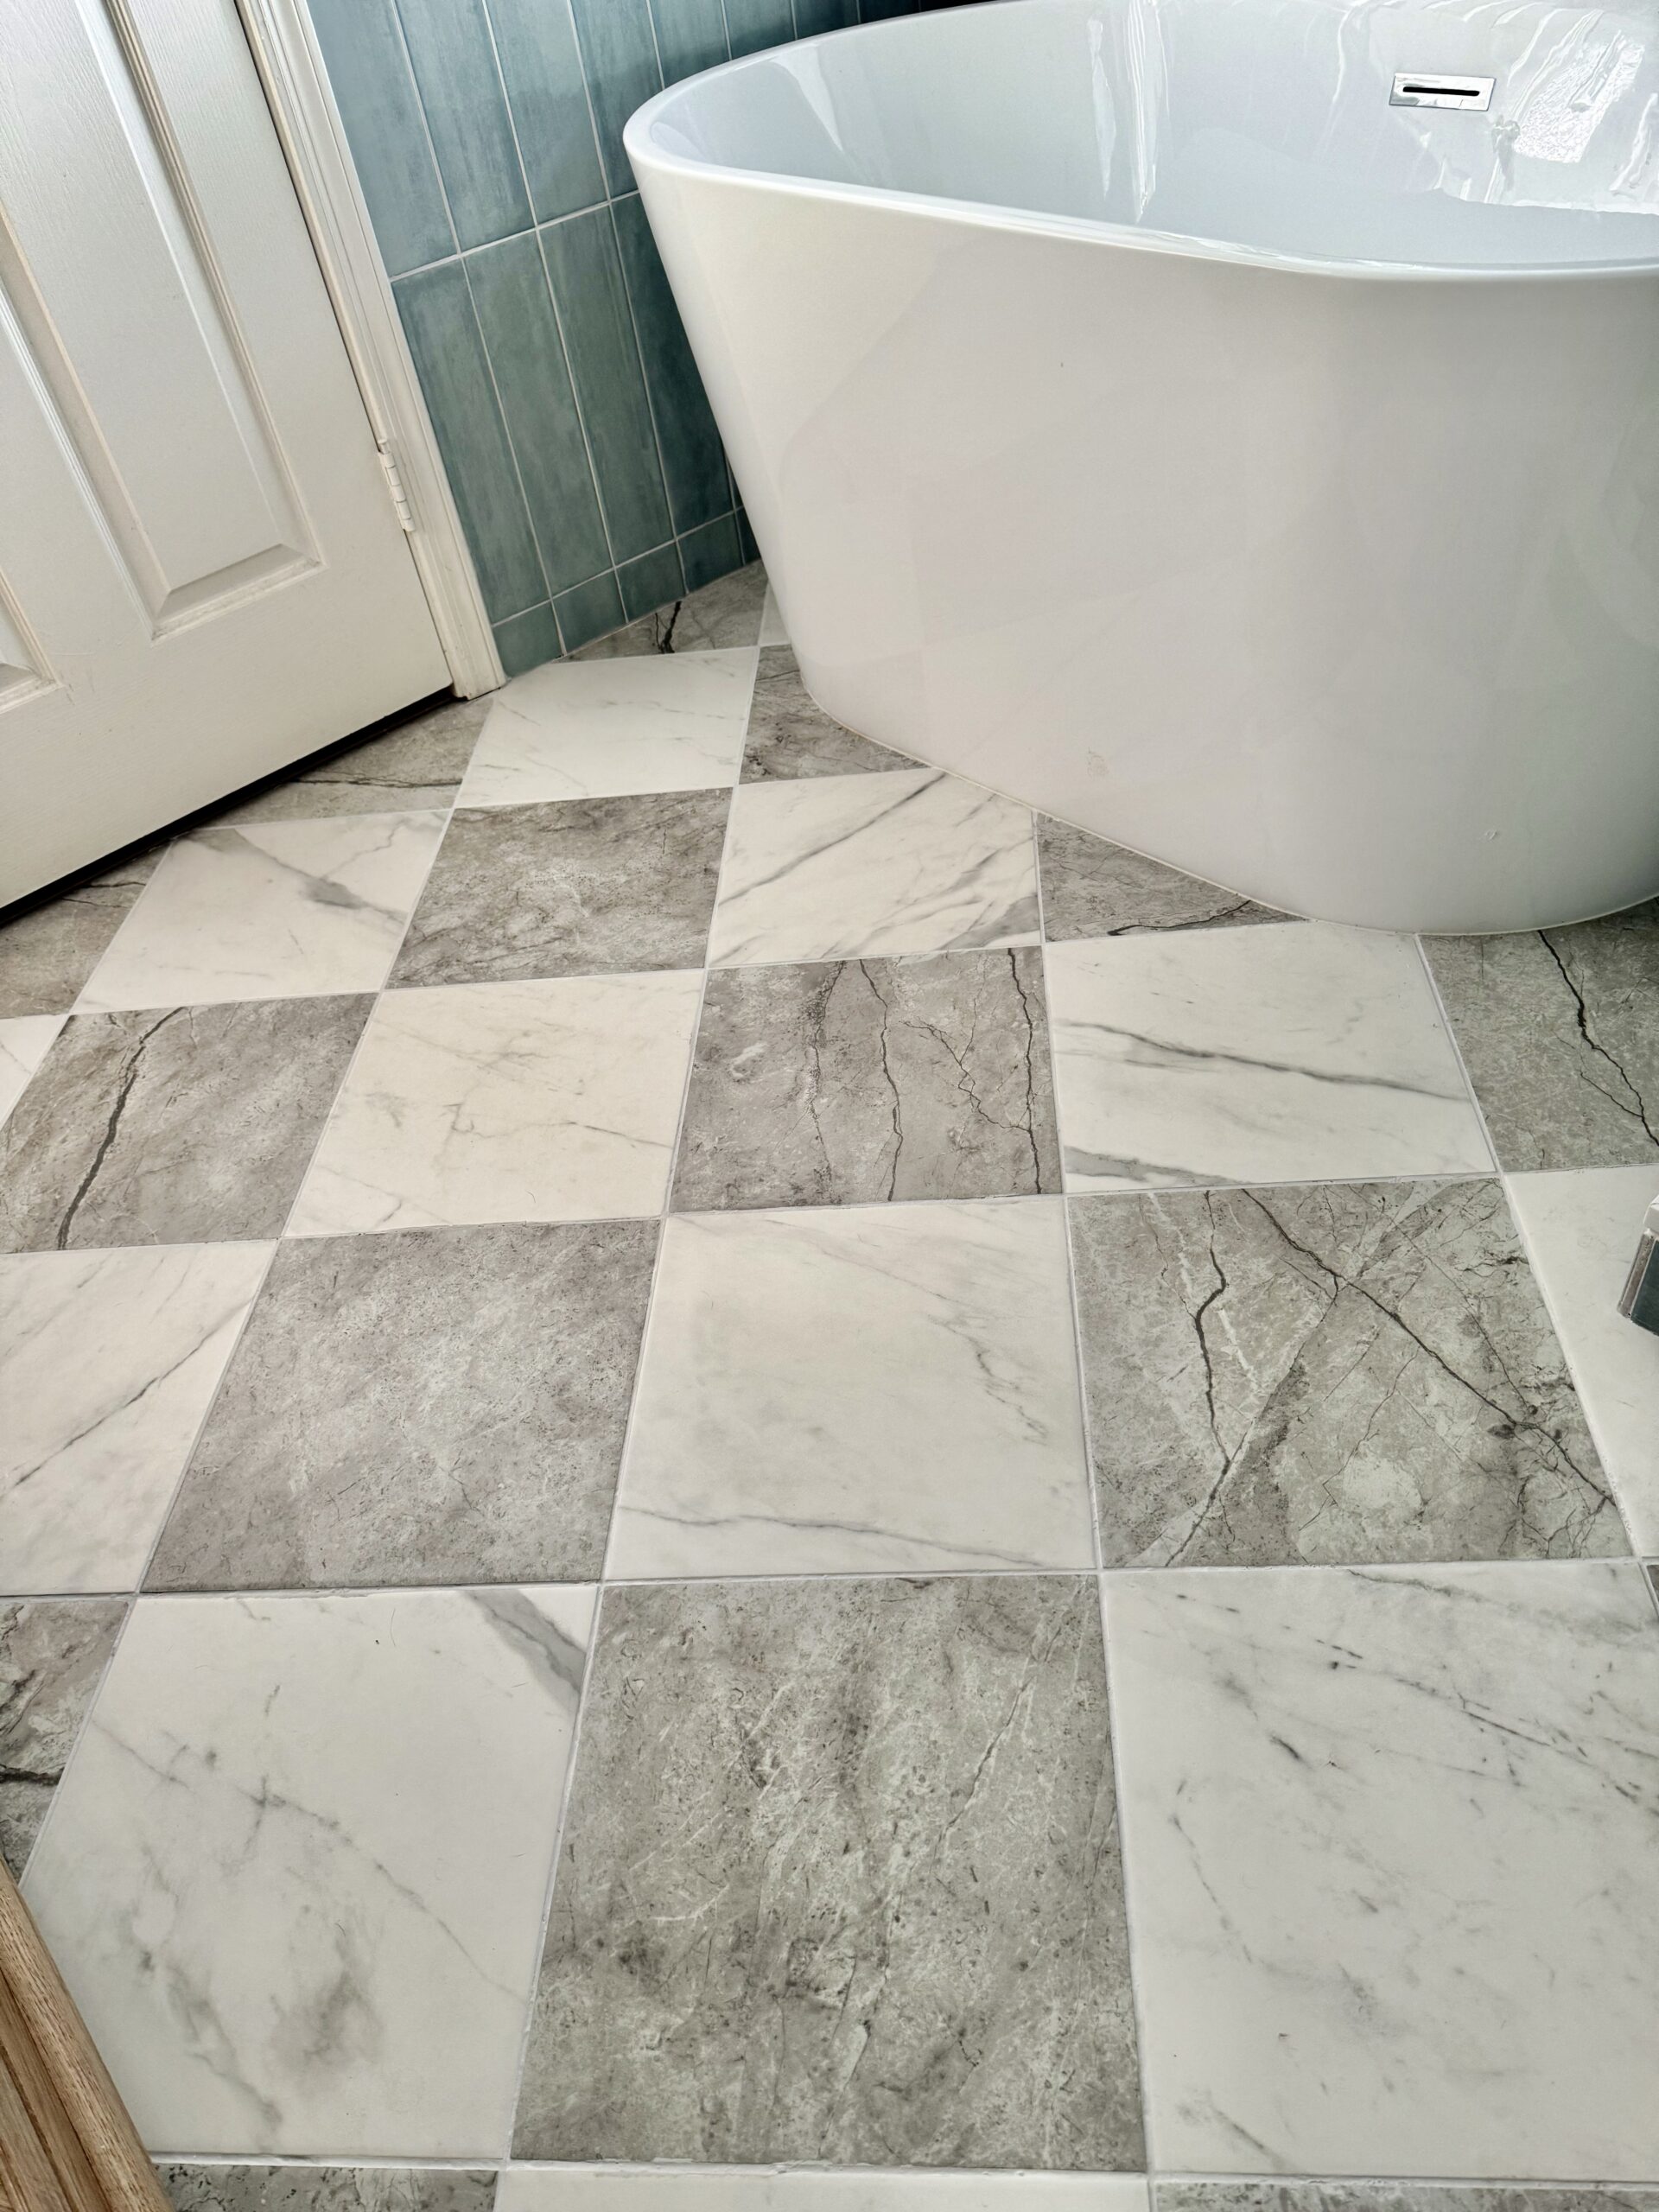
Our Checkerboard Floor Tile Materials
- Grey Floor Tile (12.99” x 12.99” & 7.5mm thickness)
- White Floor Tile (12.99” x 12.99” & 7.5mm thickness)
- Grout color: “silver shadow”
- 1/8 Grout Spacers
We were approaching our deadline of ordering materials for our bathroom. I almost gave up on my dream checkerboard flooring until I stumbled upon the perfect porcelain tile!
Ironically, while looking for a backup floor tile I found this simple porcelain white marble look tile. Obviously it also came in a second color. A grey stone/marble look that just so happens to be perfect for pairing with the white shade for a checkered floor pattern.
*face palm*
Why this brand doesn’t advertise these tiles in a checkerboard pattern as the main product image is beyond my knowledge. They would have made my life so much easier at least!
Tile Material Review
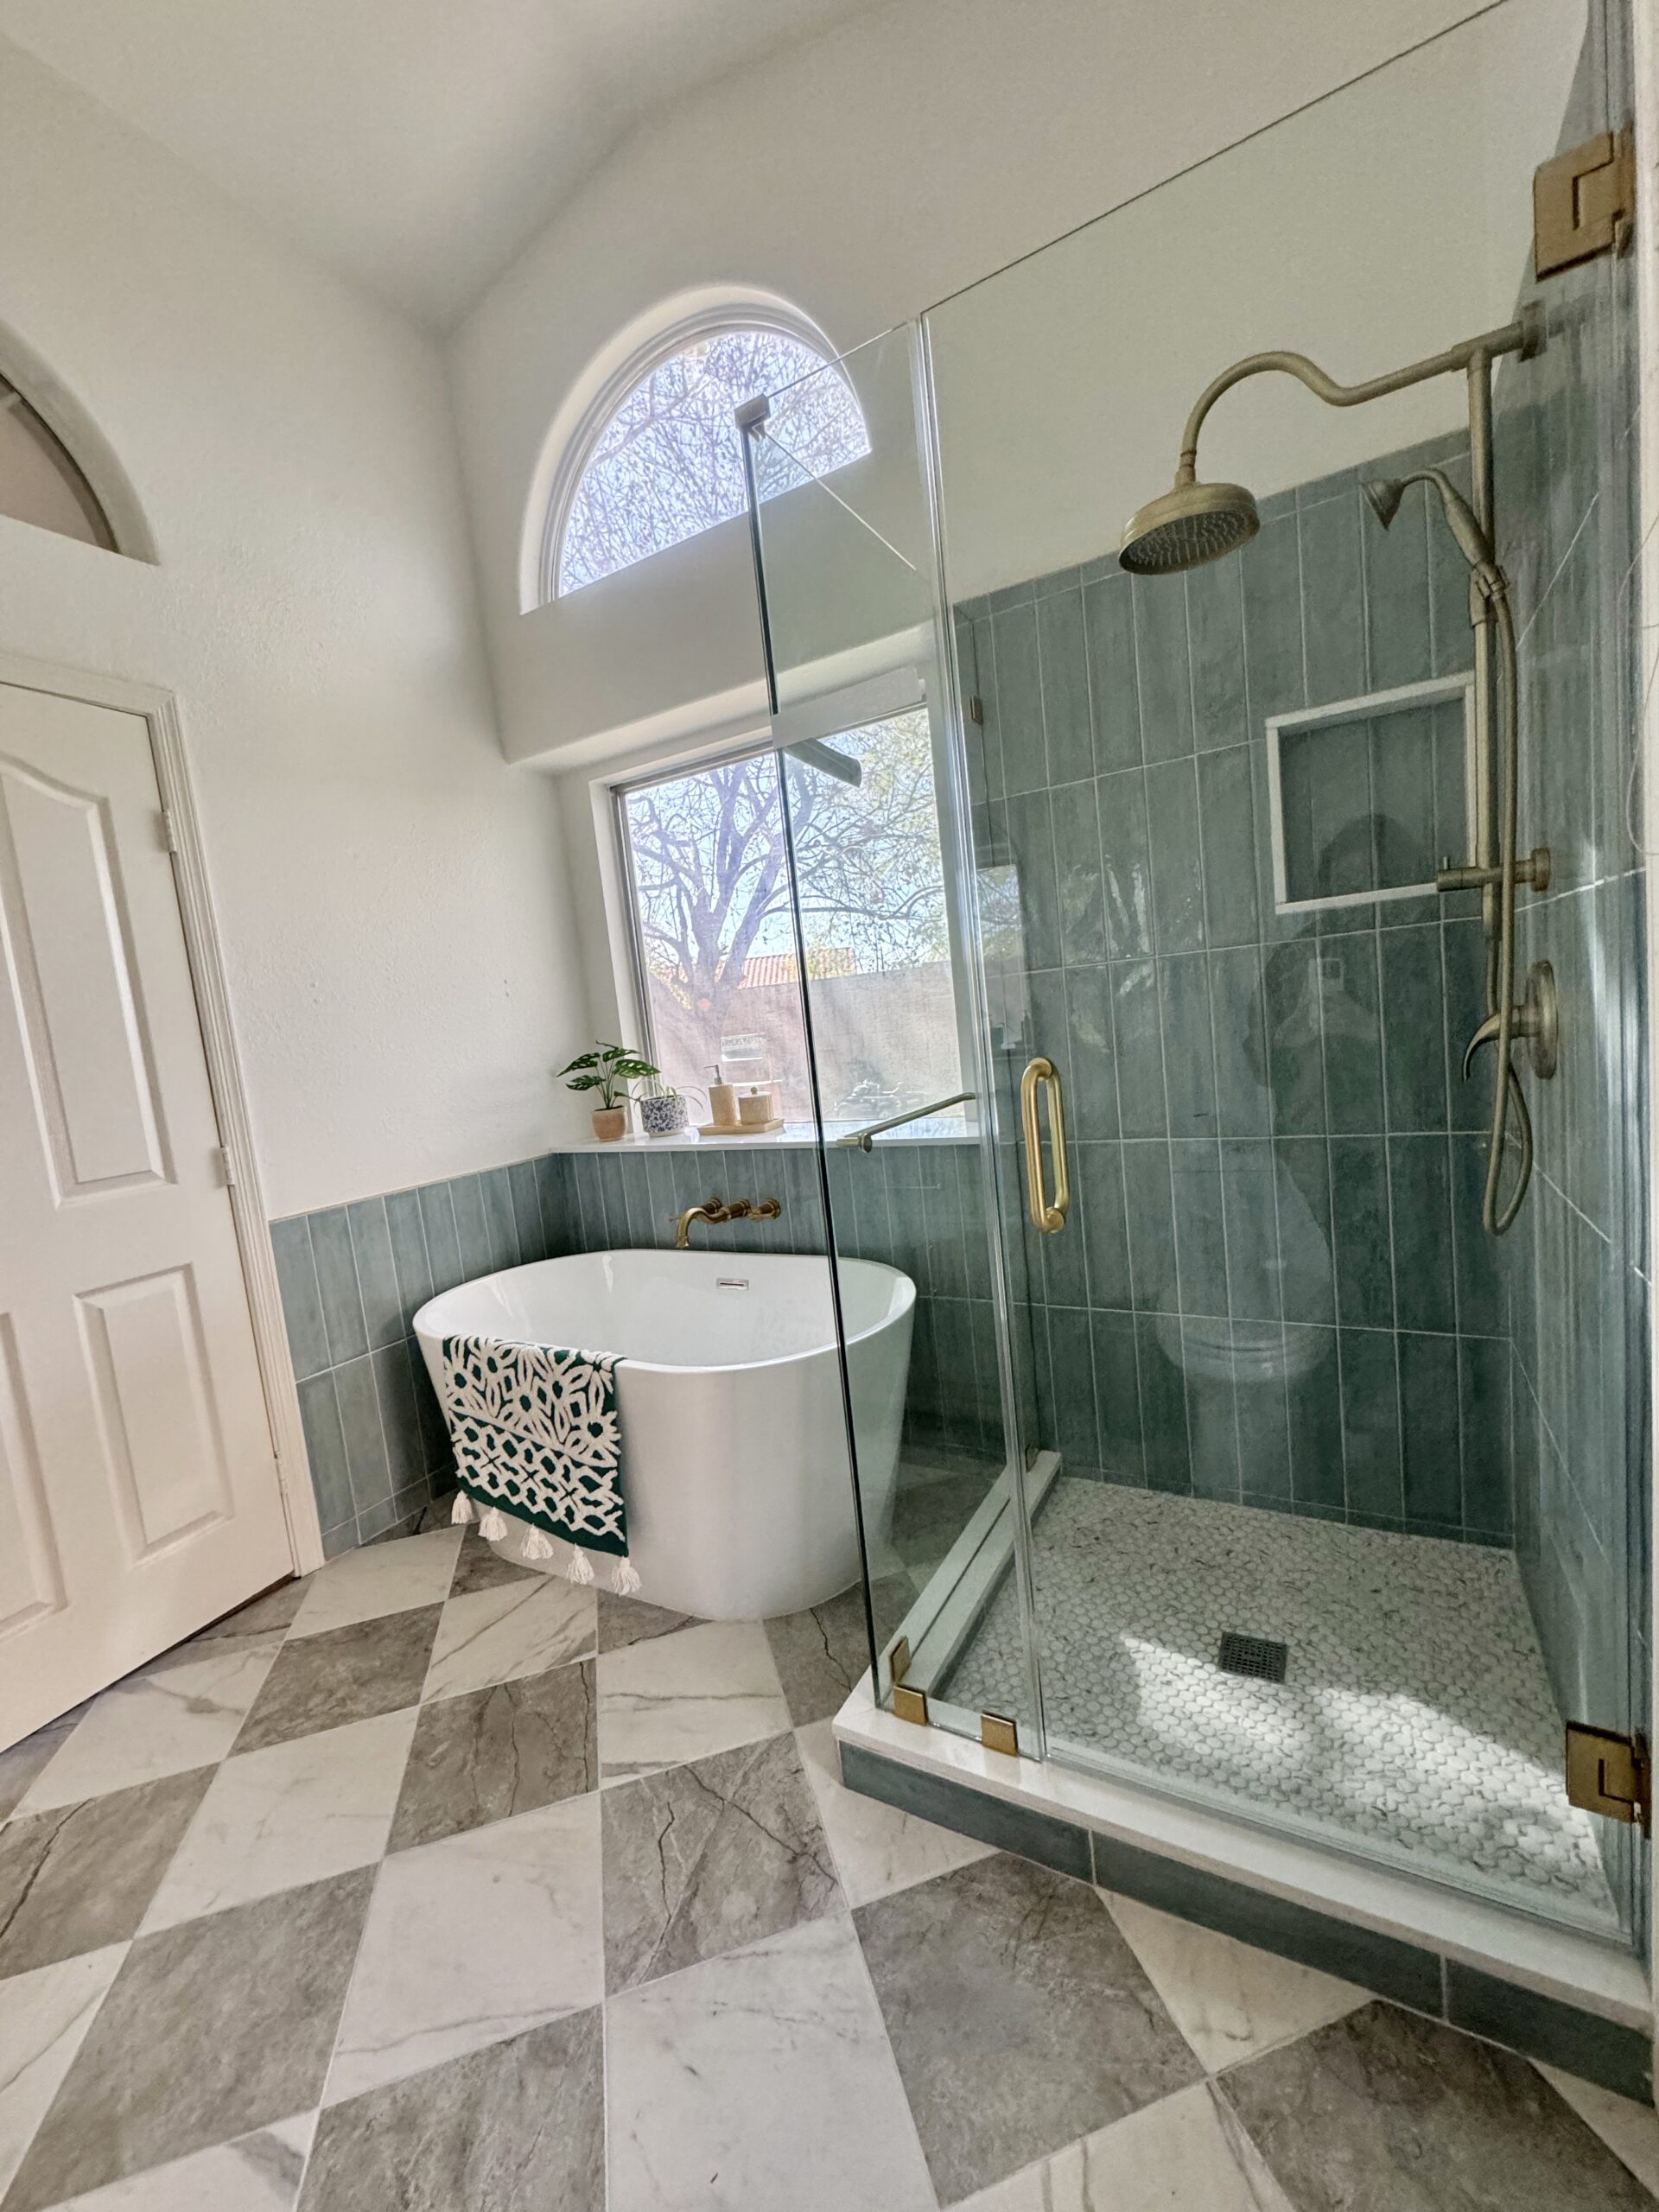
According to our tile guy (30+ years of experience), this tile was great to work with! He had no issues with chipping and found the tile easy to cut.
Both the grey and white tile come with a few pattern variations within each box. This is key with porcelain tile that is trying to mimic the look of stone or marble! You don’t want your flooring to look as if someone hit “copy and paste” on each tile.
After a little over a month, I can confidently share that I am SO happy with our choice of checkerboard tiles.
- The checkerboard vibes are immaculate. Need I say more?
- Porcelain feels cold on the feet, which we love during summertime in AZ
- The matte finish is not slippery while dry or wet (we still use a bath mat)
- Good variation in marble patterns per tile which makes the finished look seem more authentic
- Dog fur is not very noticeable. We own two beagles with black, white and brown fur (so we are usually doomed with any floor color)
- Cleaning is simple! Vacuum and steam mop.
Pin it for a friend:
You May Also Be Interested in:
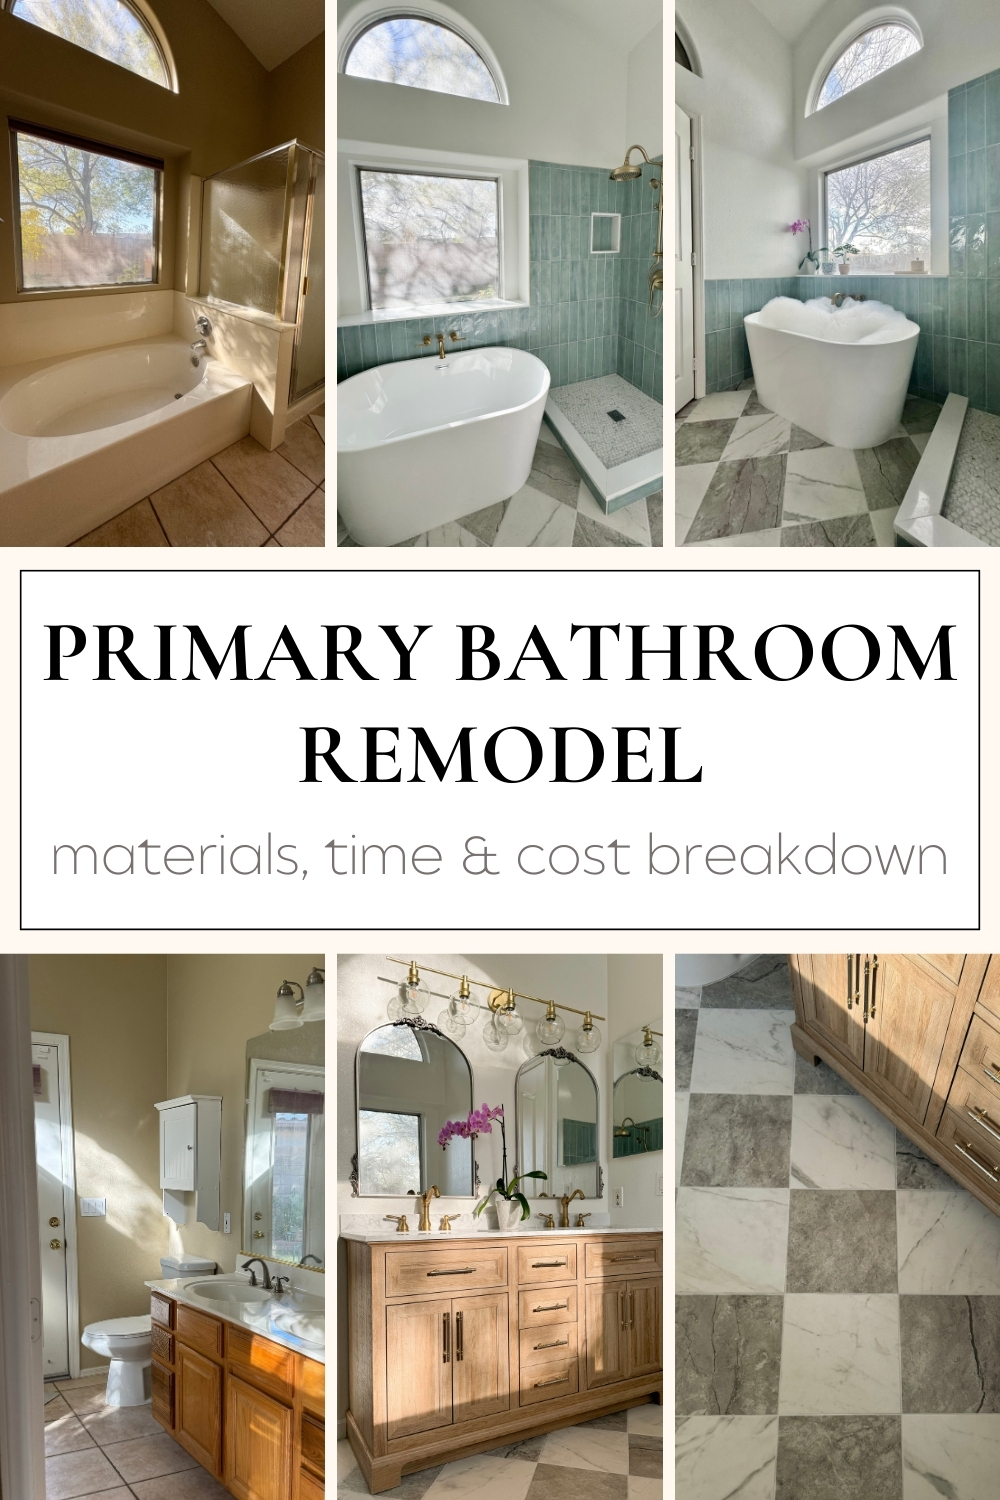
Primary Bathroom Remodel Reveal – from Outdated Beige to Beautiful Blue
This post contains affiliate product links. I may earn a small commission off of any clicks and/or sales made at no extra cost to you 🙂 Affiliate links are a brand’s way of thanking creators for using and sharing their products with their audience. This post is not sponsored. All opinions are 100% my own.
Thank you so much for addressing this issue and providing links! My husband and I went today to check out the combination. It looks amazing and I can’t wait to put in our pool house conversion.
You’re welcome 🙂 Checkered flooring will look stunning in a pool house! Good luck with everything!
OMG! I purchased the exact same tiles from Lowes and I just dry fitted it in my bathroom. I’ve been feeling a bit overwhelmed by tile in general because it feels SO permanent, and checkerboard is a bold choice. So I searched again for inspo pics and found your post. Thank you so much for posting this! I can’t believe you chose the same tiles for the same checkerboard pattern, and the way you styled them is so fabulous! You just put the wind back in my sails and I’m ready to COMMIT! haha Thanks again, and have a blessed day!
Oh, and my name is Lori too! What a small world!
This makes me so happy to hear!! Thank you 🙂 I had the hardest time committing to a tile too, but am still so happy with this tile! Loris must have good taste 😉
Best wishes to you!!
Hi, I love the way your bathroom turned out and went out and bought the exact tiles you have linked. The tiles are off by 1/16 of an inch (the actual grey measurement is the smaller one). Were your tiles exact or was this also the case for you?
Hello! I just went to compare a few pairs of the tiles we had leftover and they all are the same size when lined up. Lowe’s specs show the same 12.99″ measurement for each color, but since the edges are pressed there could probably be tiny variations with different boxes of tile.