Thank you Lowe’s Home Improvement for sponsoring this post. I may earn commission from the affiliate links within this blog post.
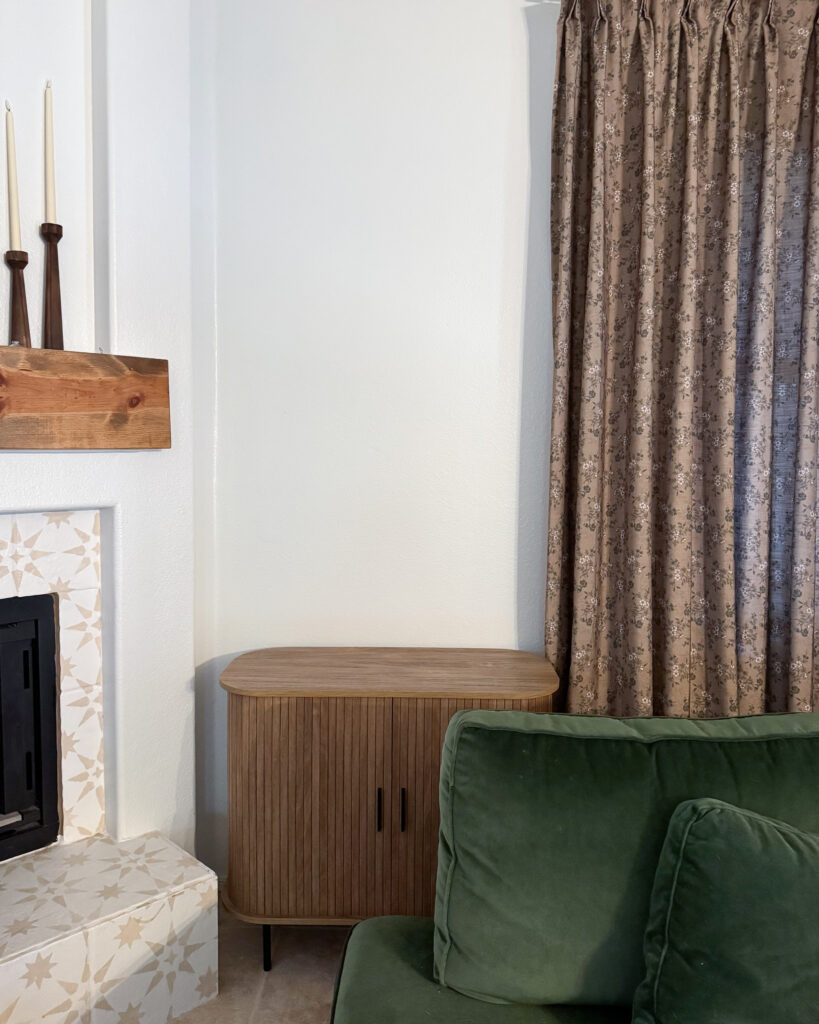
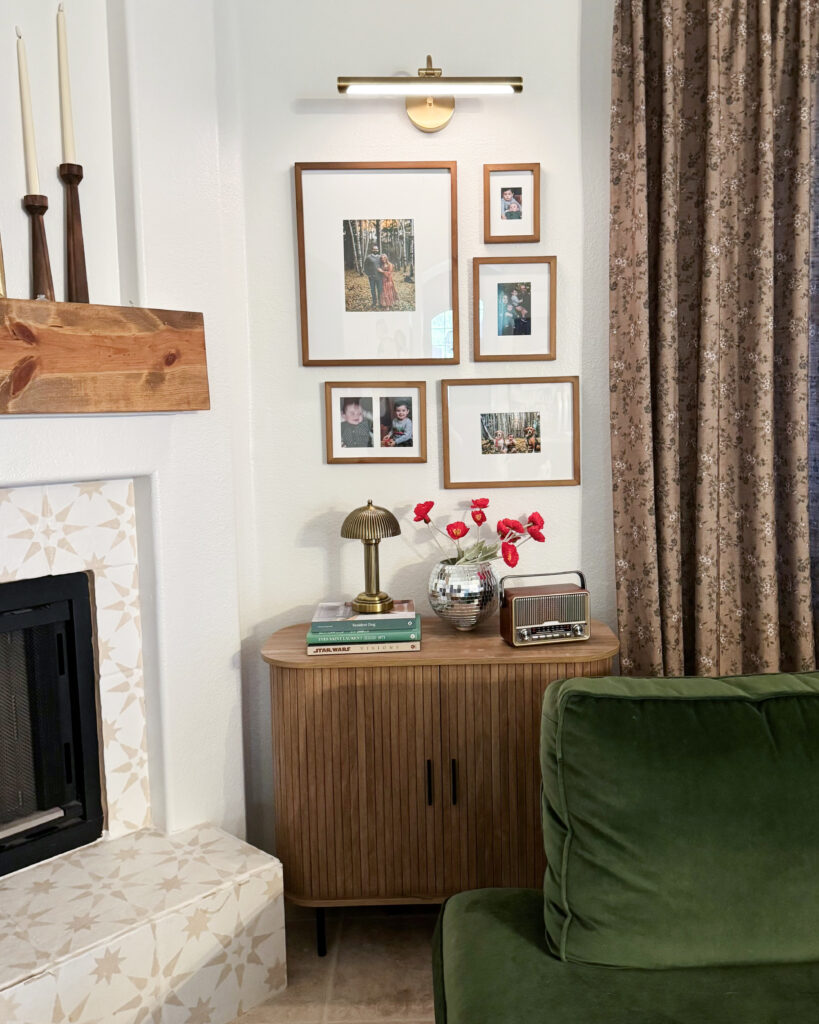
I’ve always had this small, awkward gap between my living room window and fireplace that felt unfinished. After going back and forth with ideas, I really felt a gallery wall and gold-toned picture light would suit the space best.
We all know gallery walls and picture lights go hand in hand these days, but you’ll never catch me hardwiring anything into any wall. Thankfully, Lowe’s has a new Battery Operated LED Picture Light and it is absolutely perfect!
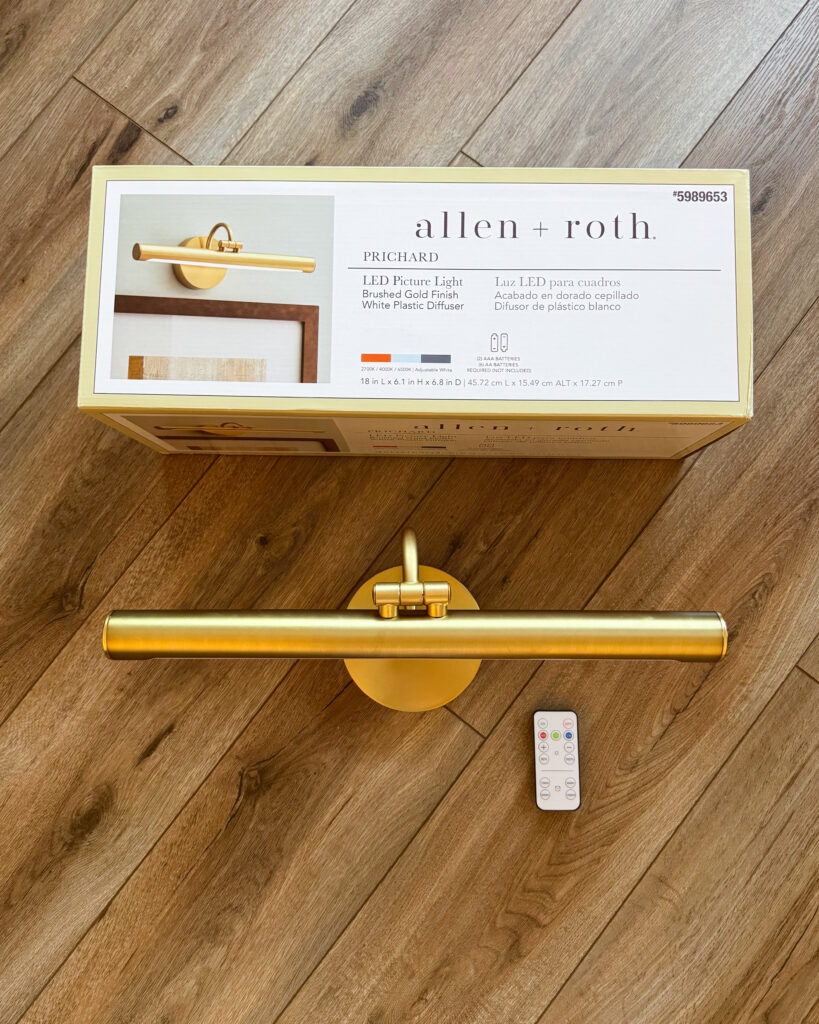
Allen + Roth Battery Operated Picture Light
Shop Project Materials from Lowes:

- Battery Operated Picture Light
- Gallery Wall Picture Frame Set
- Screws for Frames
- Anchors for Screws
- Drill Set
- 24″ Leveler
- Fluted Accent Cabinet
The Allen + Roth Battery Operated Picture Light is not your average picture light. This elegant light has 3 changeable light settings, 4 different timer settings, adjustable brightness and a small remote that controls it all!
Light Temperature Settings:
- warm: 2700K
- neutral: 4000K
- cool: 6500K
Light Timer Settings:
- 15 min
- 30 min
- 60 min
- 120 min
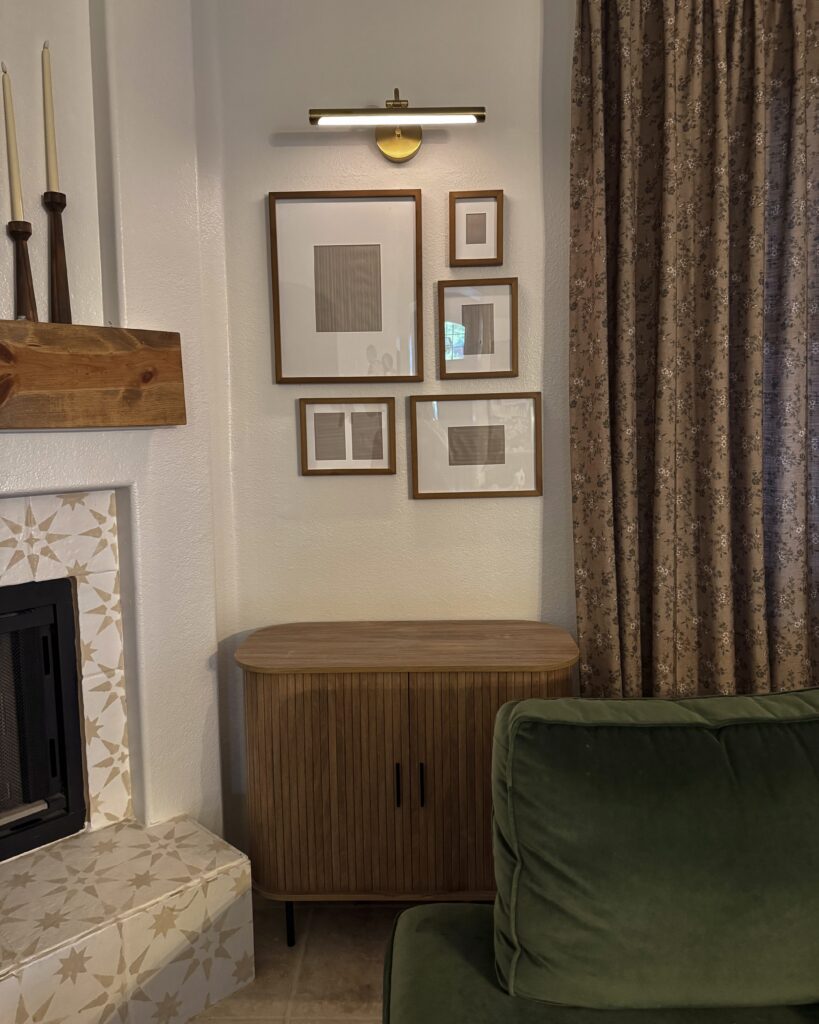
Warm, Neutral & Cool tone settings
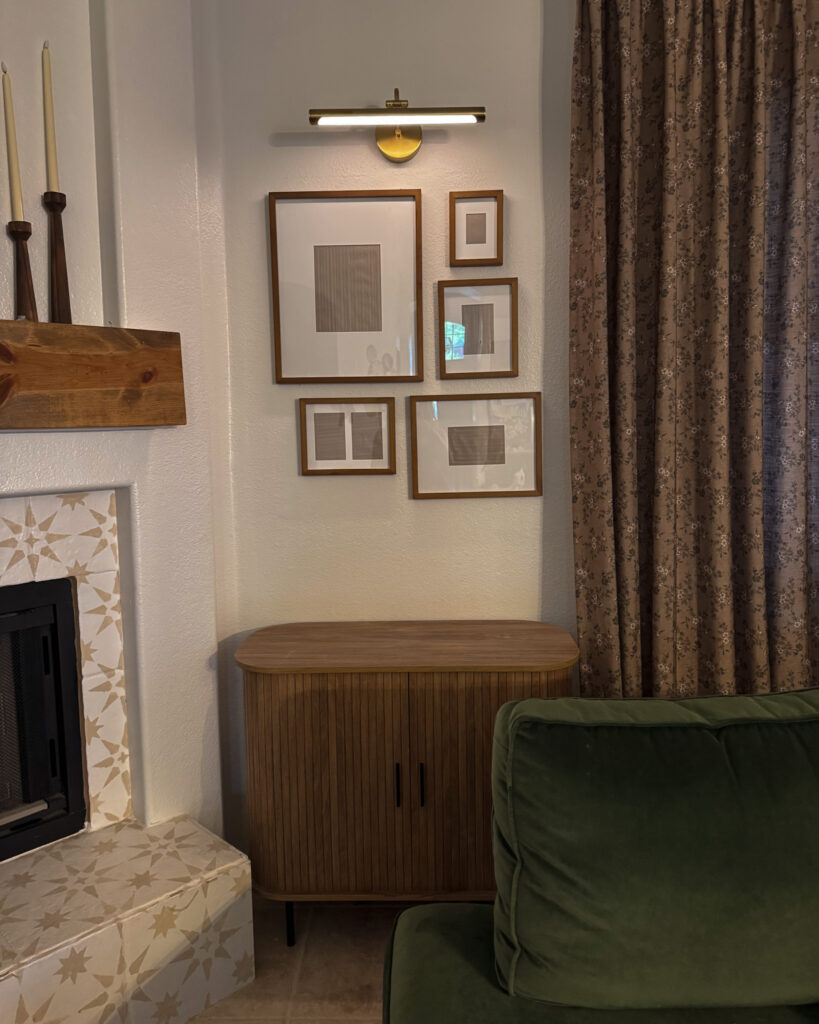
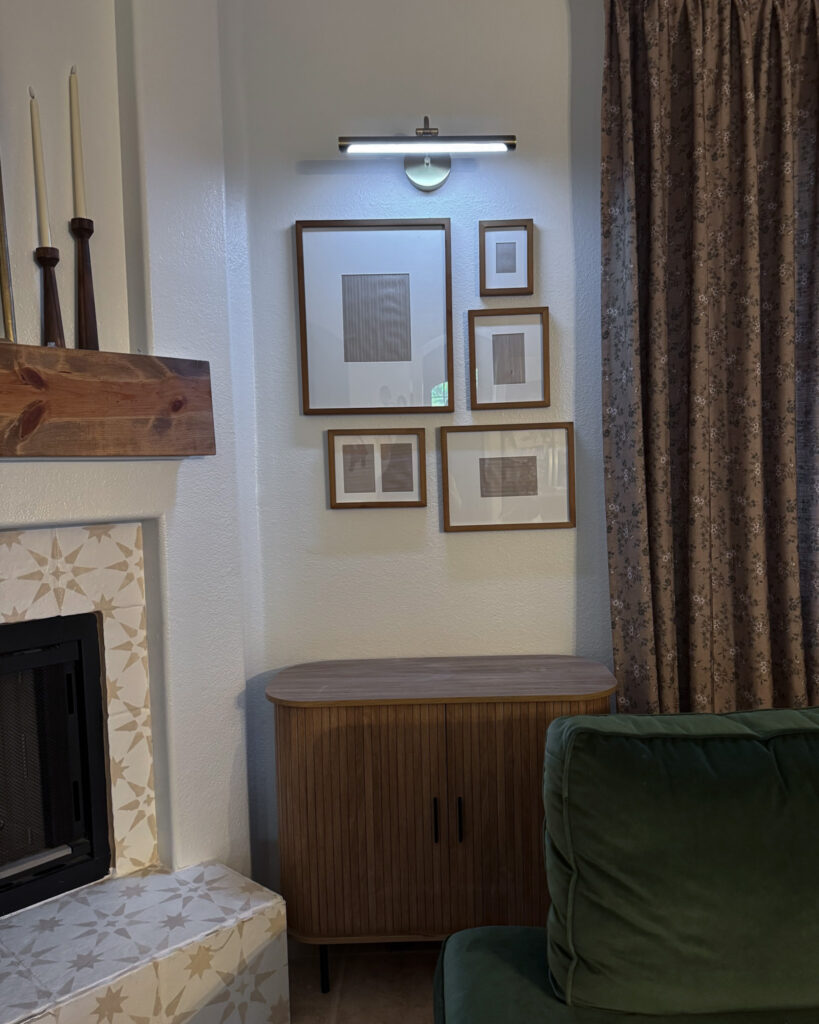
I was quite impressed by how vivid and bright the light was for being battery operated! It really does create a cozy yet elegant ambience.
The lamp requires 6 AA batteries while the remote takes 2 AAA batteries. (side note: as a mom to two small children, I was very pleased to learn that there are no button batteries involved with the remote).
The installation was a breeze, and all the hardware was included. Once the picture light was up, I caught myself eyeing other corners of my home, imagining where else I could install more of these picture lights.
Gallery Wall Design & Installation Process
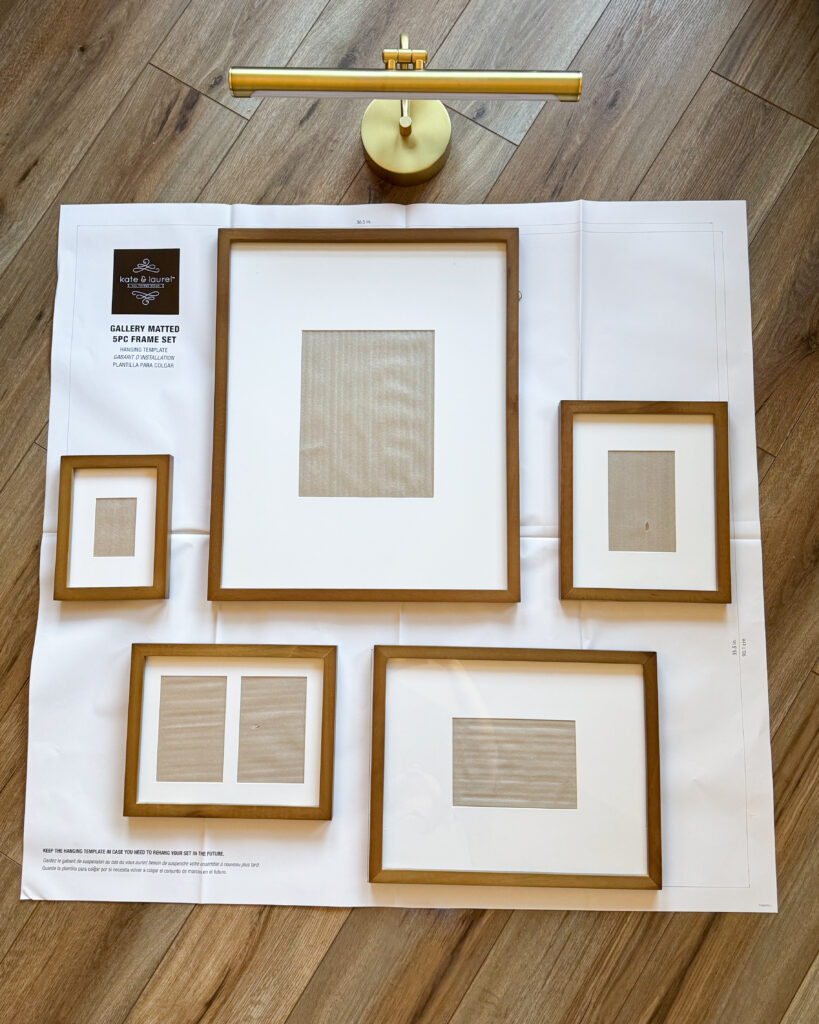
Onto the Gallery wall! This gallery wall picture frame set, also from Lowe’s, was a dream to work with.
Here I was thinking I would be spending an entire day measuring and hanging picture frames. However, this gallery wall set comes with a poster to help guide where you will be drilling/hammering.
The gallery wall frame set came with a beautiful default layout, however I found that it was a bit too wide for my narrow wall space. I simply flipped the poster over to the backside, mapped out my gallery wall design and traced each frame.
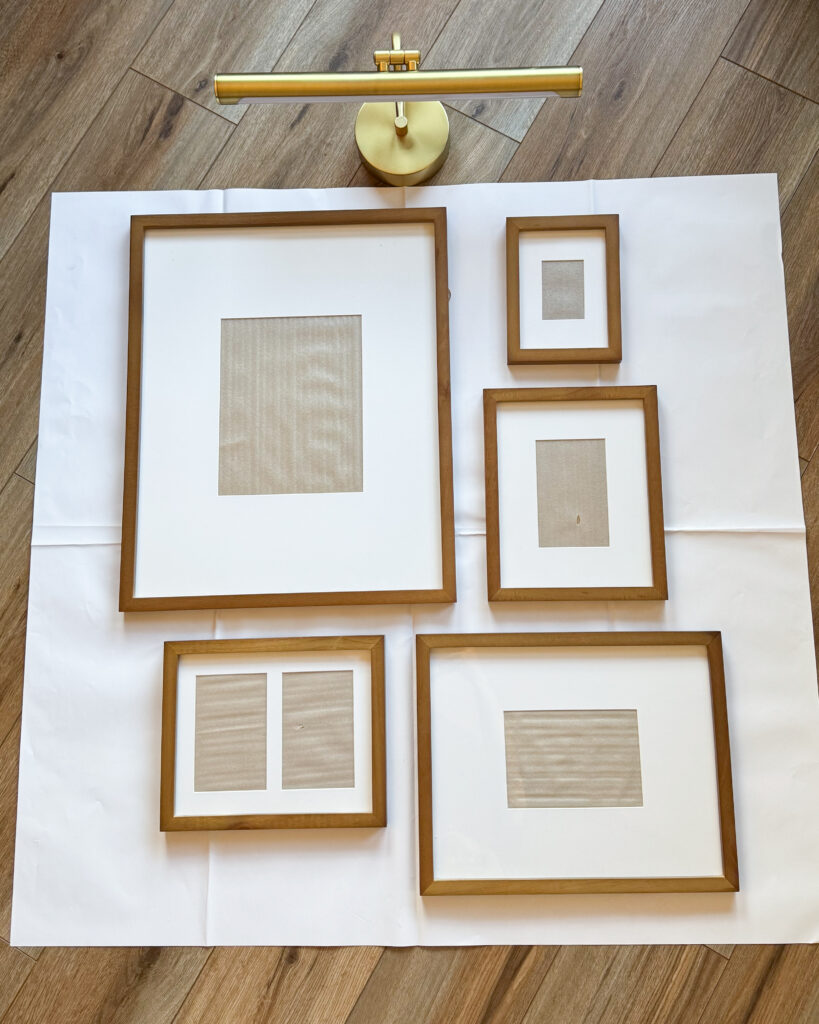
Once I finalized the layout for my gallery wall, I mapped everything out on paper—marking both the shape of each frame and the exact spots for the hardware. From there, I taped the poster template onto the wall, used a level to make sure it was straight, and drilled the holes right through the paper.
After I had all my drilling done, it was as simple as removing the paper, adding hardware, and hanging the frames. 10/10 would do it again.
Closing thoughts
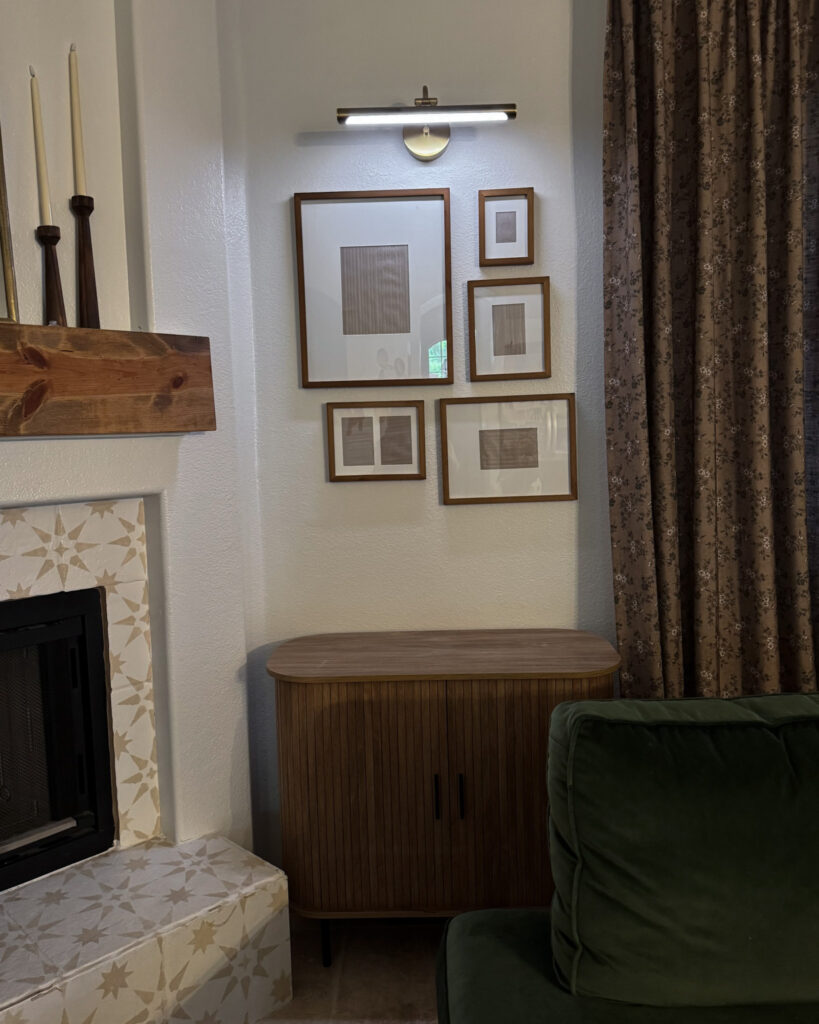
Adding a picture light above my gallery wall has made such a big difference in the overall feel of my living room. The project was quick, budget-friendly, and so rewarding—now I can’t wait to dive into my next home project (which of course means another run to Lowe’s!).