Hey Everyone!
As you may or may not know, my husband and I are newly weds (two months on 8/21) 🙂 Not only does it feel amazing to be married to my best friend, but it just feels great in general not to be planning or saving for a wedding haha! Let me tell you, it was a long 18 months of budgeting, saving, planning and waiting for our big day…
We are both teachers, so it took quite the creative budgeting to pull of our dream wedding. Granted, we could have chosen a more simple styled wedding, but my stubborn self had a vision that could not be altered. Of course, my wedding taste was anything but cheap, so we had to get real creative!
DIY is the way to go, people! We literally DIY’d almost our entire wedding! The decorations, bouquets, flower arrangements, my veil, hairpiece, the favors… basically everything but the food and venue haha! It was a bit stressful, but SO worth it! We saved thousands and I mean THOUSANDS by DIY-ing.
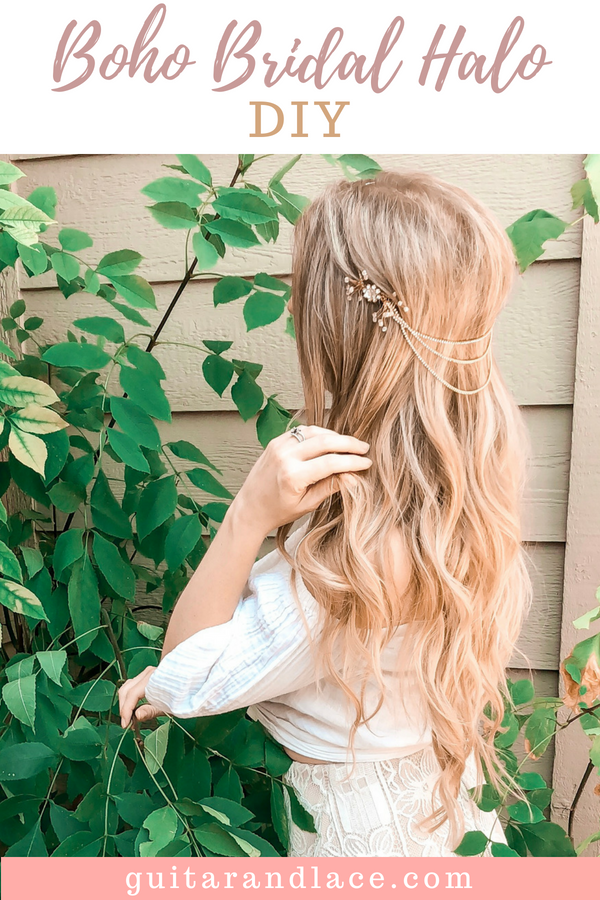
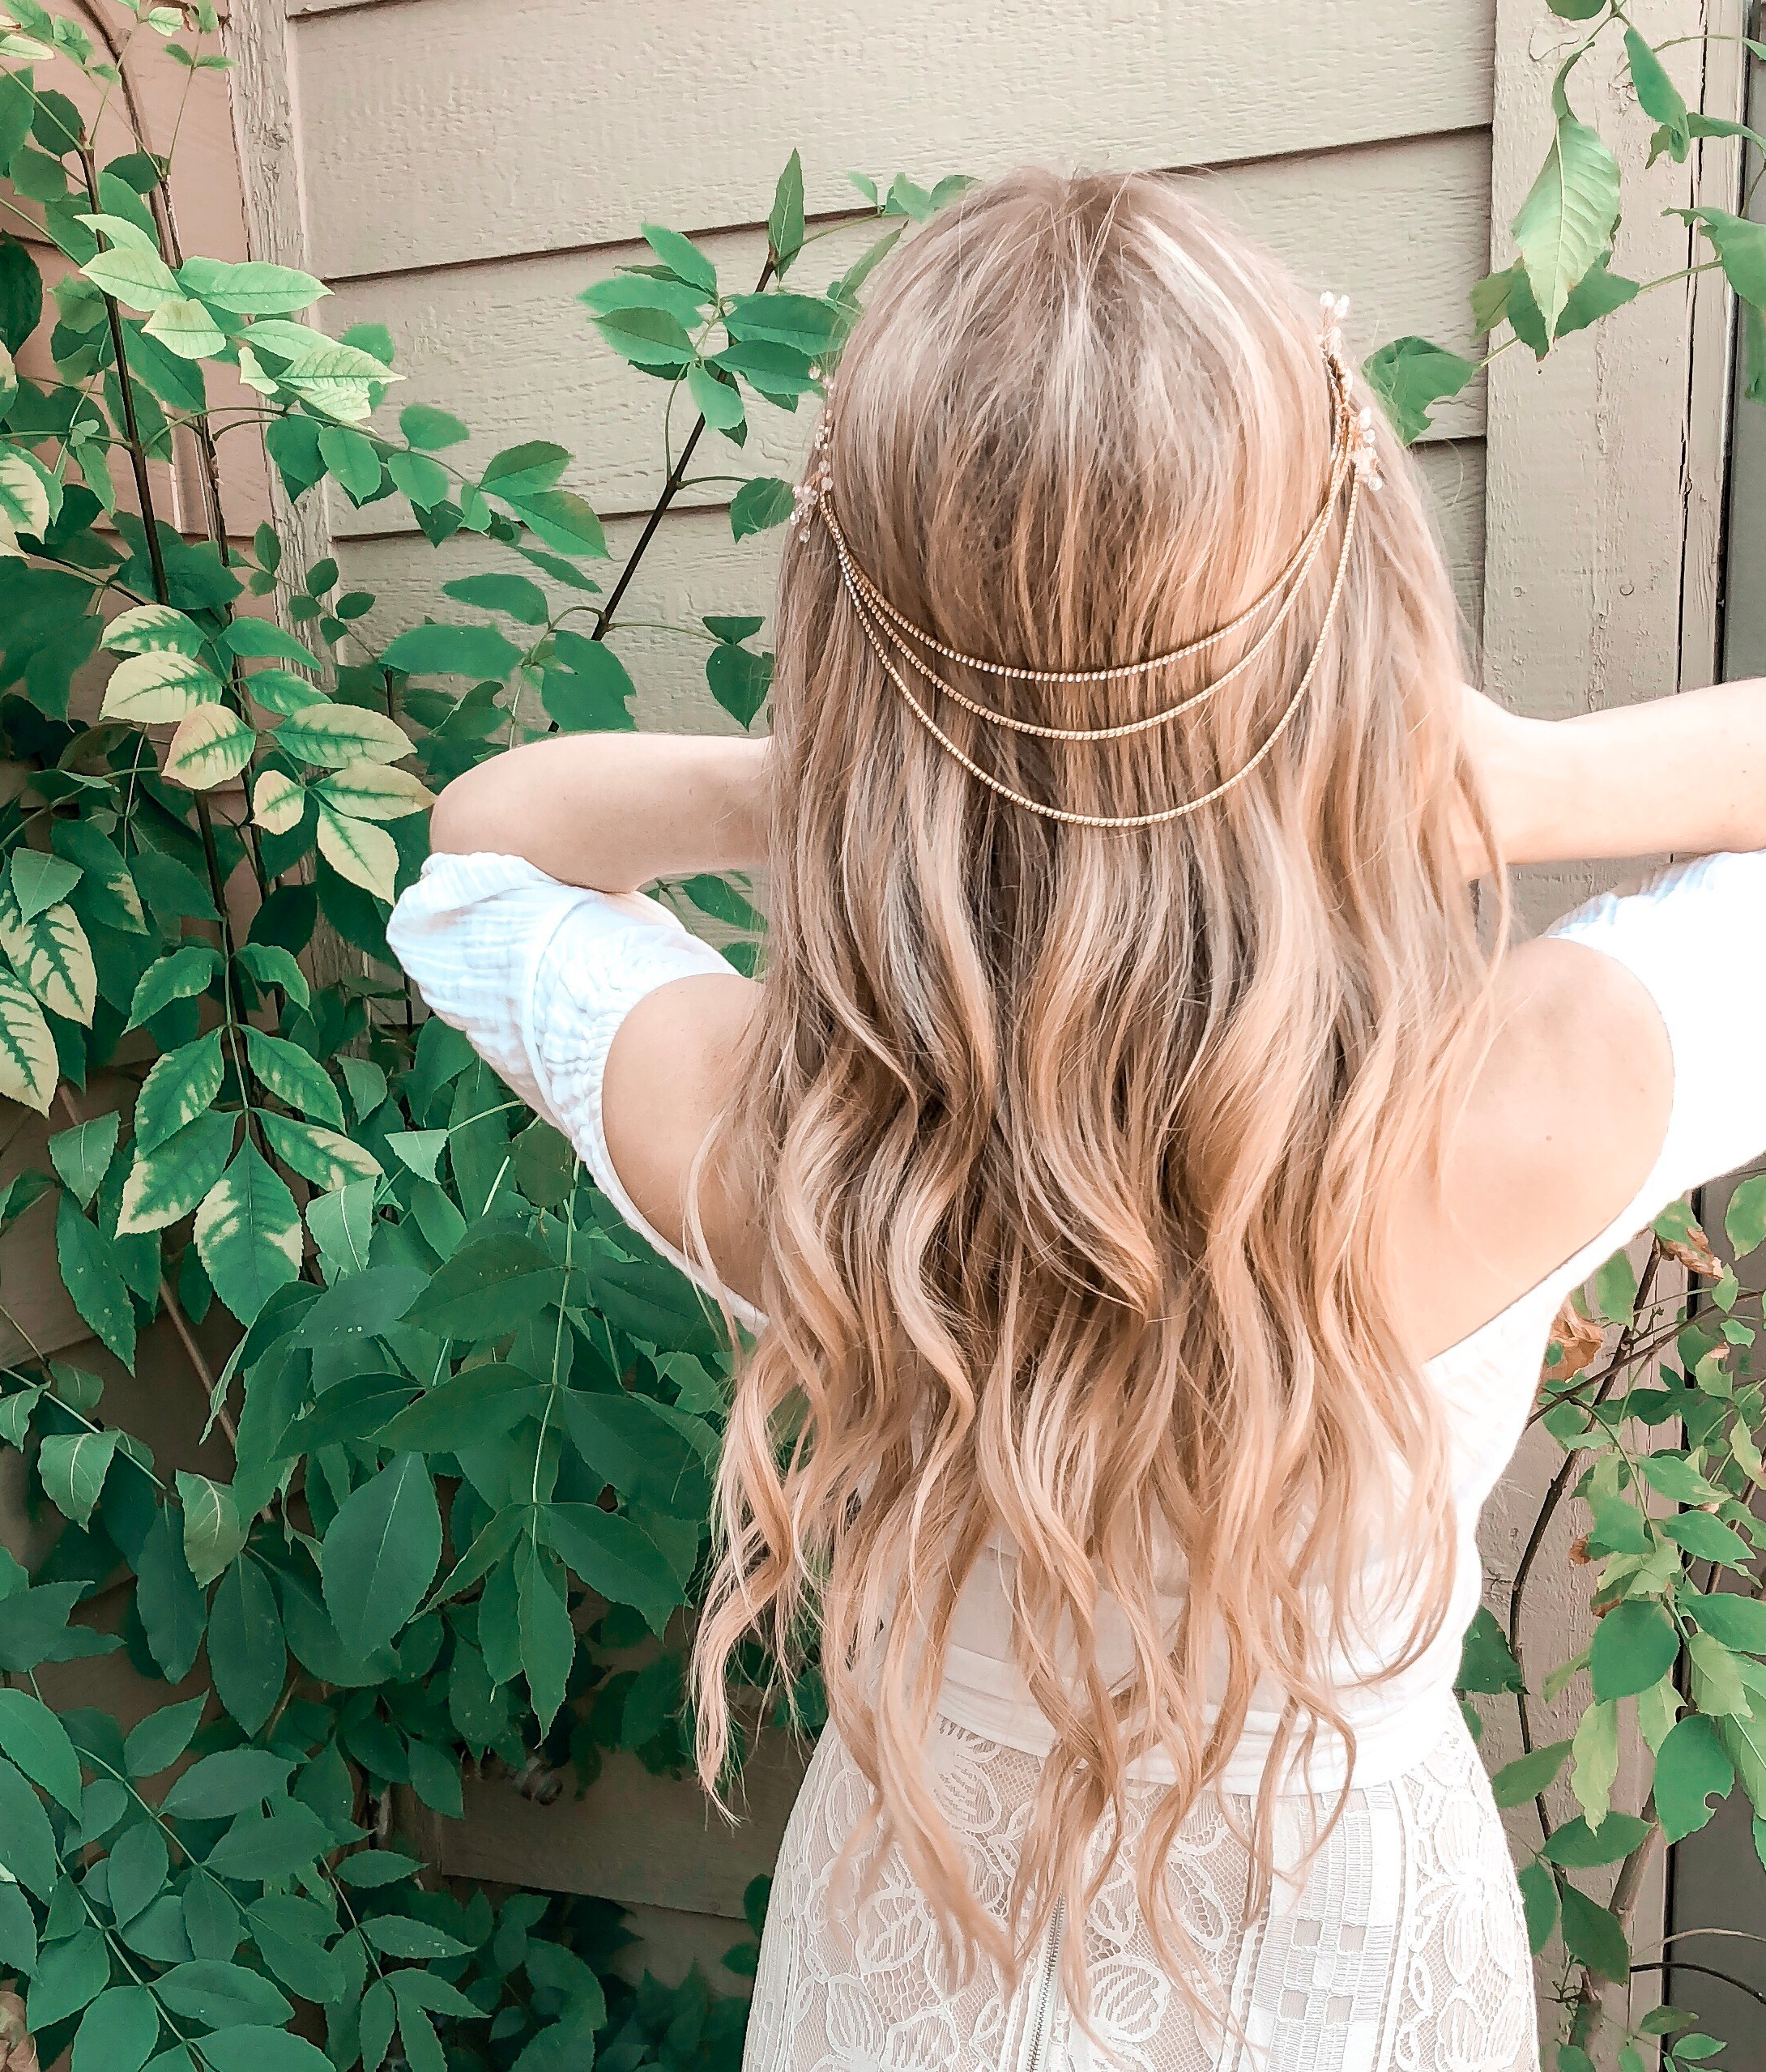
One of my favorite DIY projects was my boho halo crown that I wore to our reception. I loved my cathedral length veil for the ceremony, but I knew I wouldn’t want to wear it all night (can you imagine carrying that thing around everywhere!) I also knew I wanted my hair down, so I felt that I needed some sort of hair accessory to make my hair look more bridal.
Our reception venue was in a forest along Sedona’s creekside, so I was originally going to make myself a flower crown. Then I saw this boho halo and just fell in love! I knew I would never be able to afford the price, so I decided to try and make something similar.
I hope you enjoy this tutorial! It was way easier than I thought! In fact, I don’t have any prior jewelry making experience. If I can do it, so can you…
enjoy! 🙂
This tutorial contains product links for your convenience. I earn a small commission when purchases are made through my links, however you can trust that all opinions on products are 100% my own. I only recommend products that I truly hope will benefit others.
DIY Bridal Boho Crown
You will need:
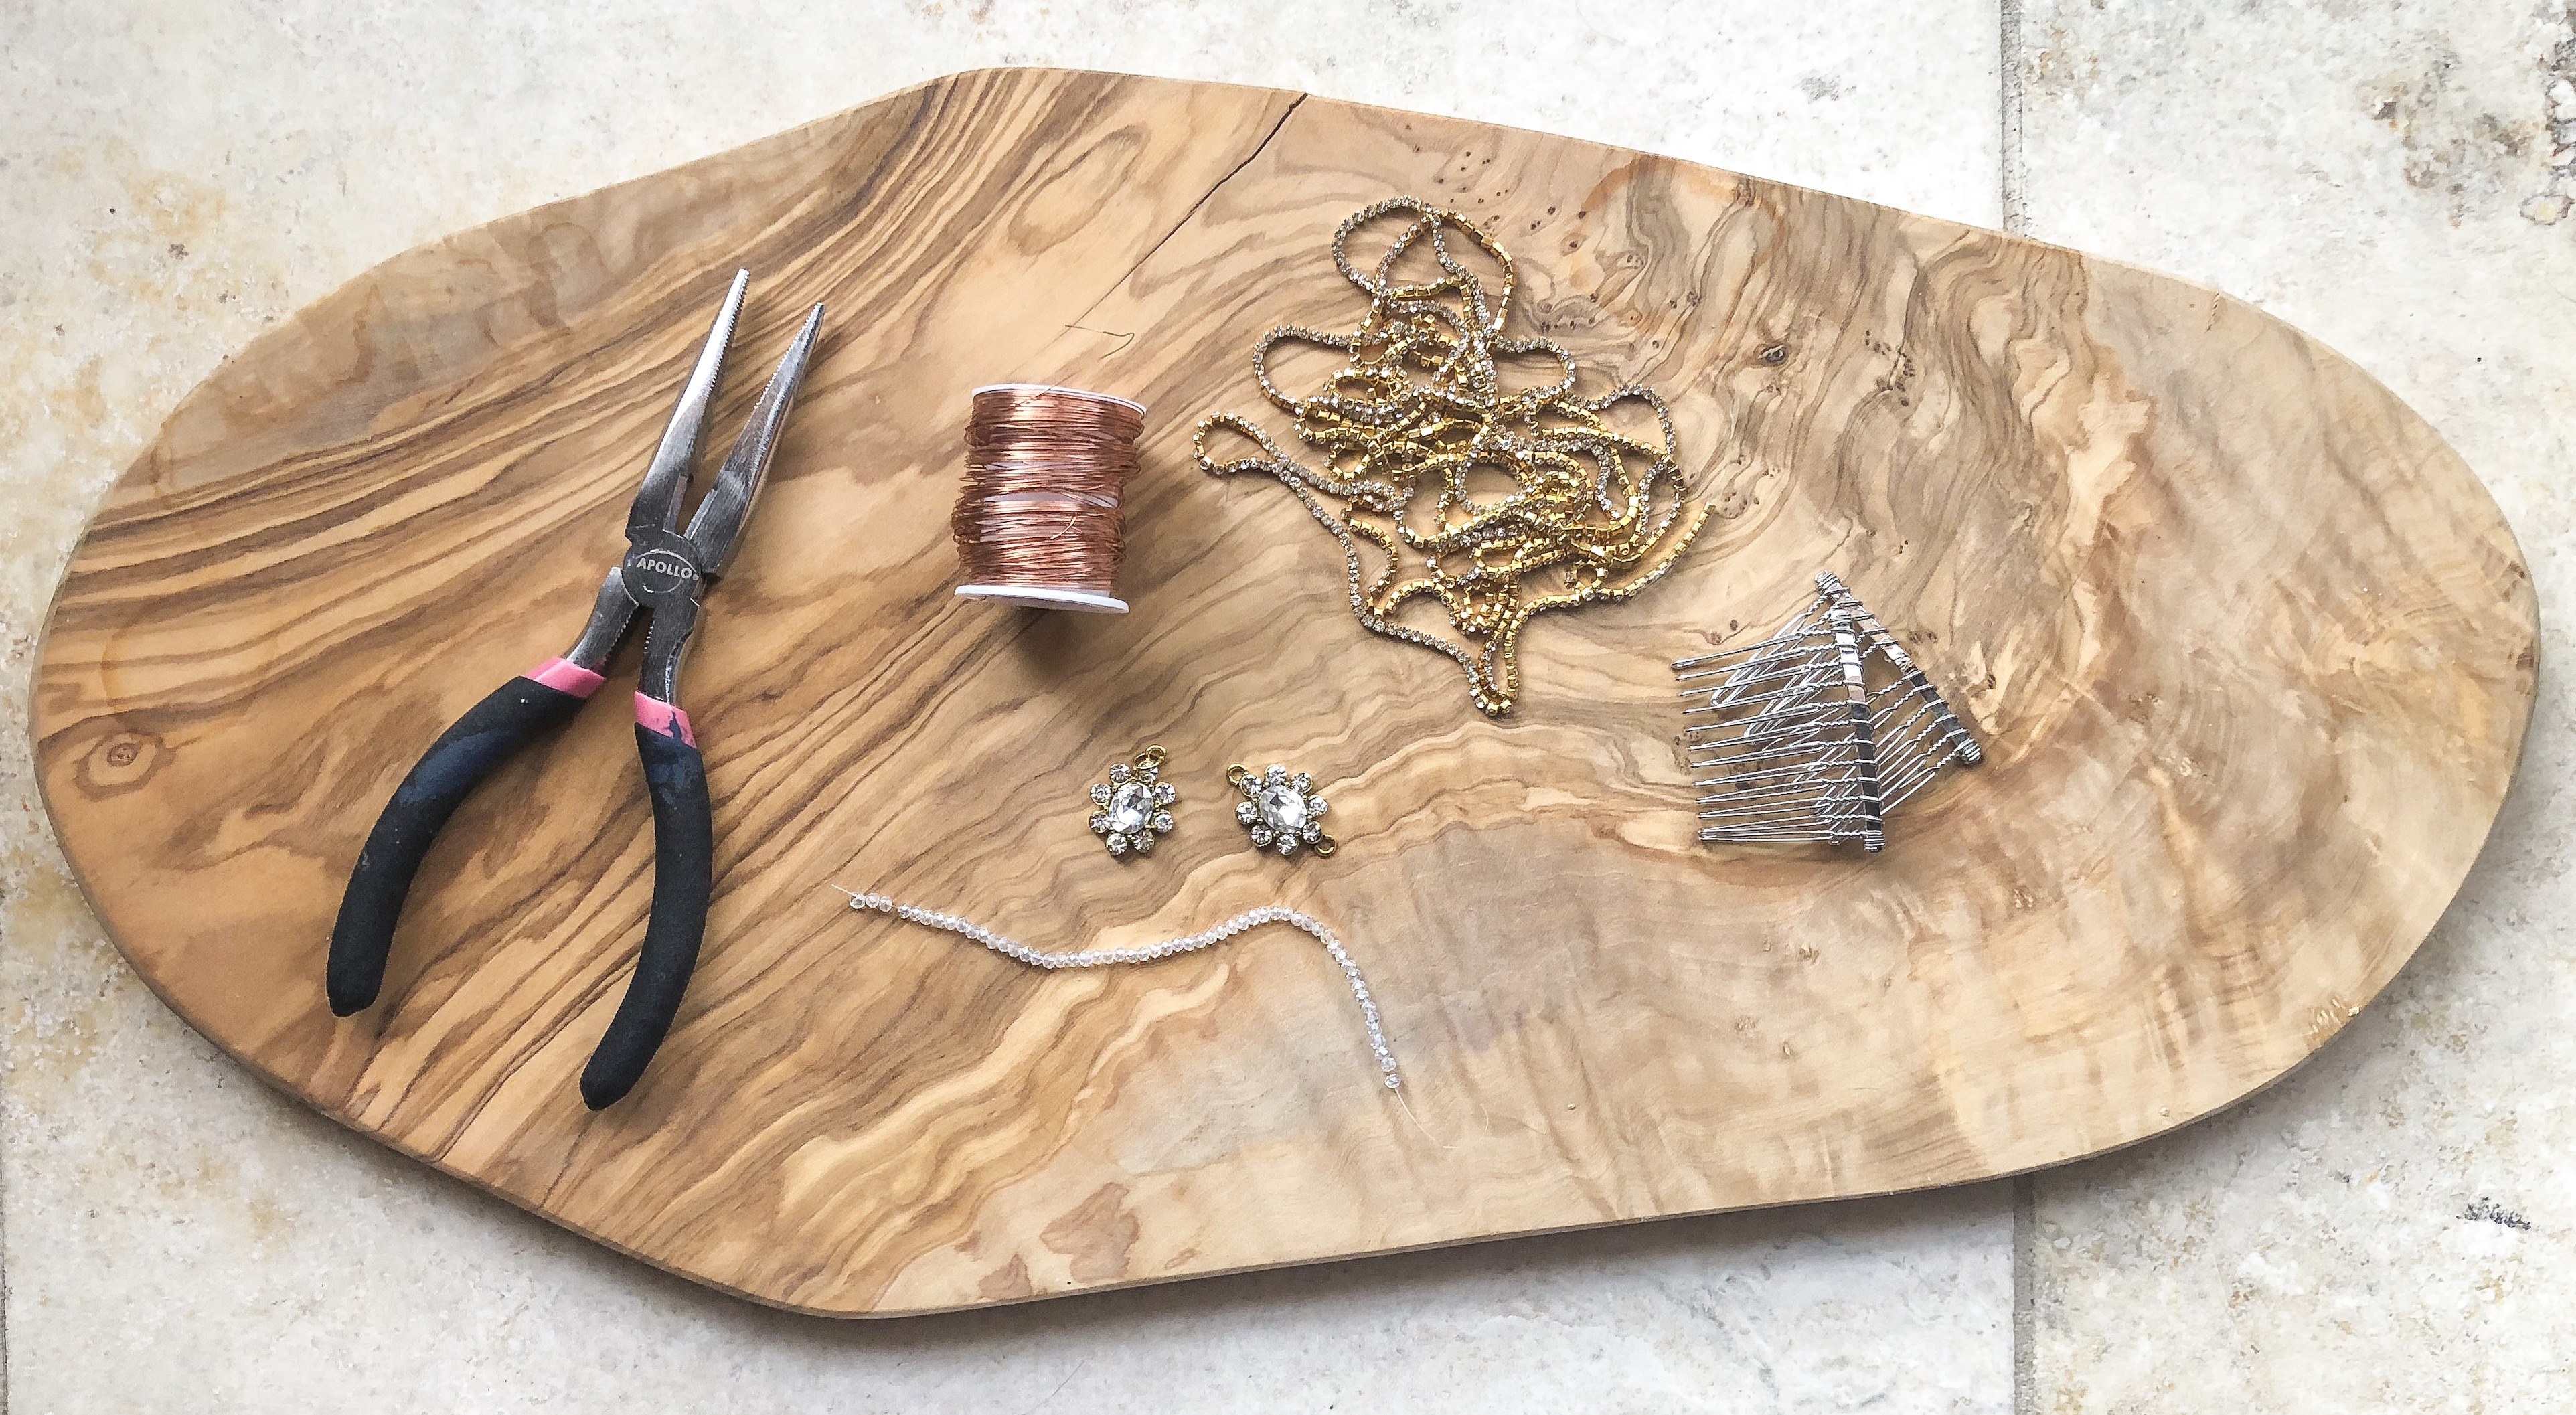
- Pliers/Wire Cutters (similar product here)
- 28 gauge Jewelry Wire (exact product here)
- At least 45 inches of Rhinestone Trim (exact product here), (similar cheaper version)
- 2 Jewel Pendants with bails (exact product here)
- Glass beads (exact product here)
- 2 wire hair combs (exact product here)
I purchased all needed materials from Hobby Lobby. All of these items go on 30-50% off every other week! (not on the same week though, so you may have to make 2 separate trips)
Part 1- Create 2 identical (or close) jewel pendants.
Step 1: Adding Vine Accents to your Pendant
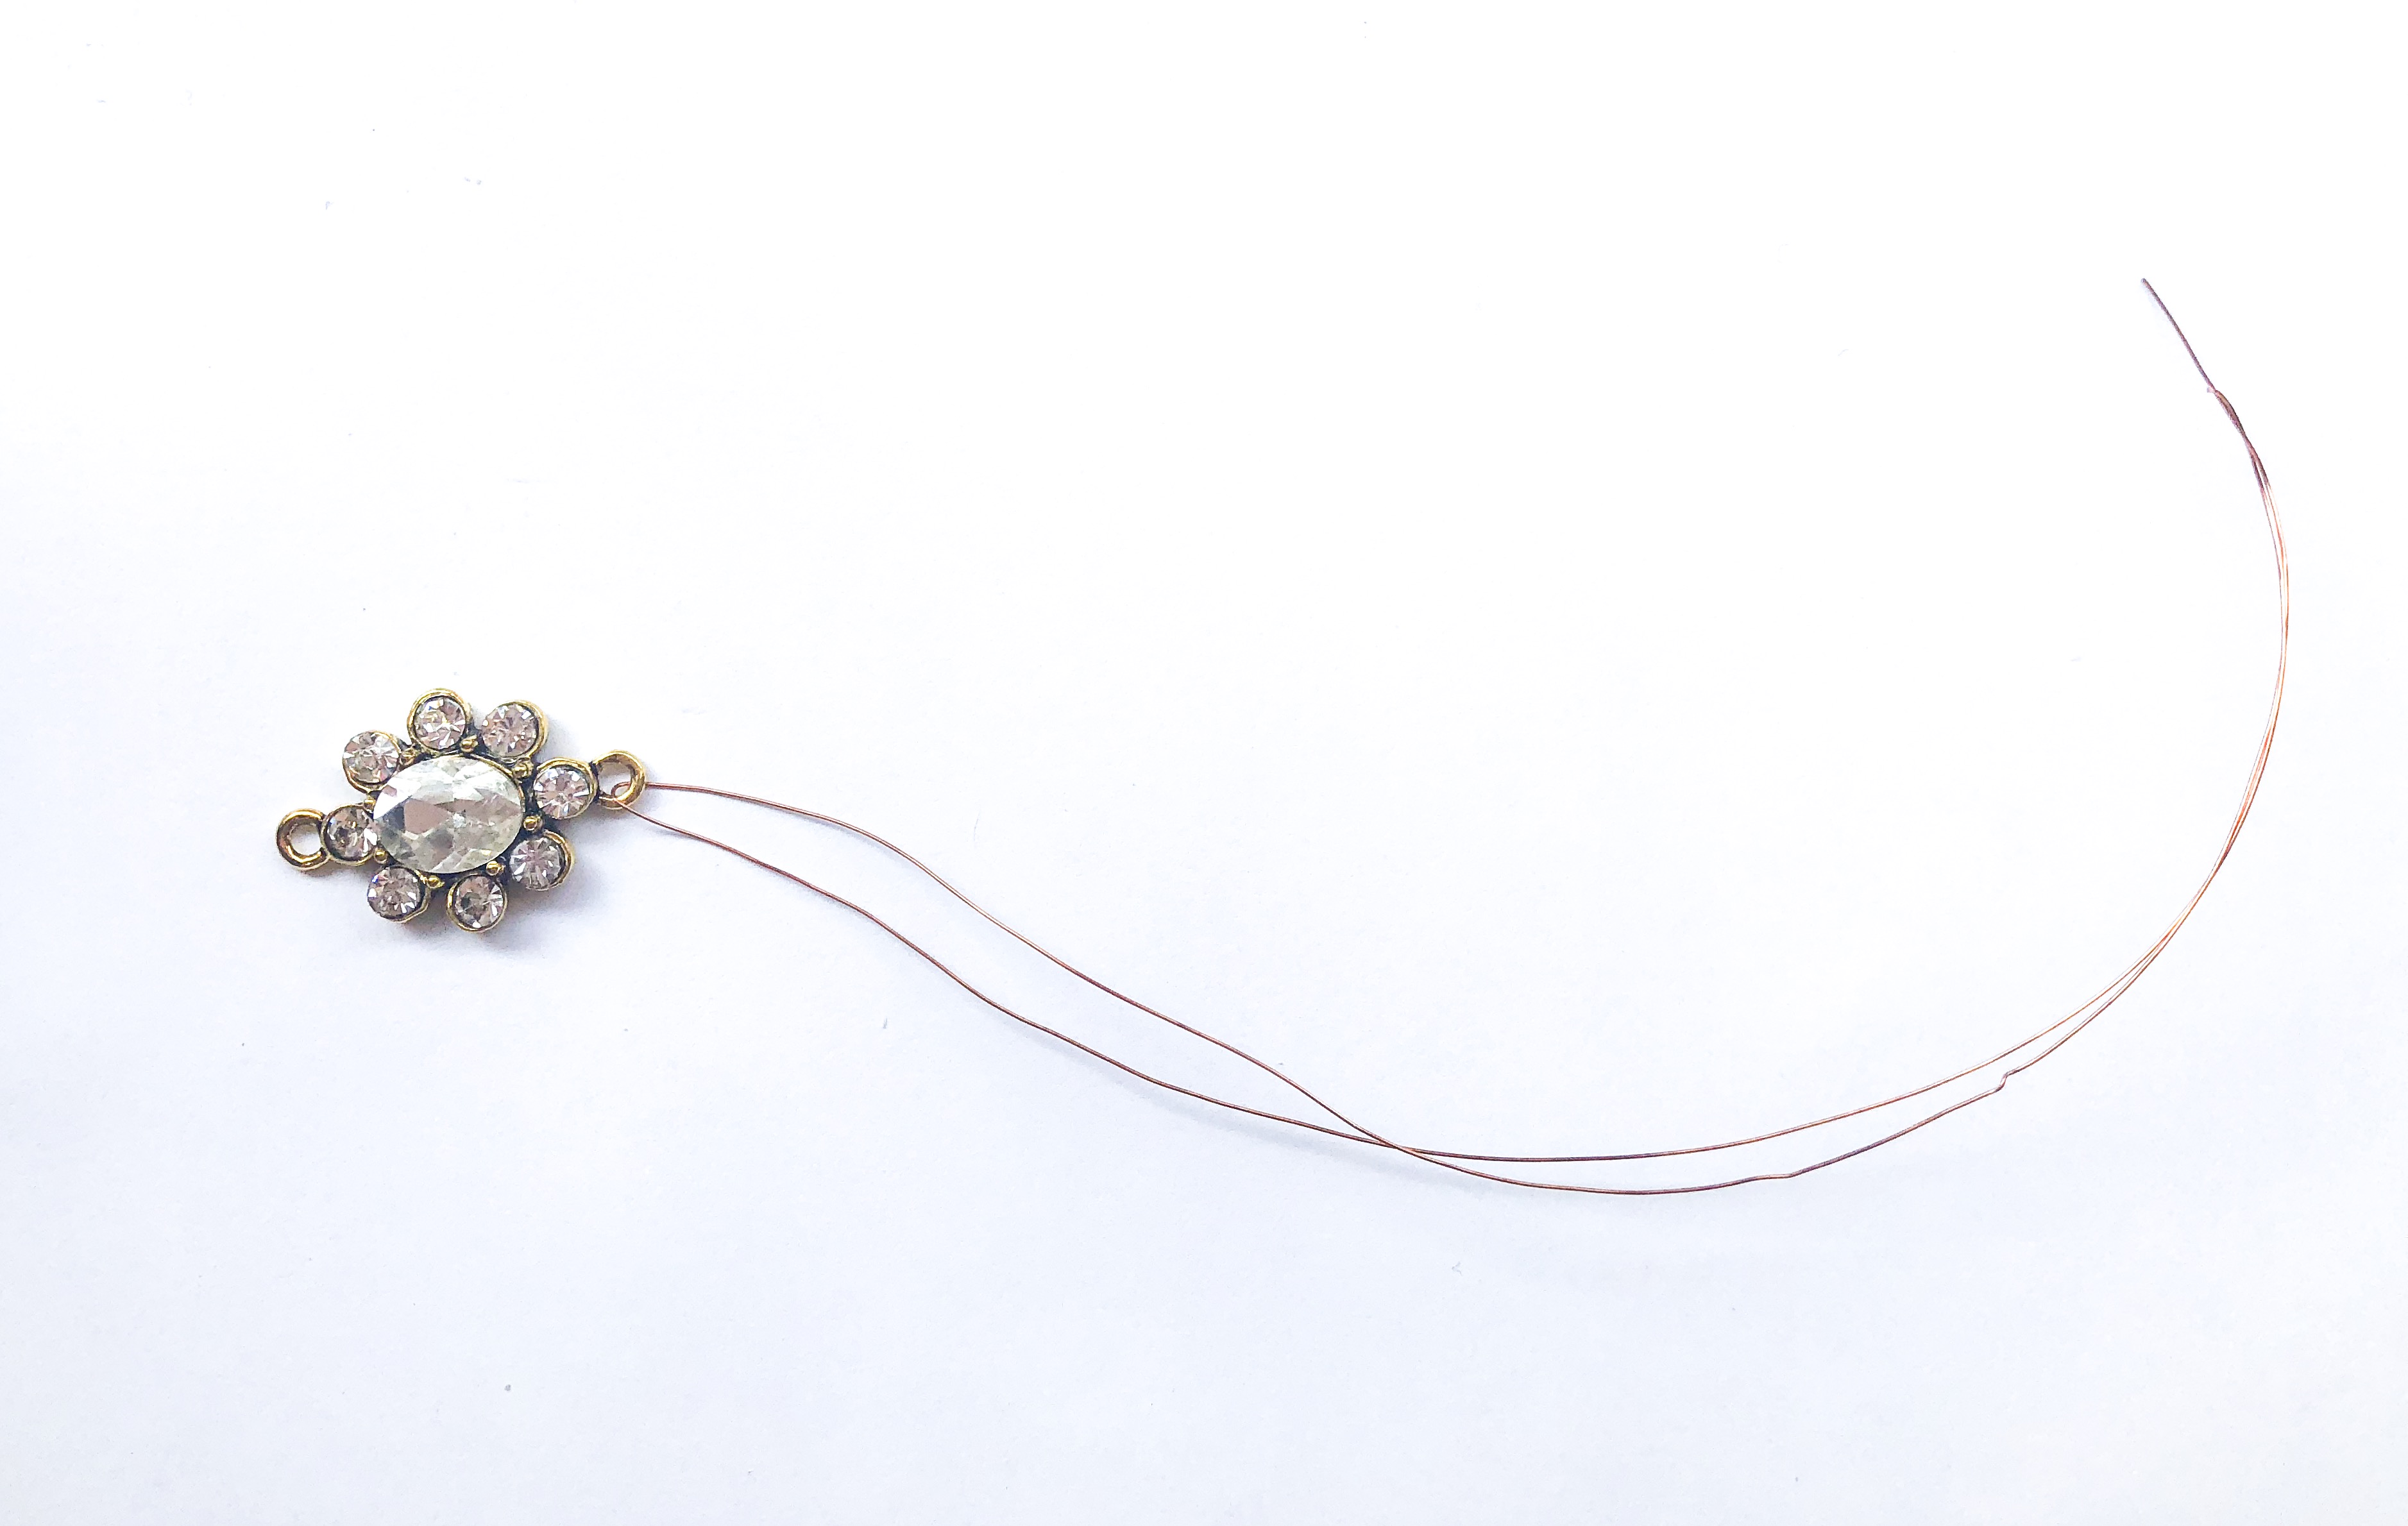
Cut about 12 inches of jewelry wire.
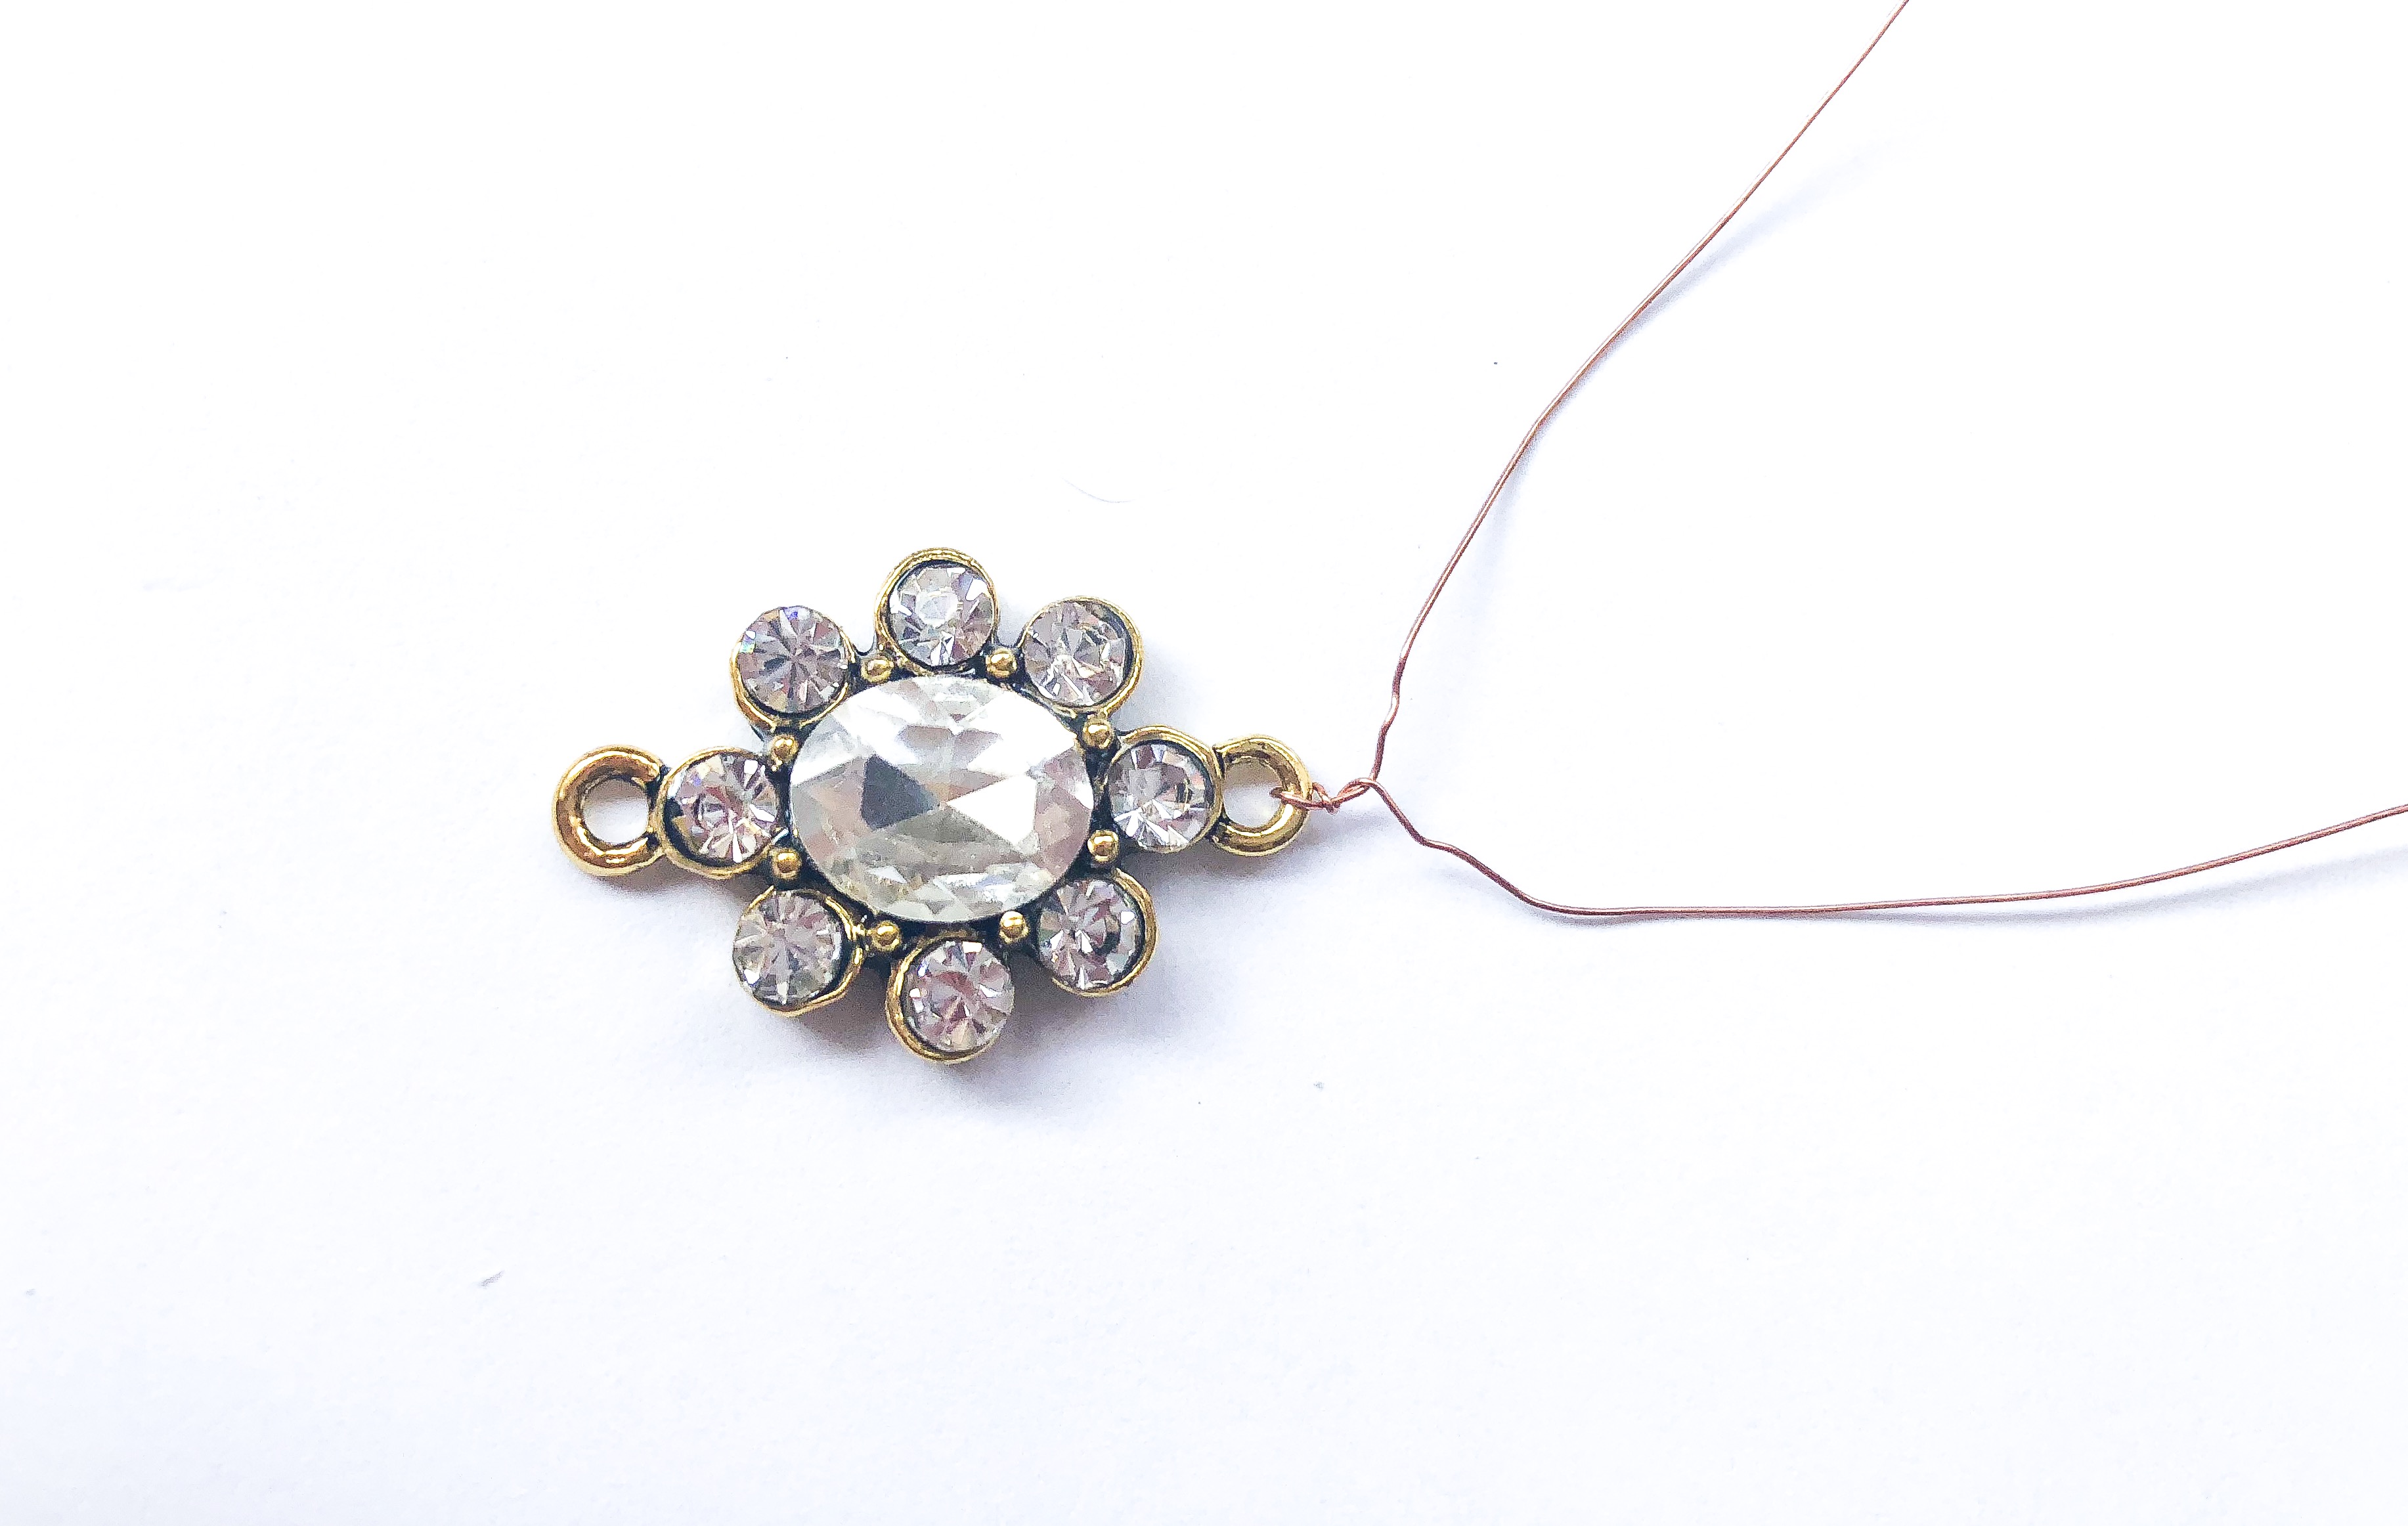
Thread wire halfway through the bail of your jewel pendant as pictured.
Step 2: Securing the Pendant

Twist wire near the bail to secure the jewel pendant. See result below.
Step 3: Adding Beads
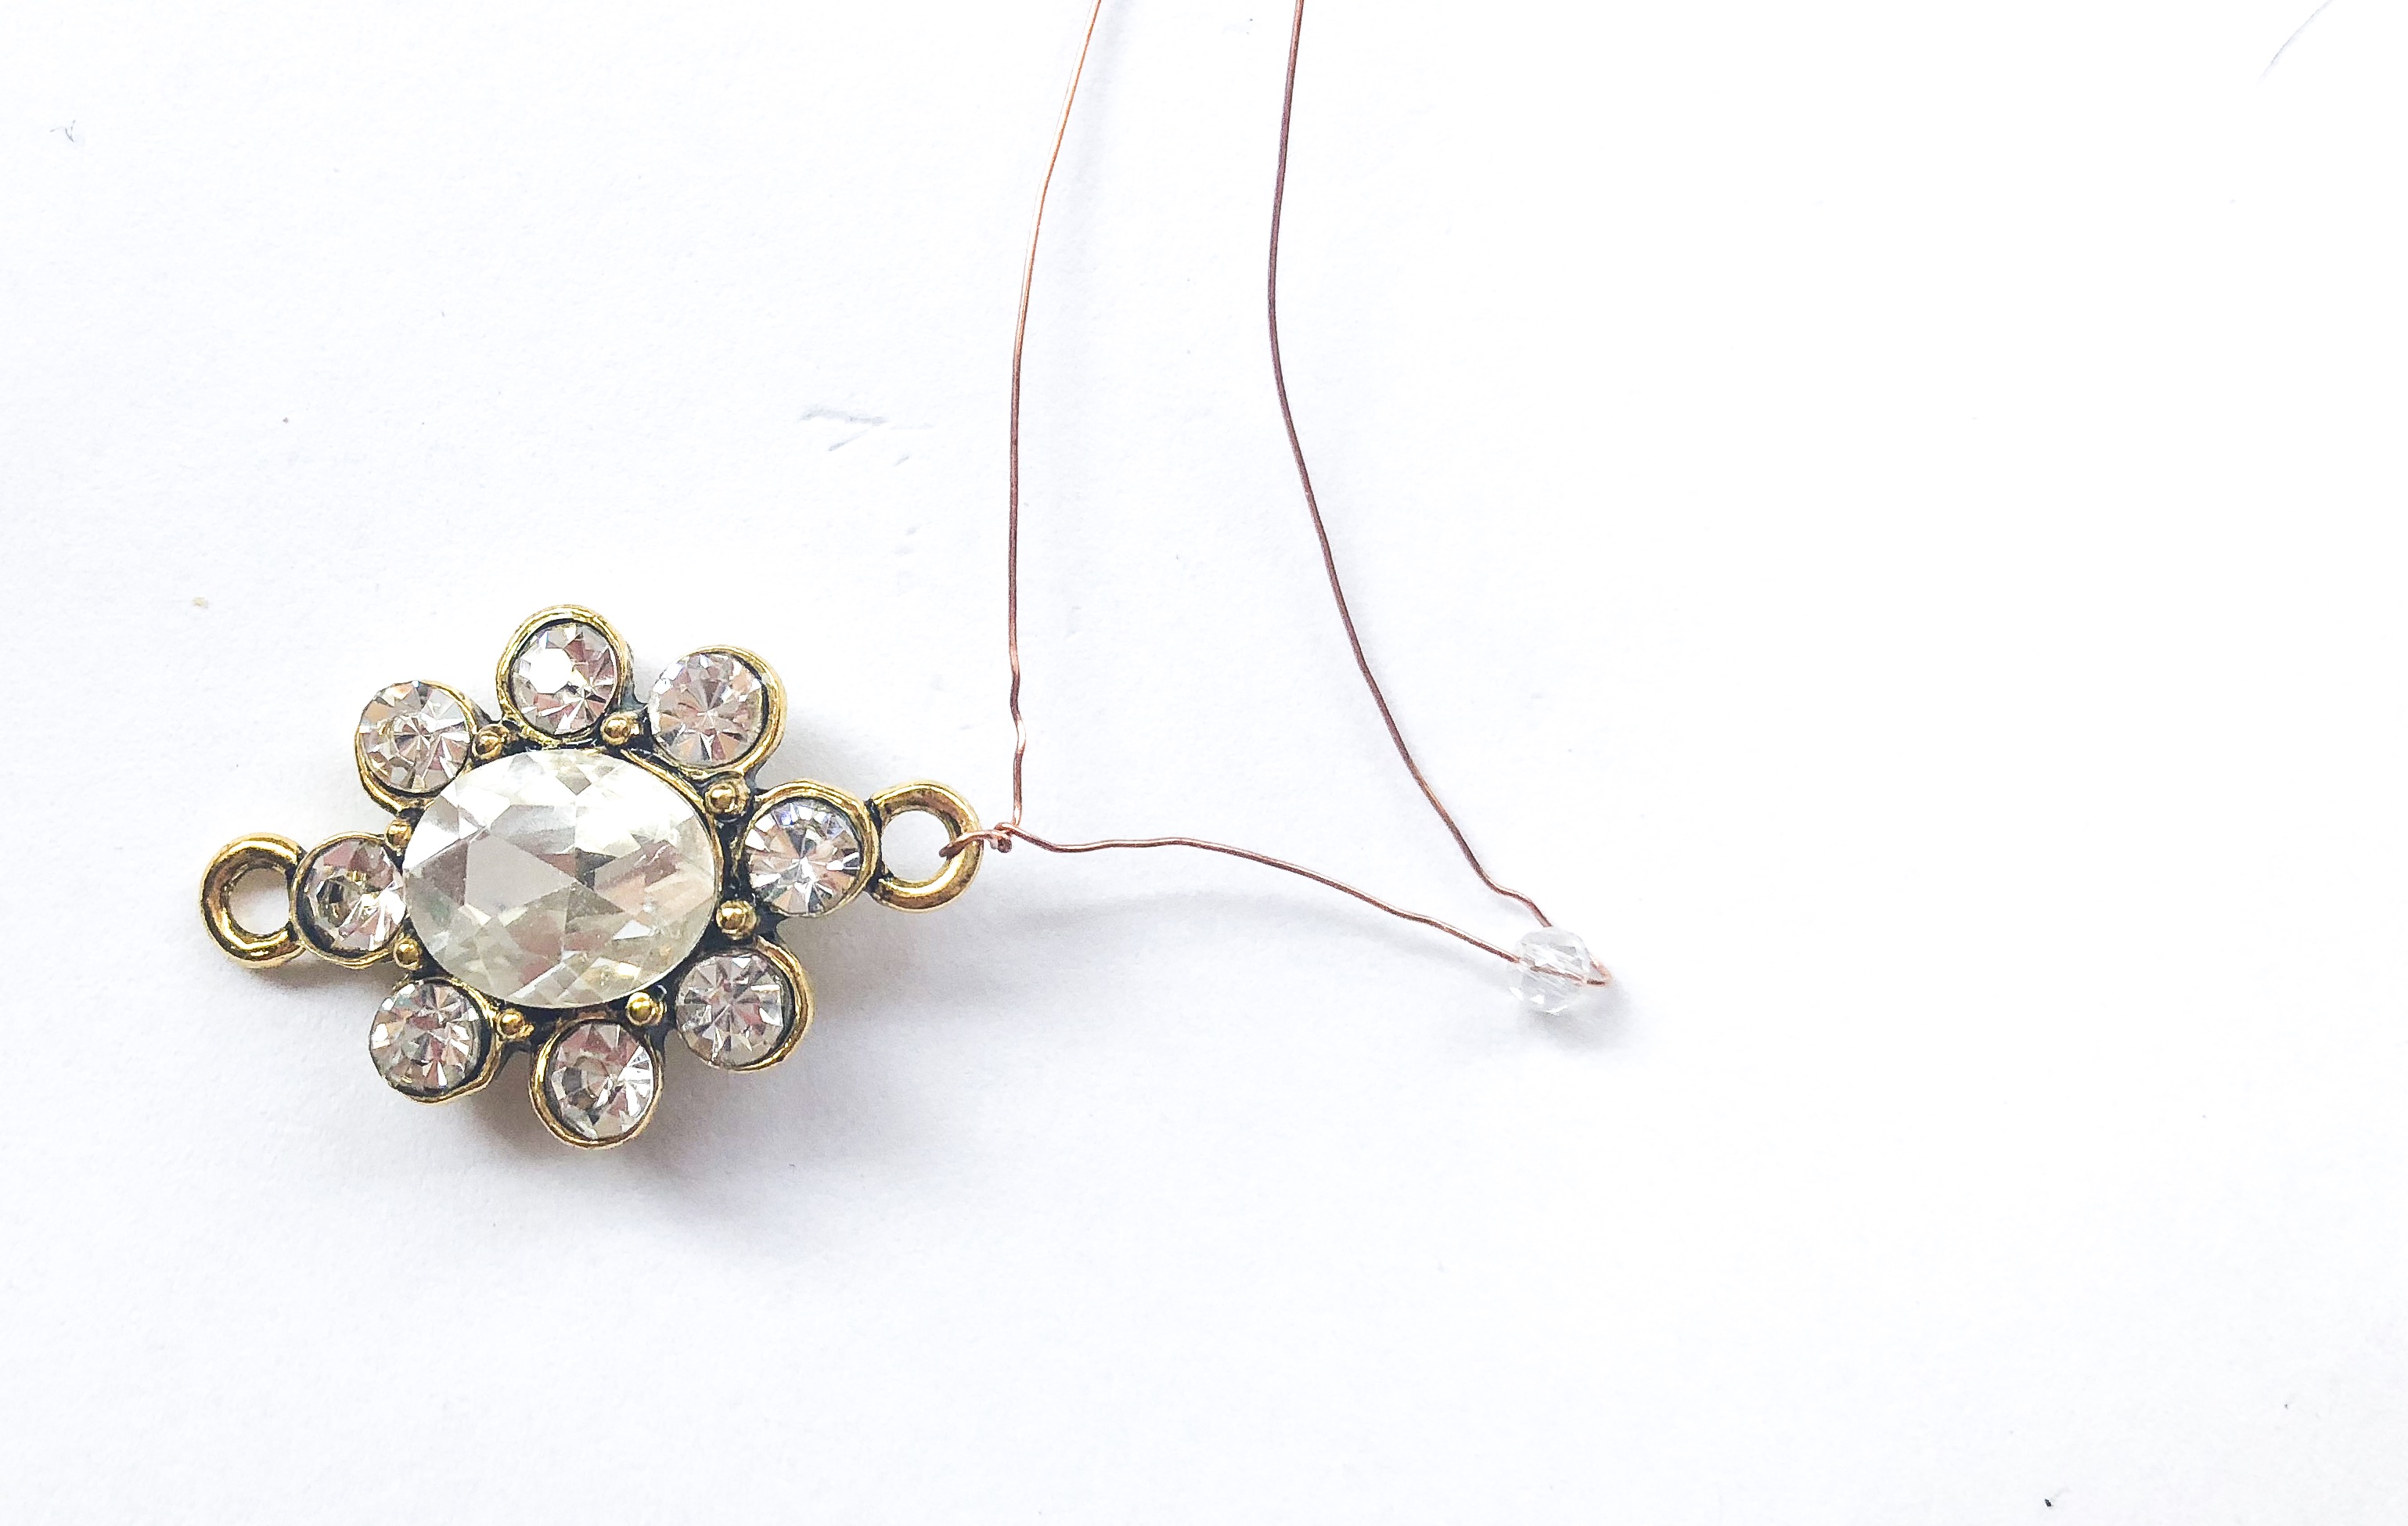
Thread one glass bead through one half. I stopped the bead about an inch before the bail of the pendant.
Step 4: How to Create a Vine
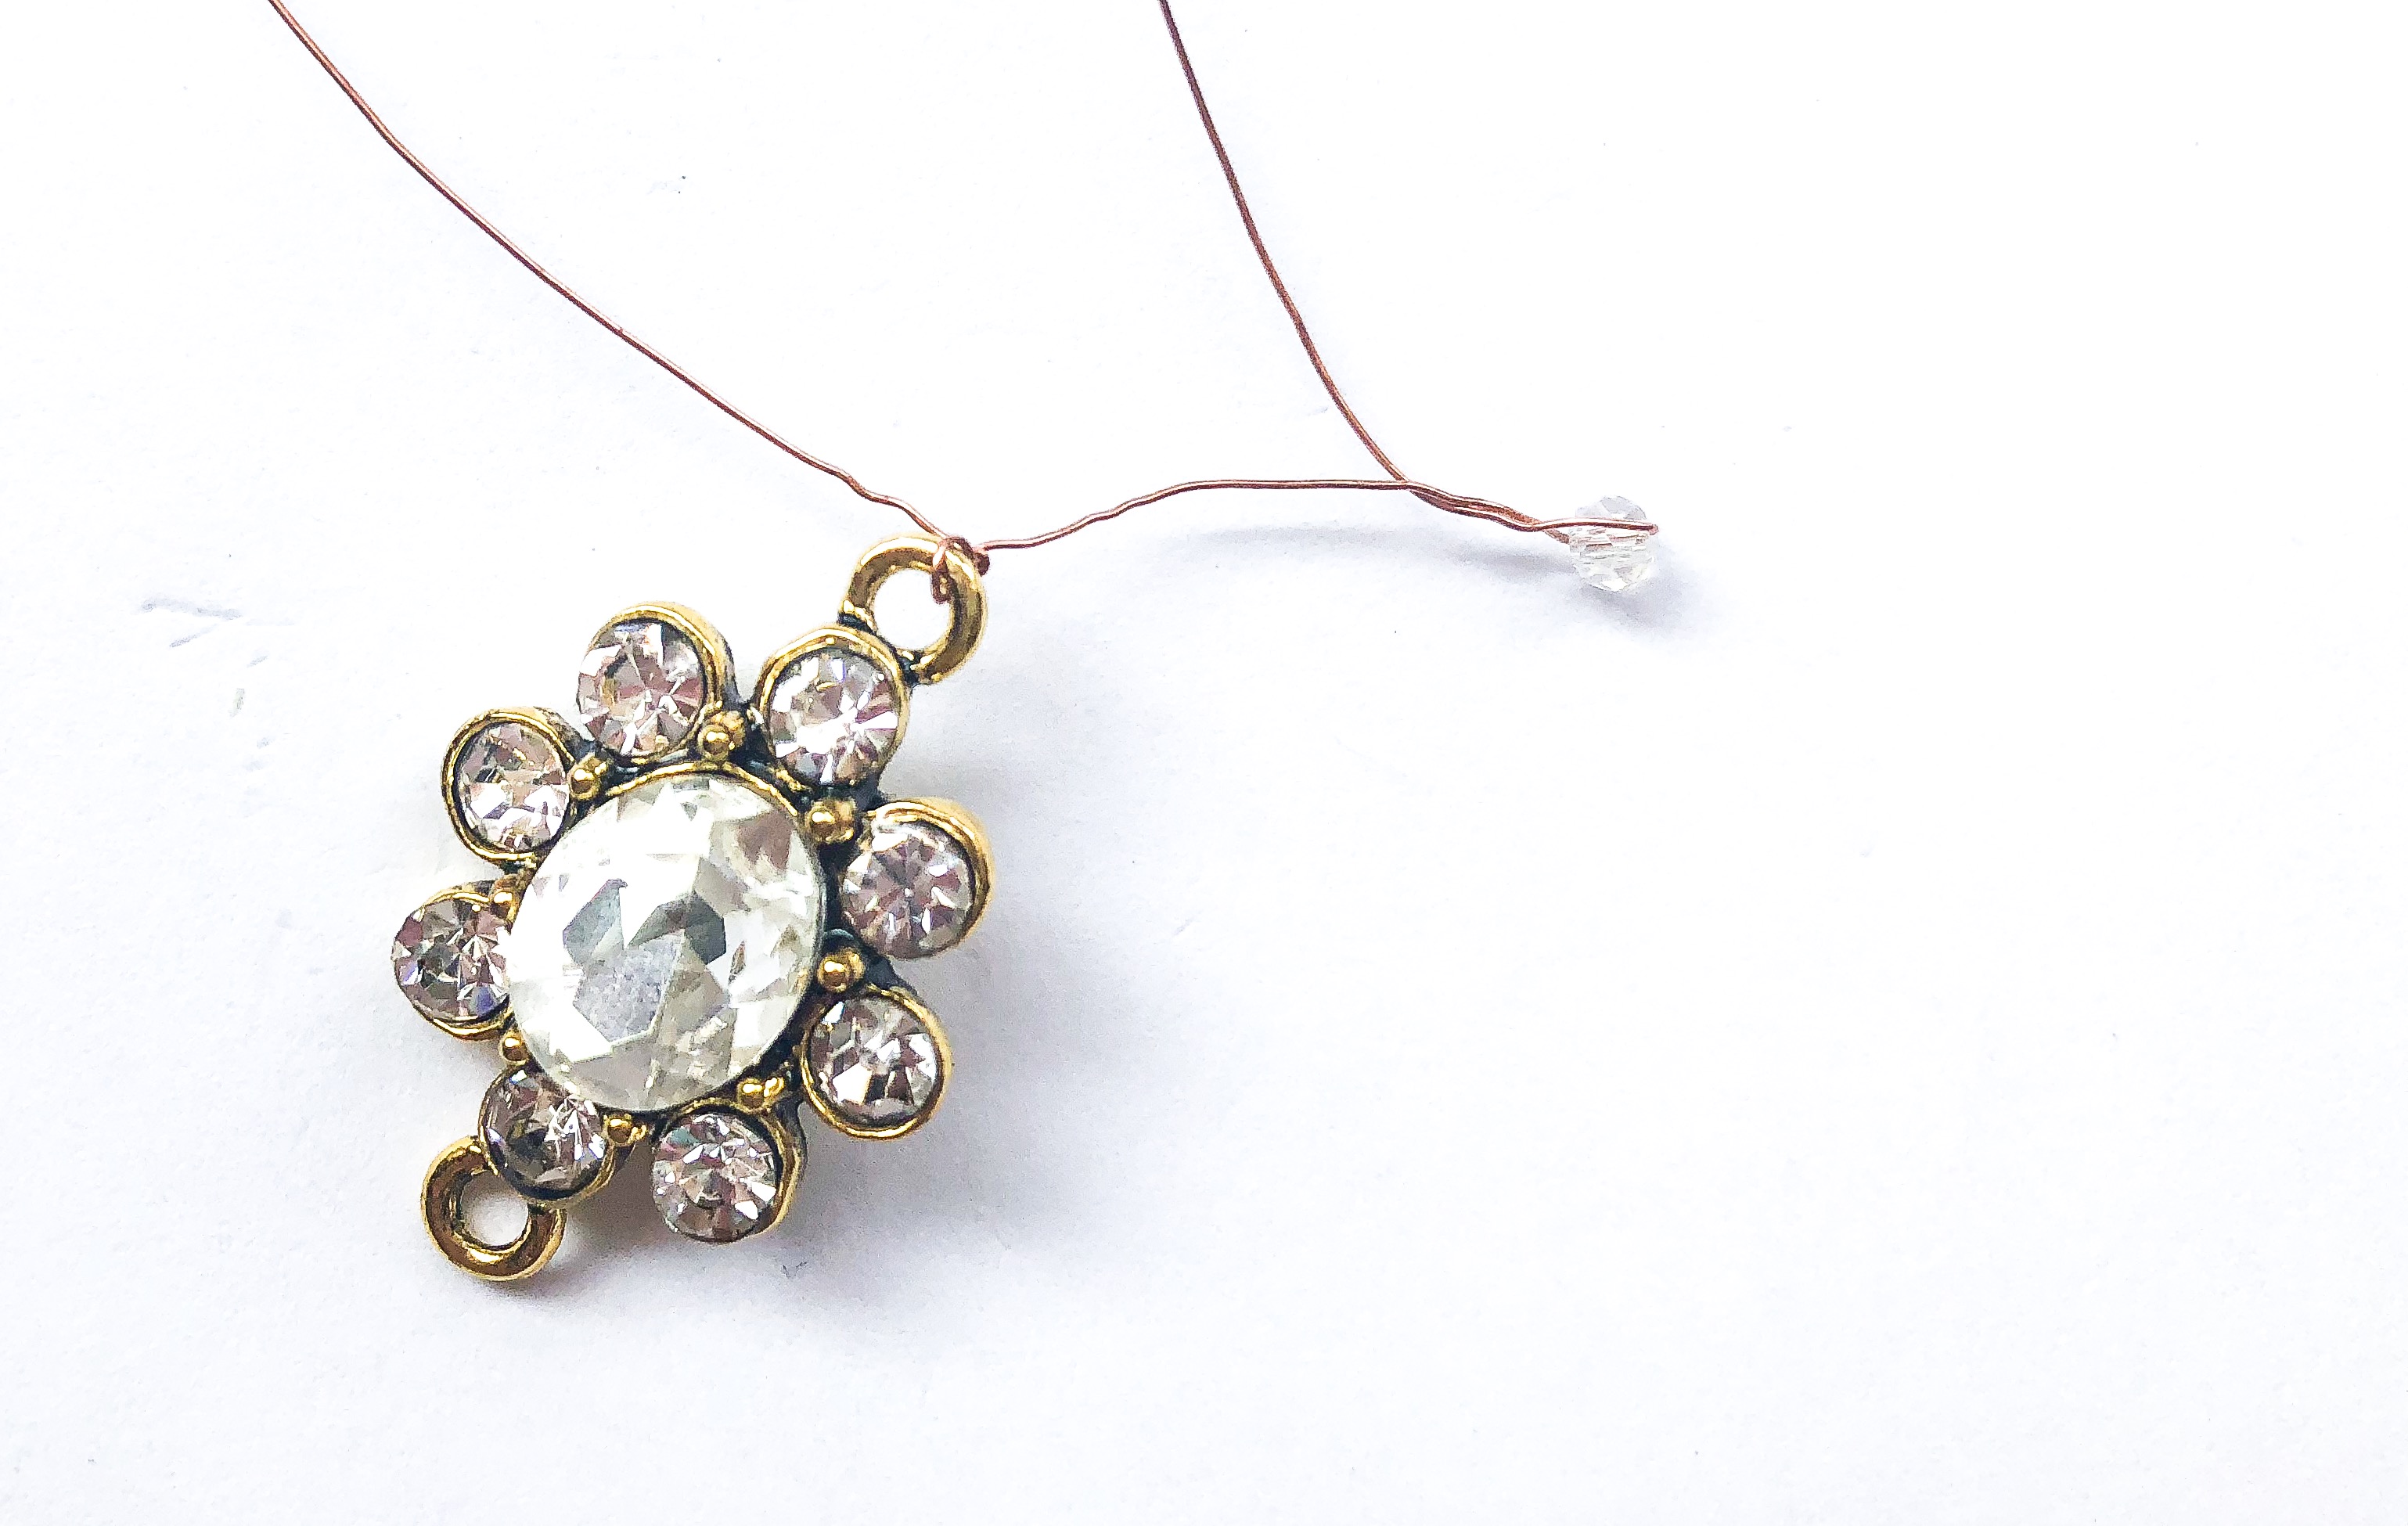
Pinch the bead and twist to secure the bead in place. See result below.
Step 5: Creating Multiple Vines
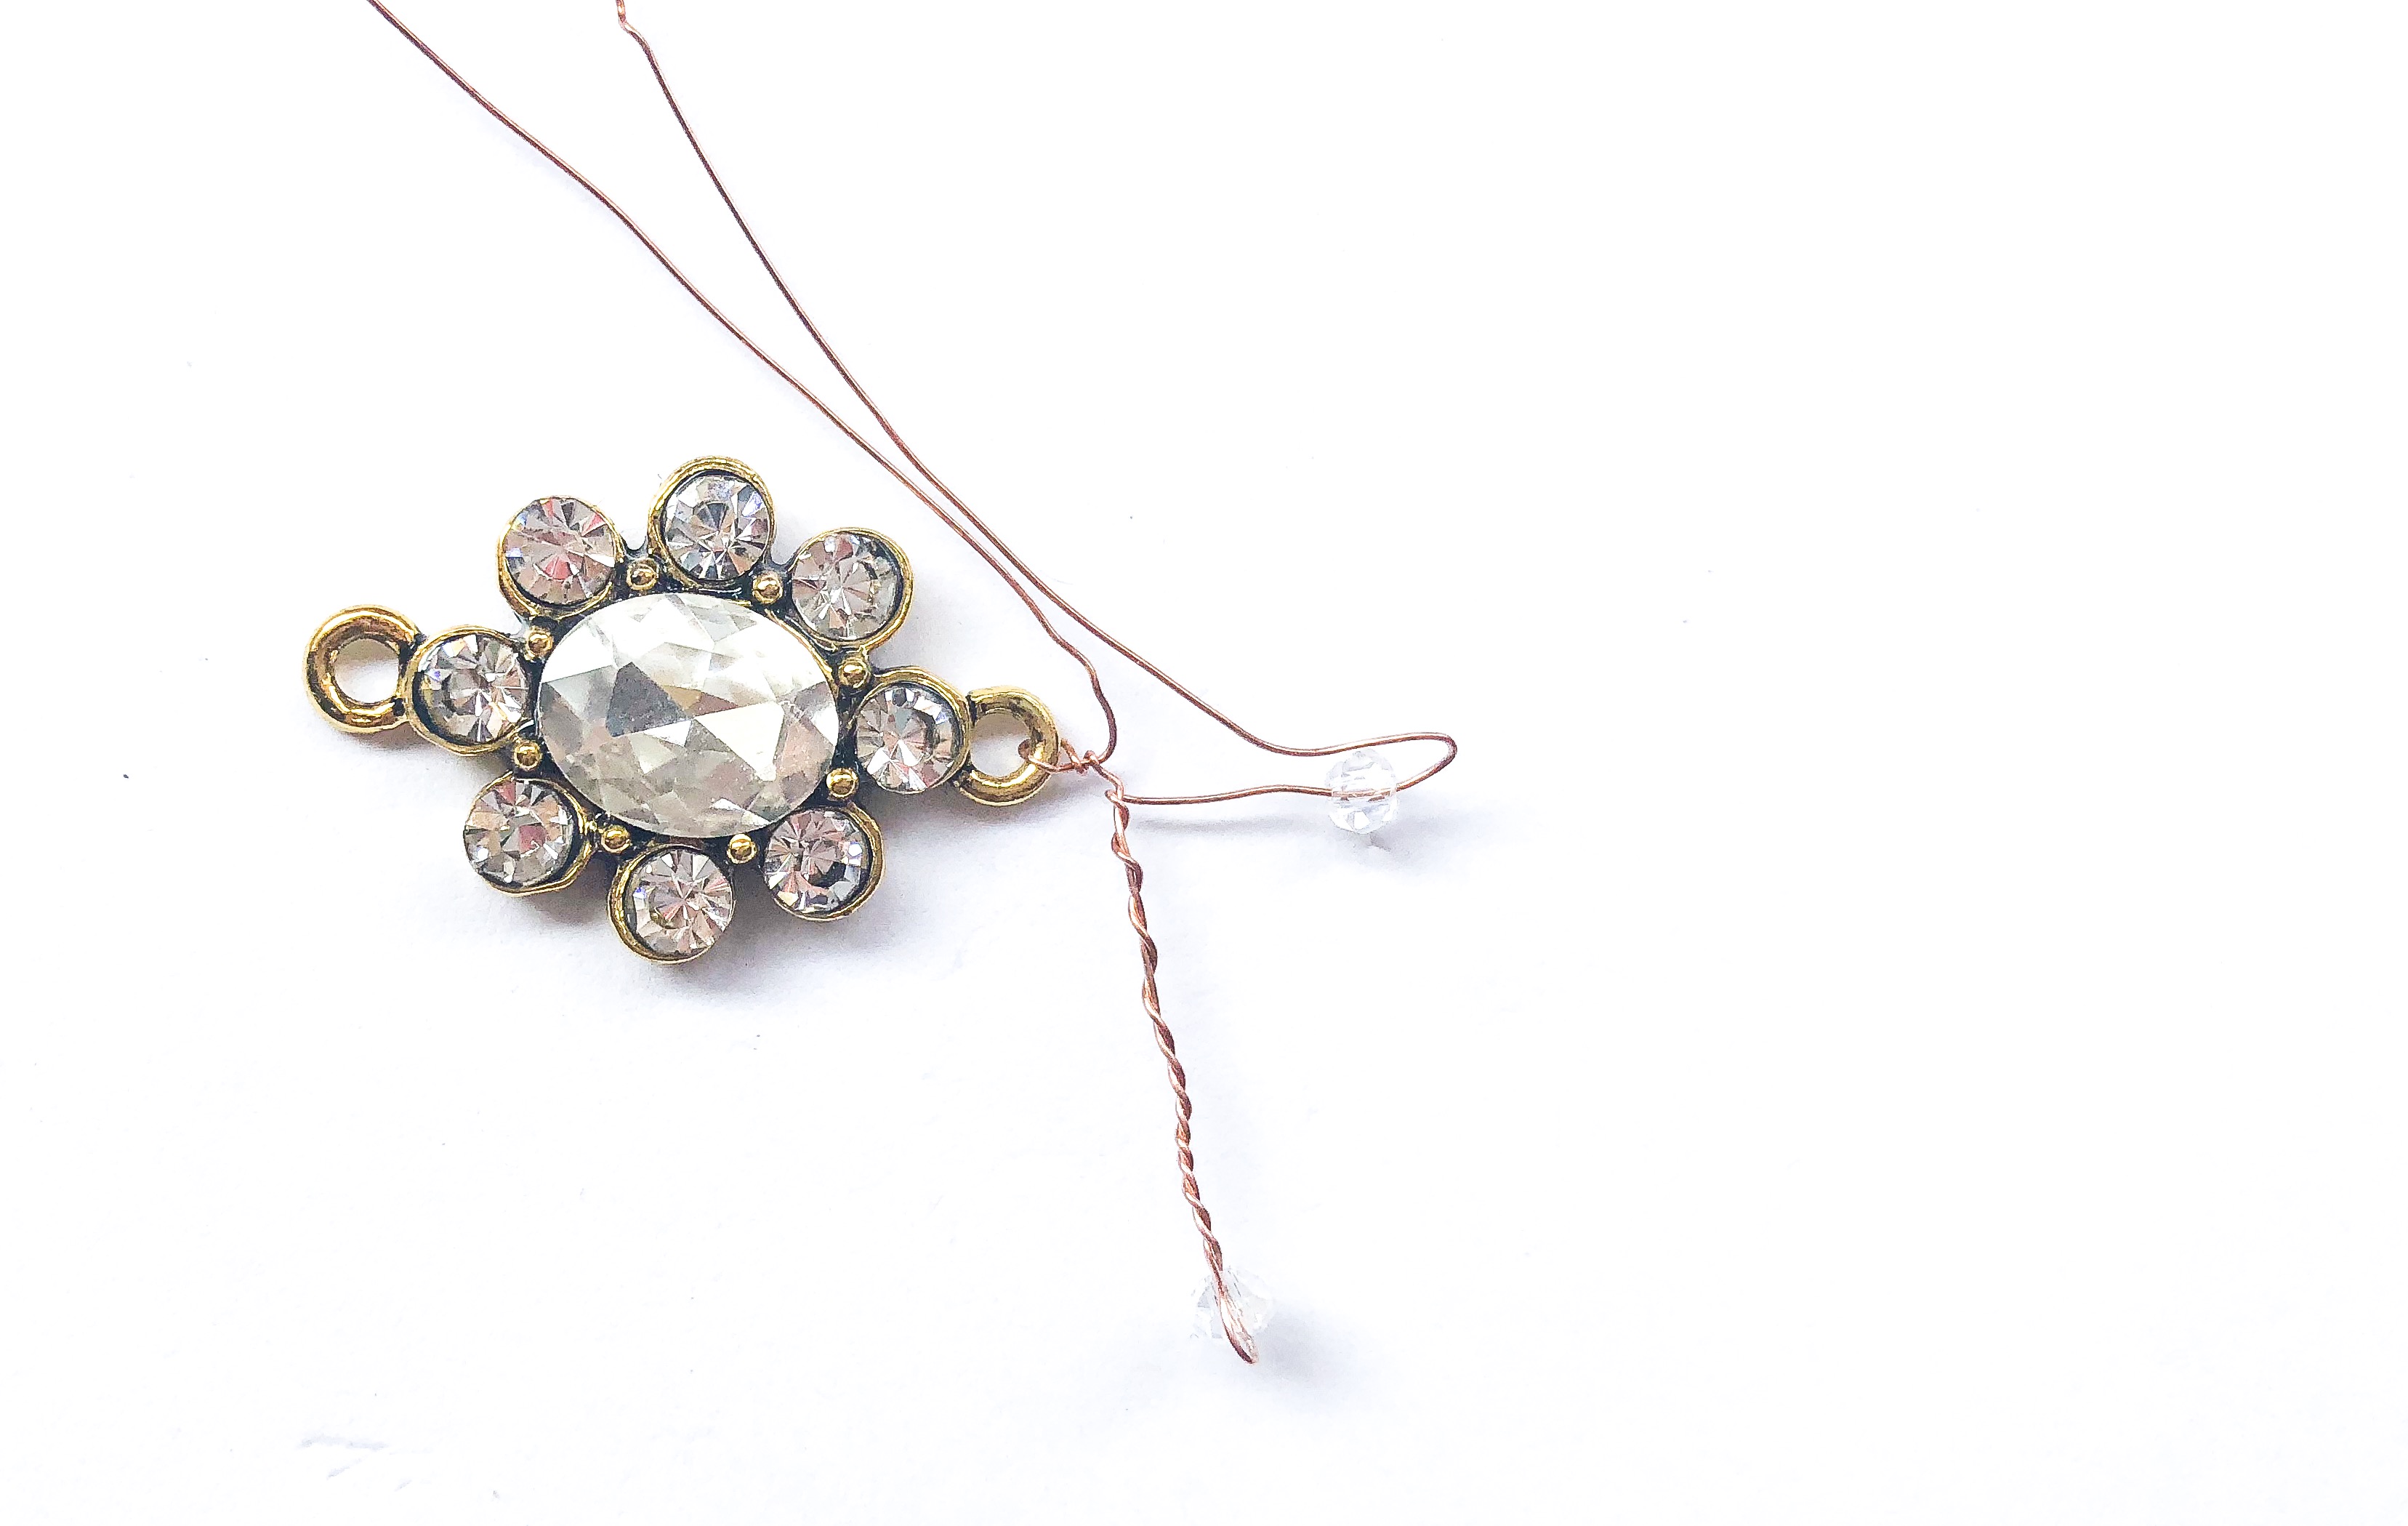
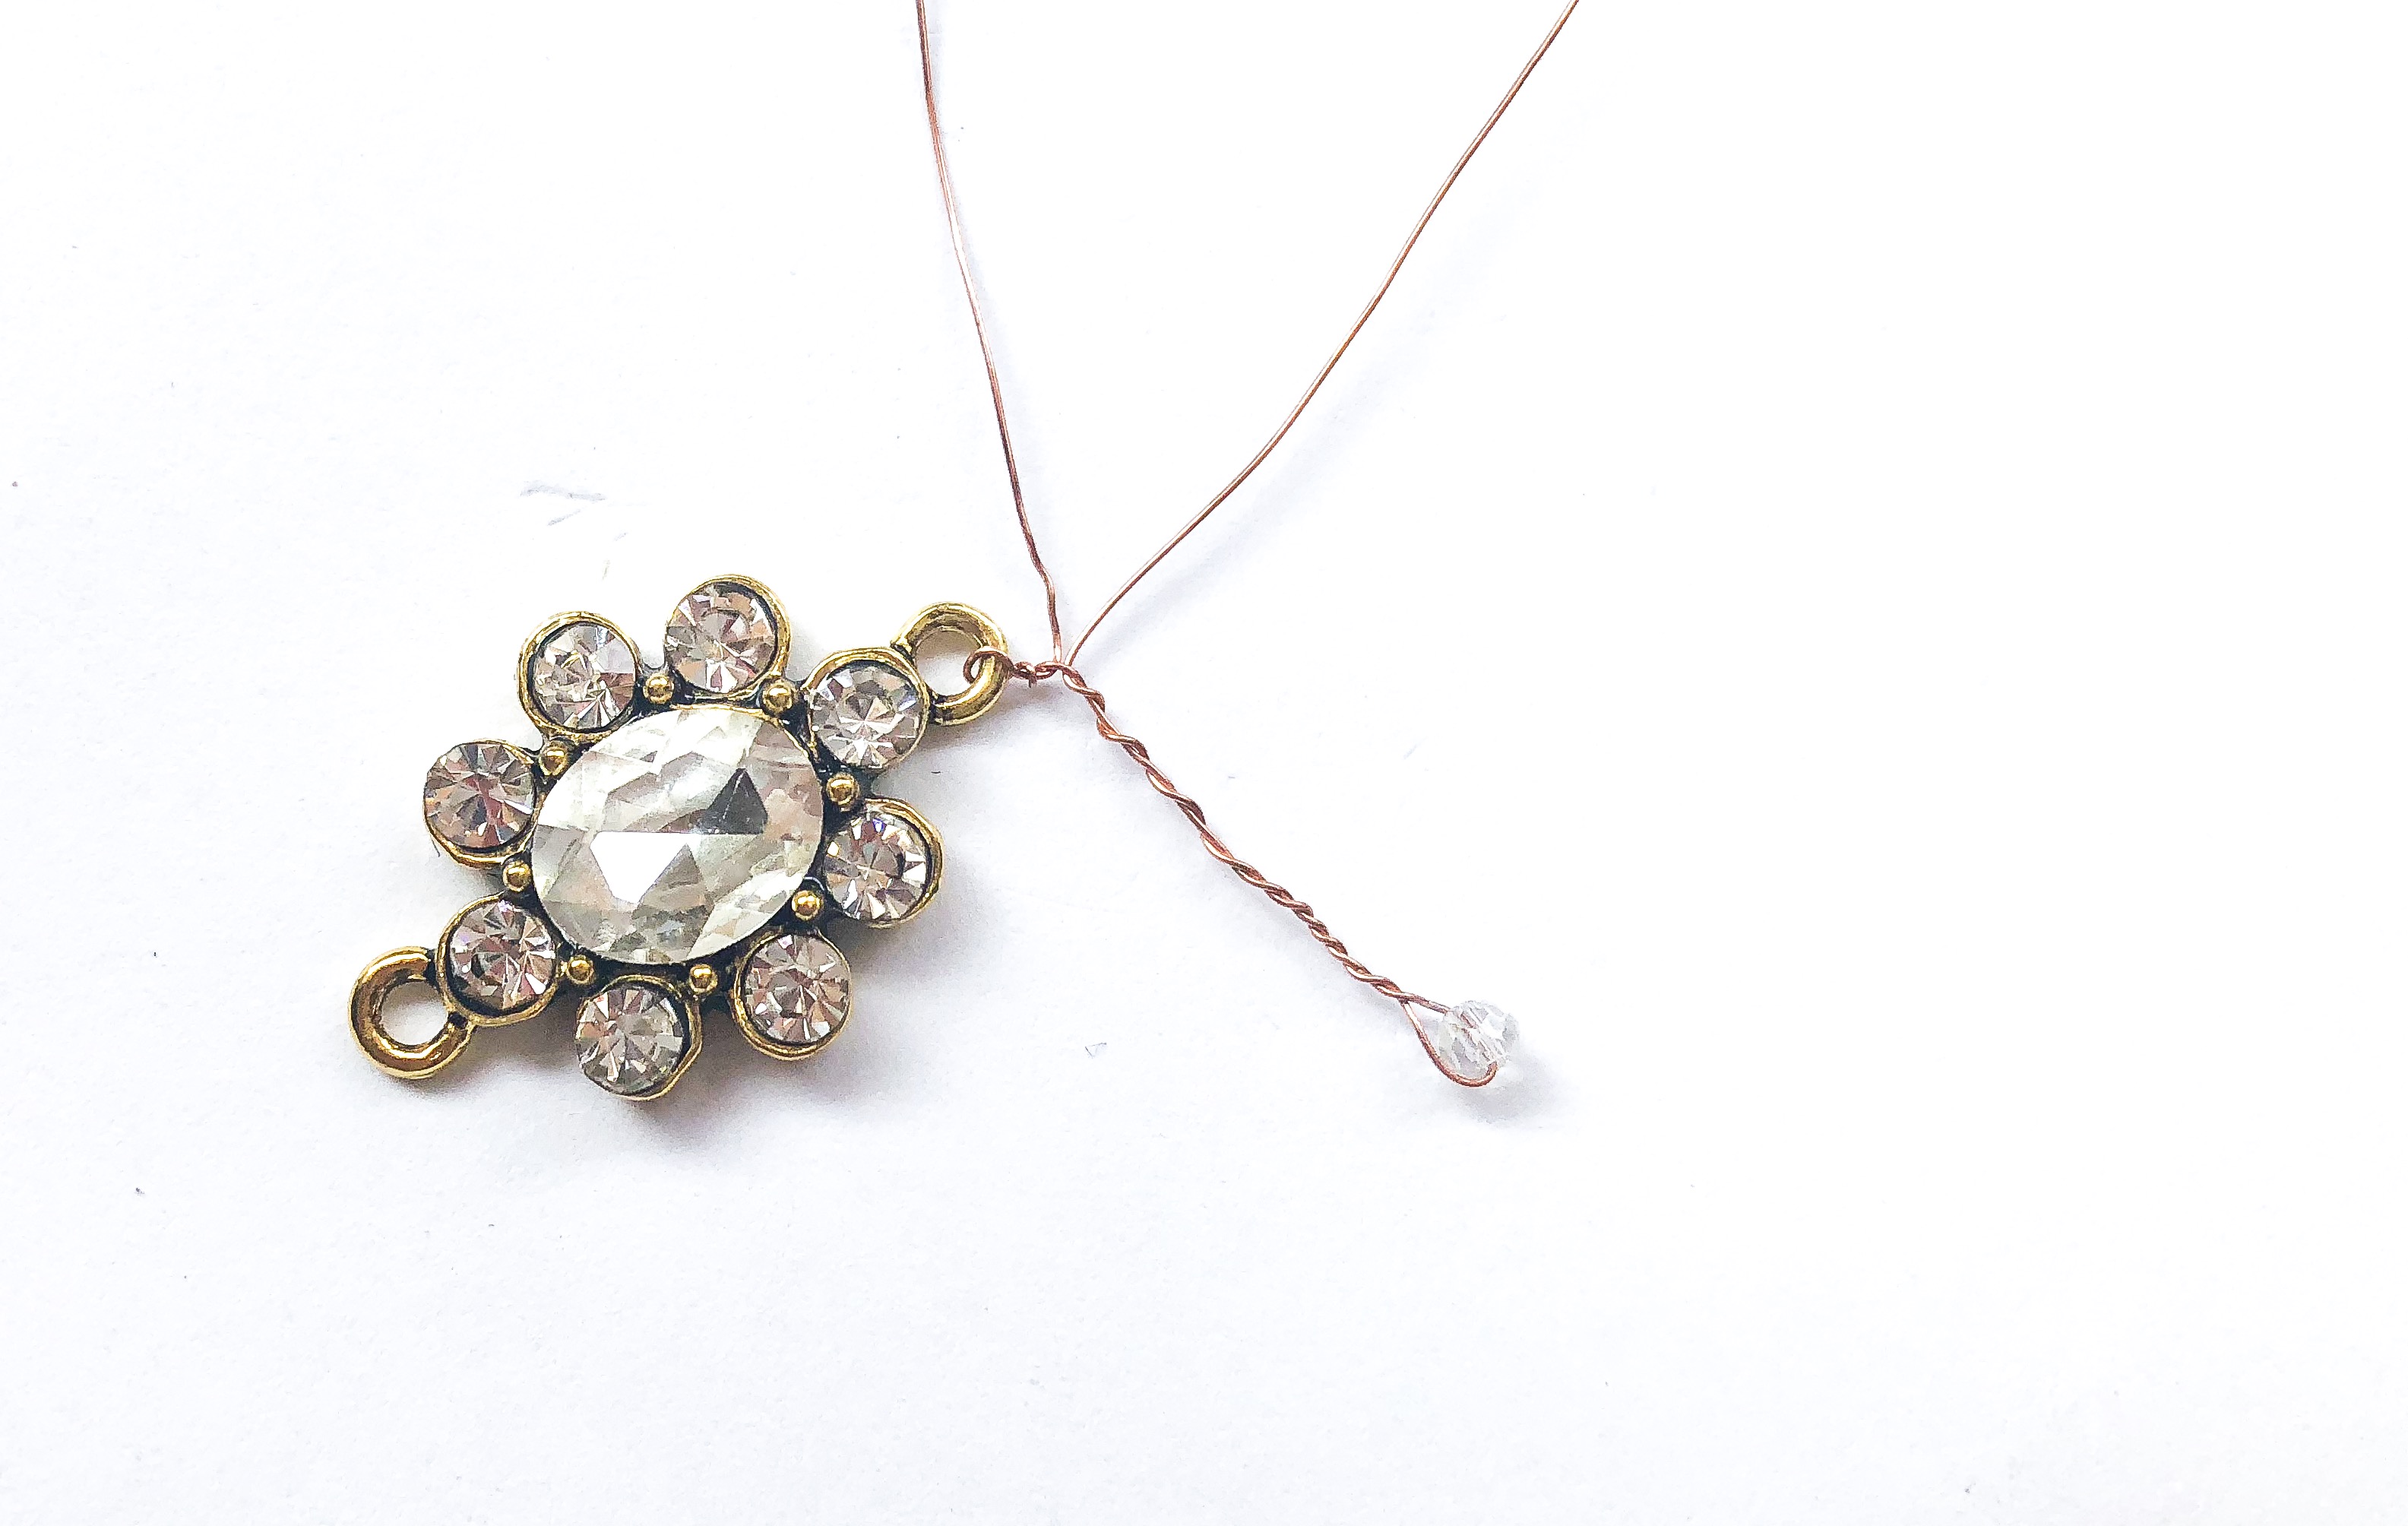
Repeat steps 3 and 4 to add more beads and stems. You can even very the stem lengths! See result below.
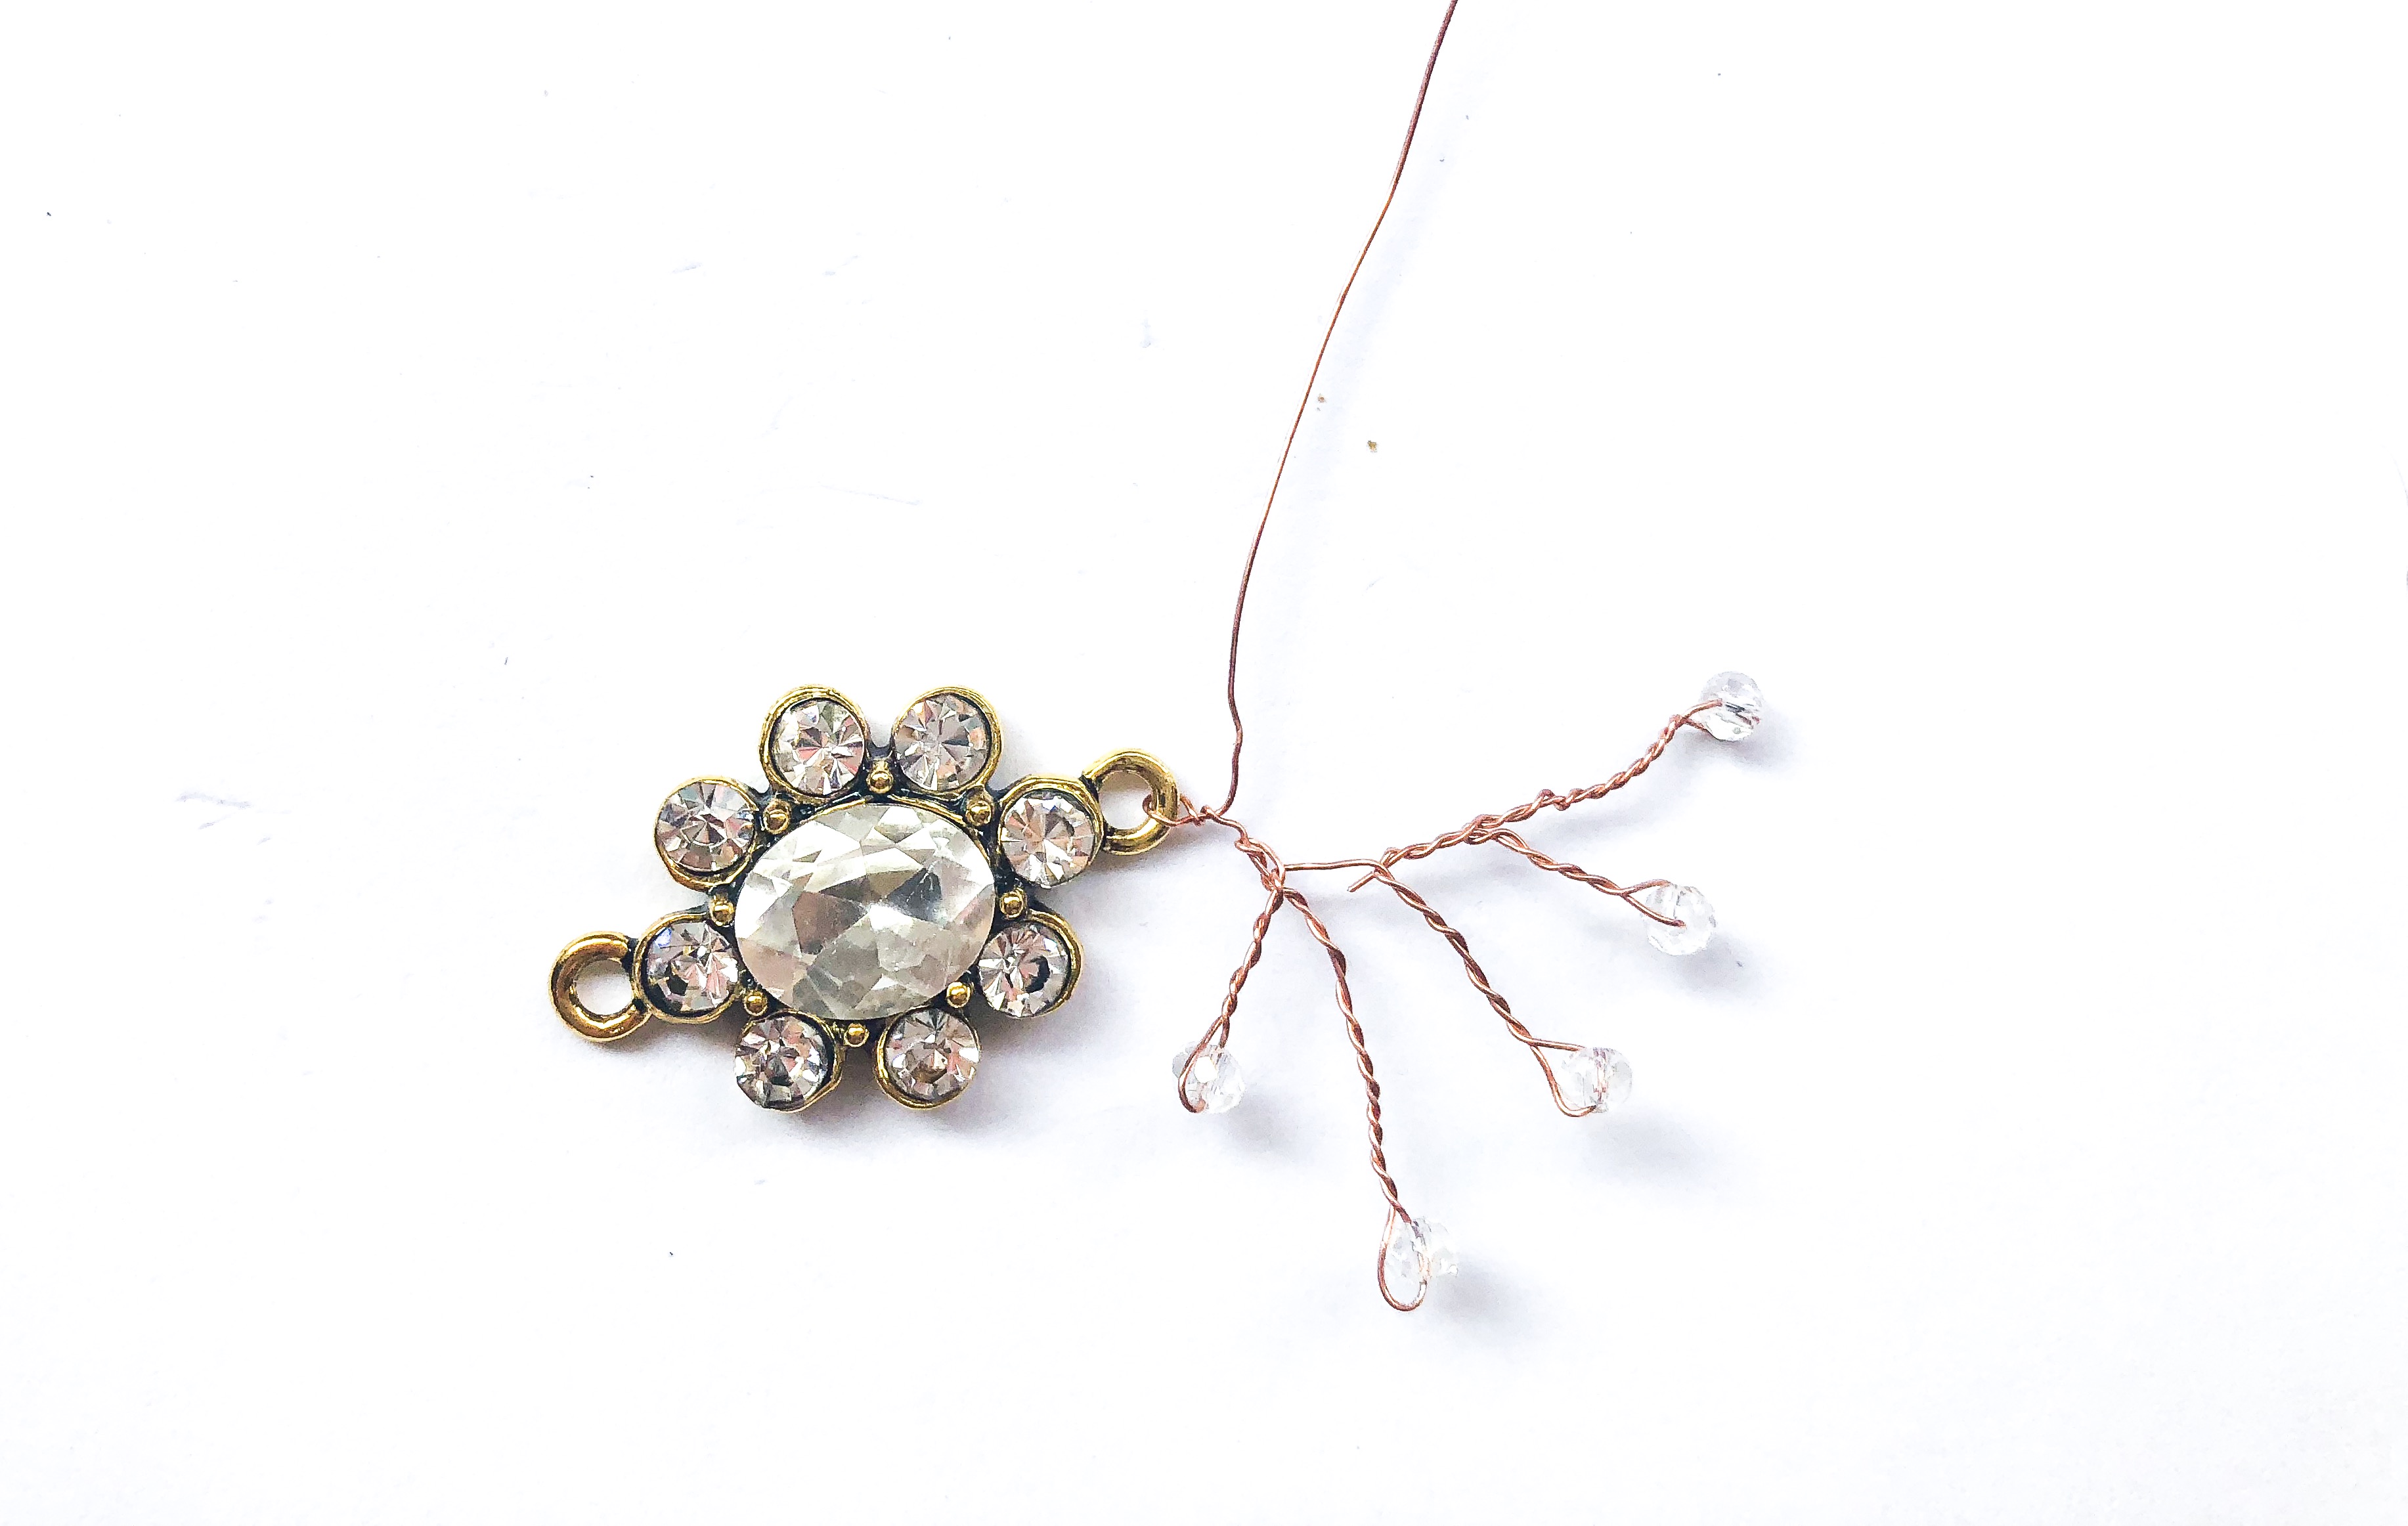
Step 6: Creating Vines on the other side.
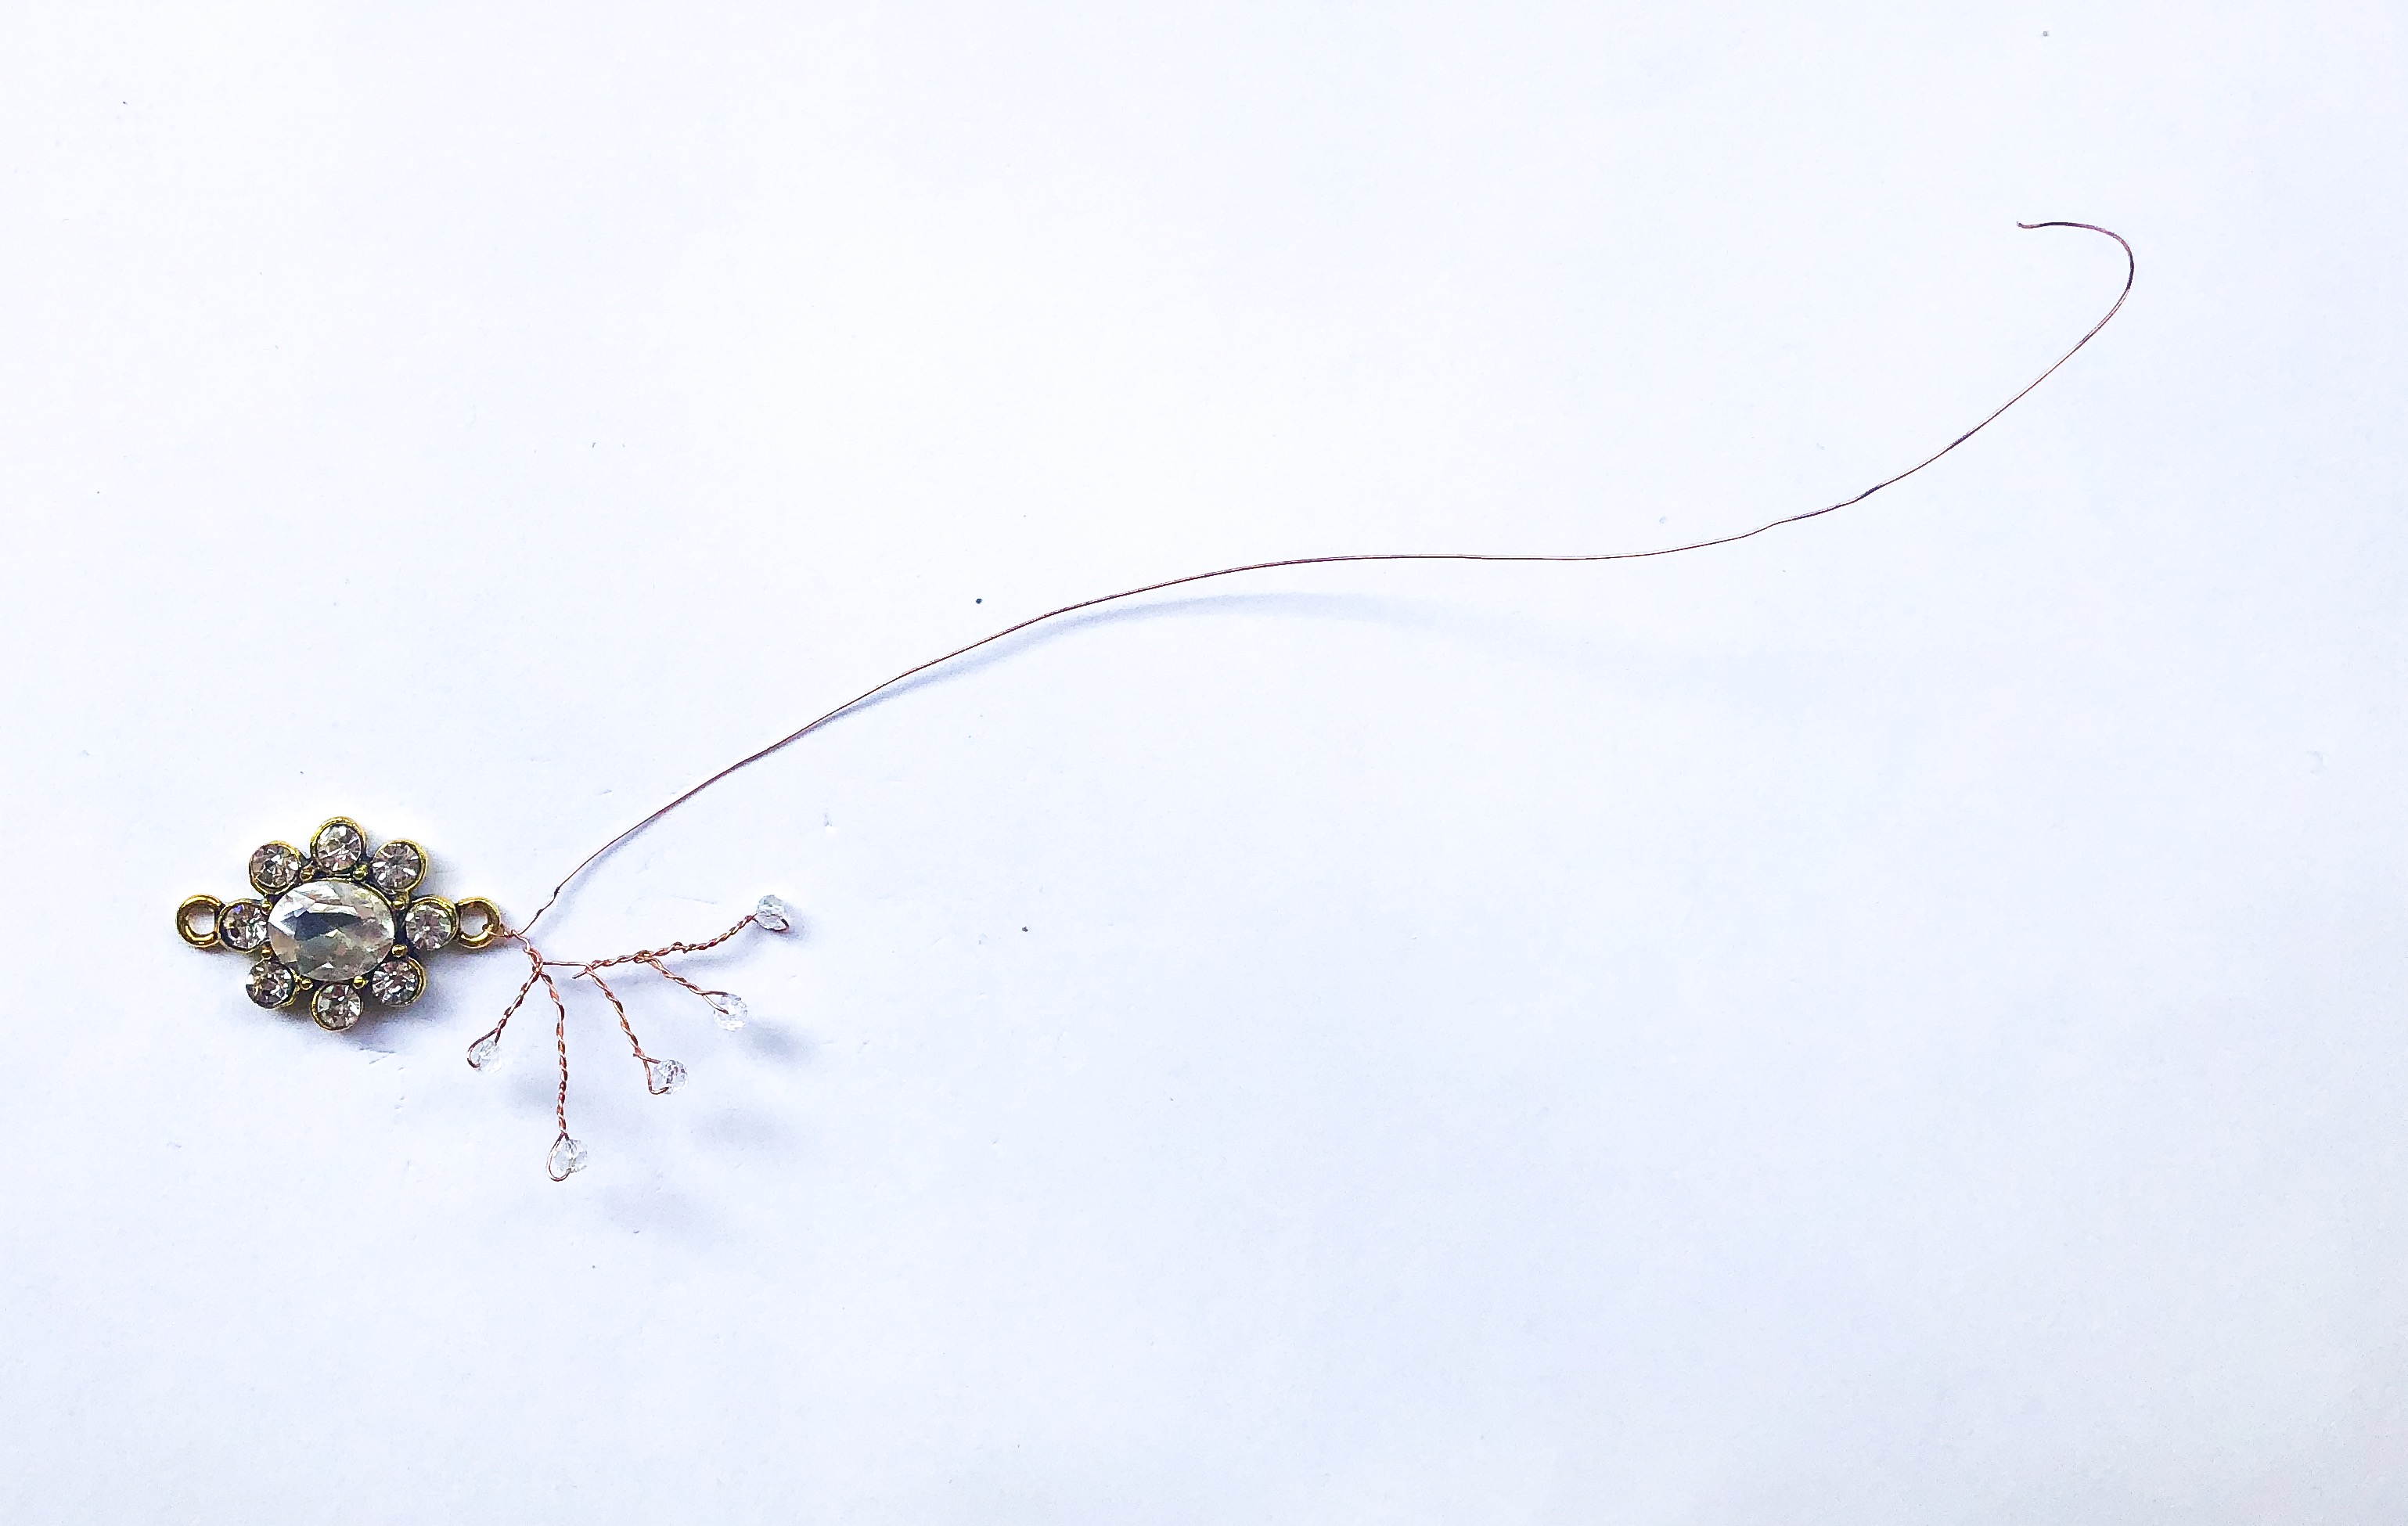
Now, you will repeat steps 3-5 on the other half of the wire. See result below.
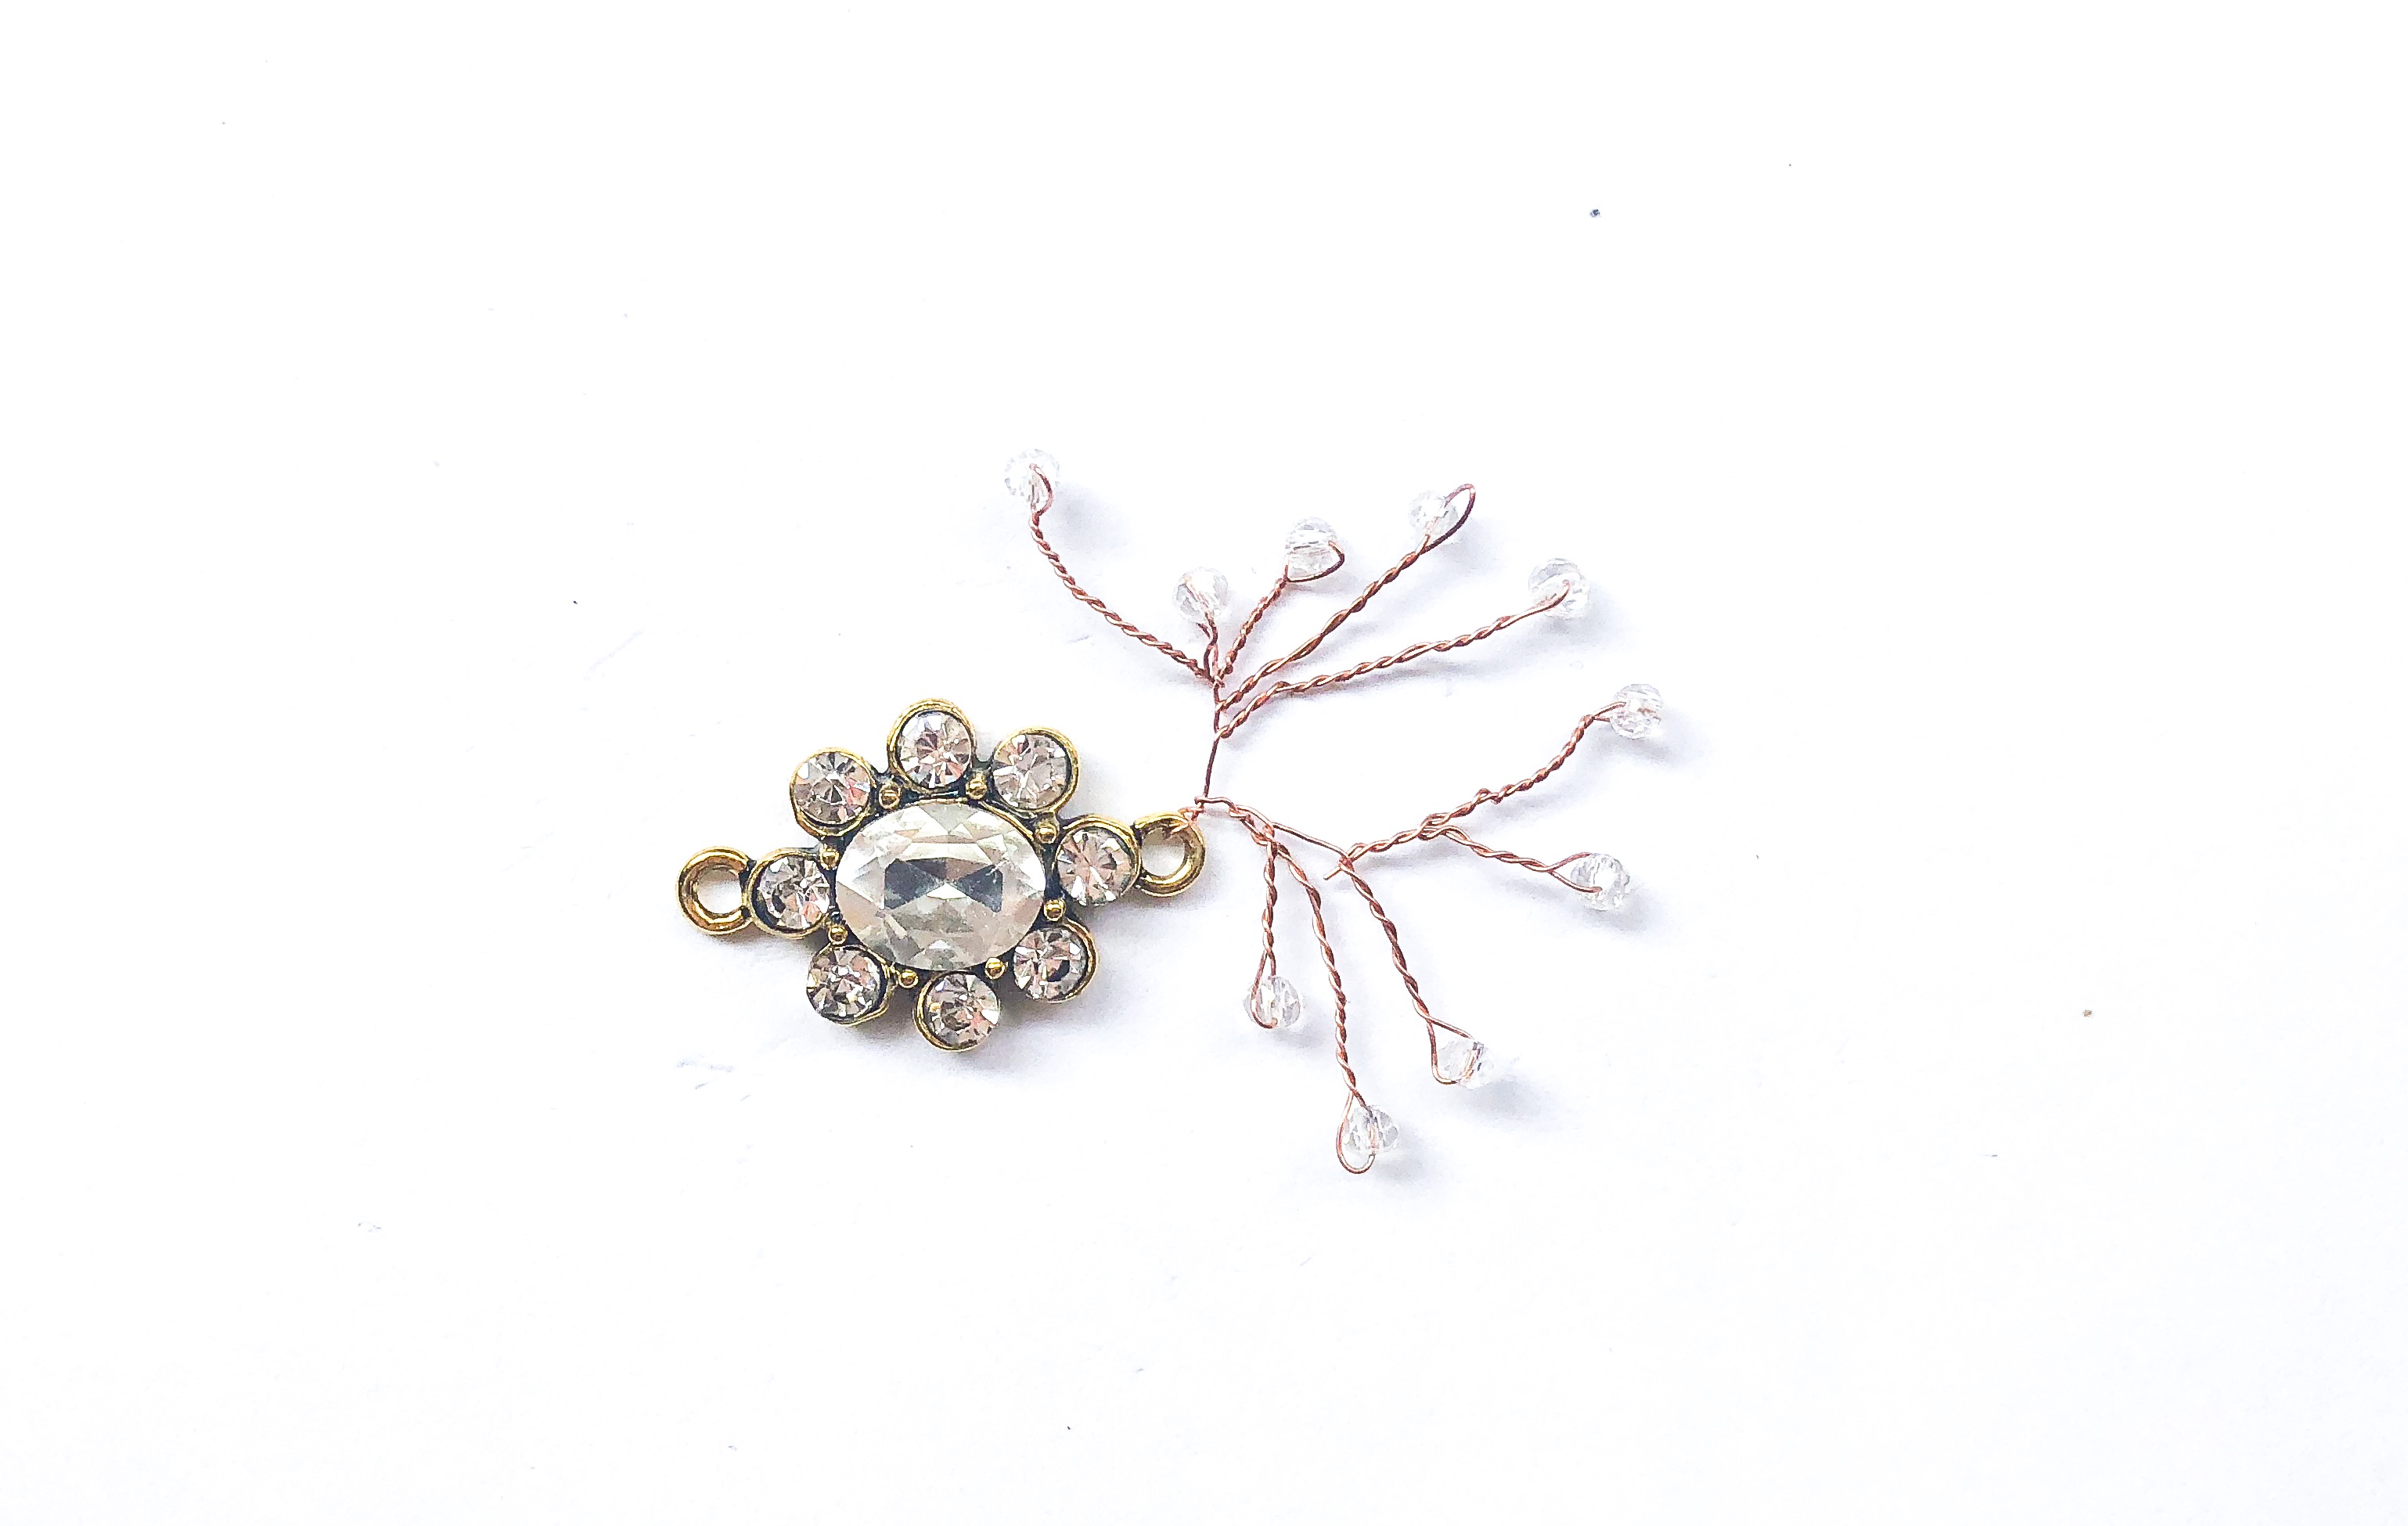
Step 7: Creating a duplicate pendant.
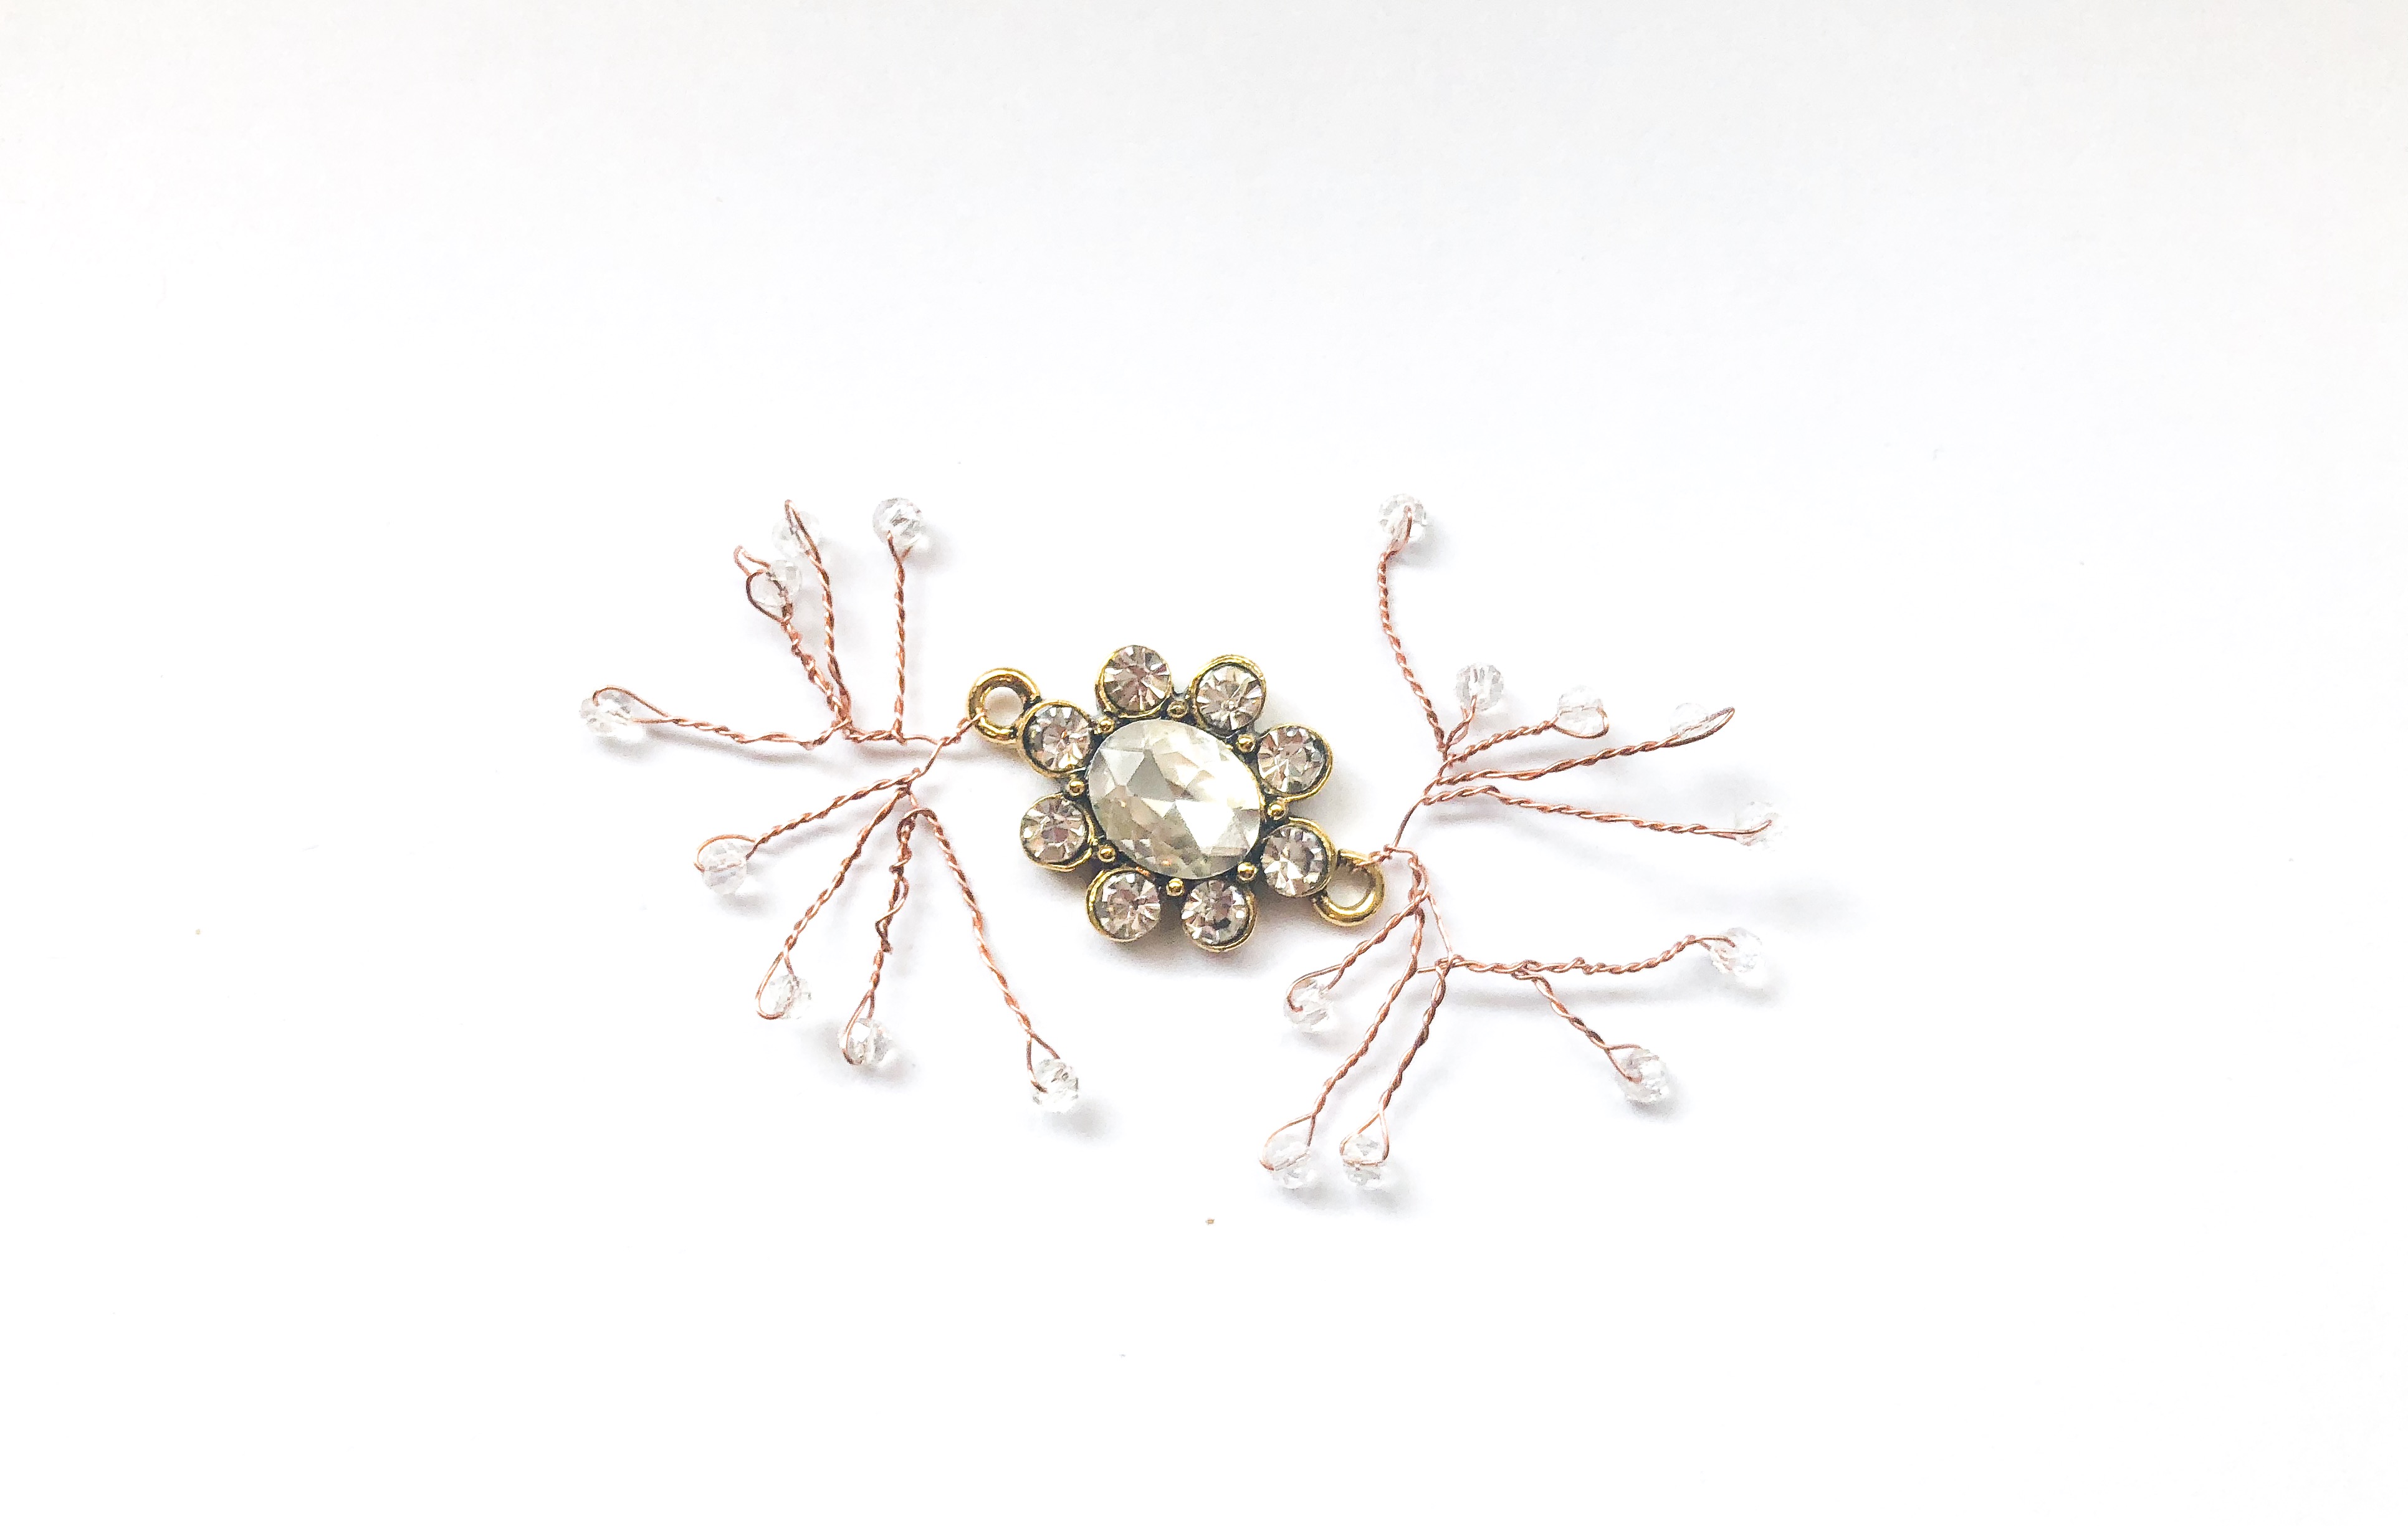
Repeat steps 1-6 on the other side of the pendant. You will need two of these jewel pendants with the beaded vines. 🙂
Part 2 – Creating the Halo

You will need:
- 2 Jewel Pendant Accents that you just created.
- Rhinestone trim or jewelry chain. (I cut one 14inch, one 13 inch, one 12 inch and one 9 inch pieces. Length can easily vary! )
- Rhinestone setting with bail (comes with the trim that I purchased)
- Small split rings to attach the rhinestone bail to the pendant bail. (I just used a small piece of wire instead)
Again, this boho halo was my inspiration.
Step: 1 Setting the Rhinestone Trim

We will be creating the first chain that cascades across the back of your head.
Cut 14 inches of rhinestone trim. (or whatever length you want)
Place each end in a setting and secure with pliers.
Step: 2 Attaching the Rhinestone Trim to the Pendant

I wish I used split rings to attach the rhinestone tirm to the pendant!
However, you can also attach the rhinestone bail to the pendant’s bail with a small piece of wire.
I twisted the wire to mimic the other wired stems. You can add a bead here or just cut the extra wire like I did. See picture below for result.

Step: 3 Repeat

Attach the other side of the trim to the other pendant.
Repeat steps 1-3 to add the 13 inch rhinestone trim to each pendant (or whatever length you want)
Step: 4 Optional! Adding a Hair Comb

I highly reccomend adding a wire comb to each pendant! They will not be visible once fixed in your hair.
I wish I just used jewelry glue to attach the pendant to the comb!
However, I ended up weaving some jewelry wire between the top of the teeth and attached it to the bail of the pendant.
Part 3- Finishing the Halo

You can either stop here if you like the half halo. Or, you can continue on to close the halo.
Finishing Step: Closing the Halo
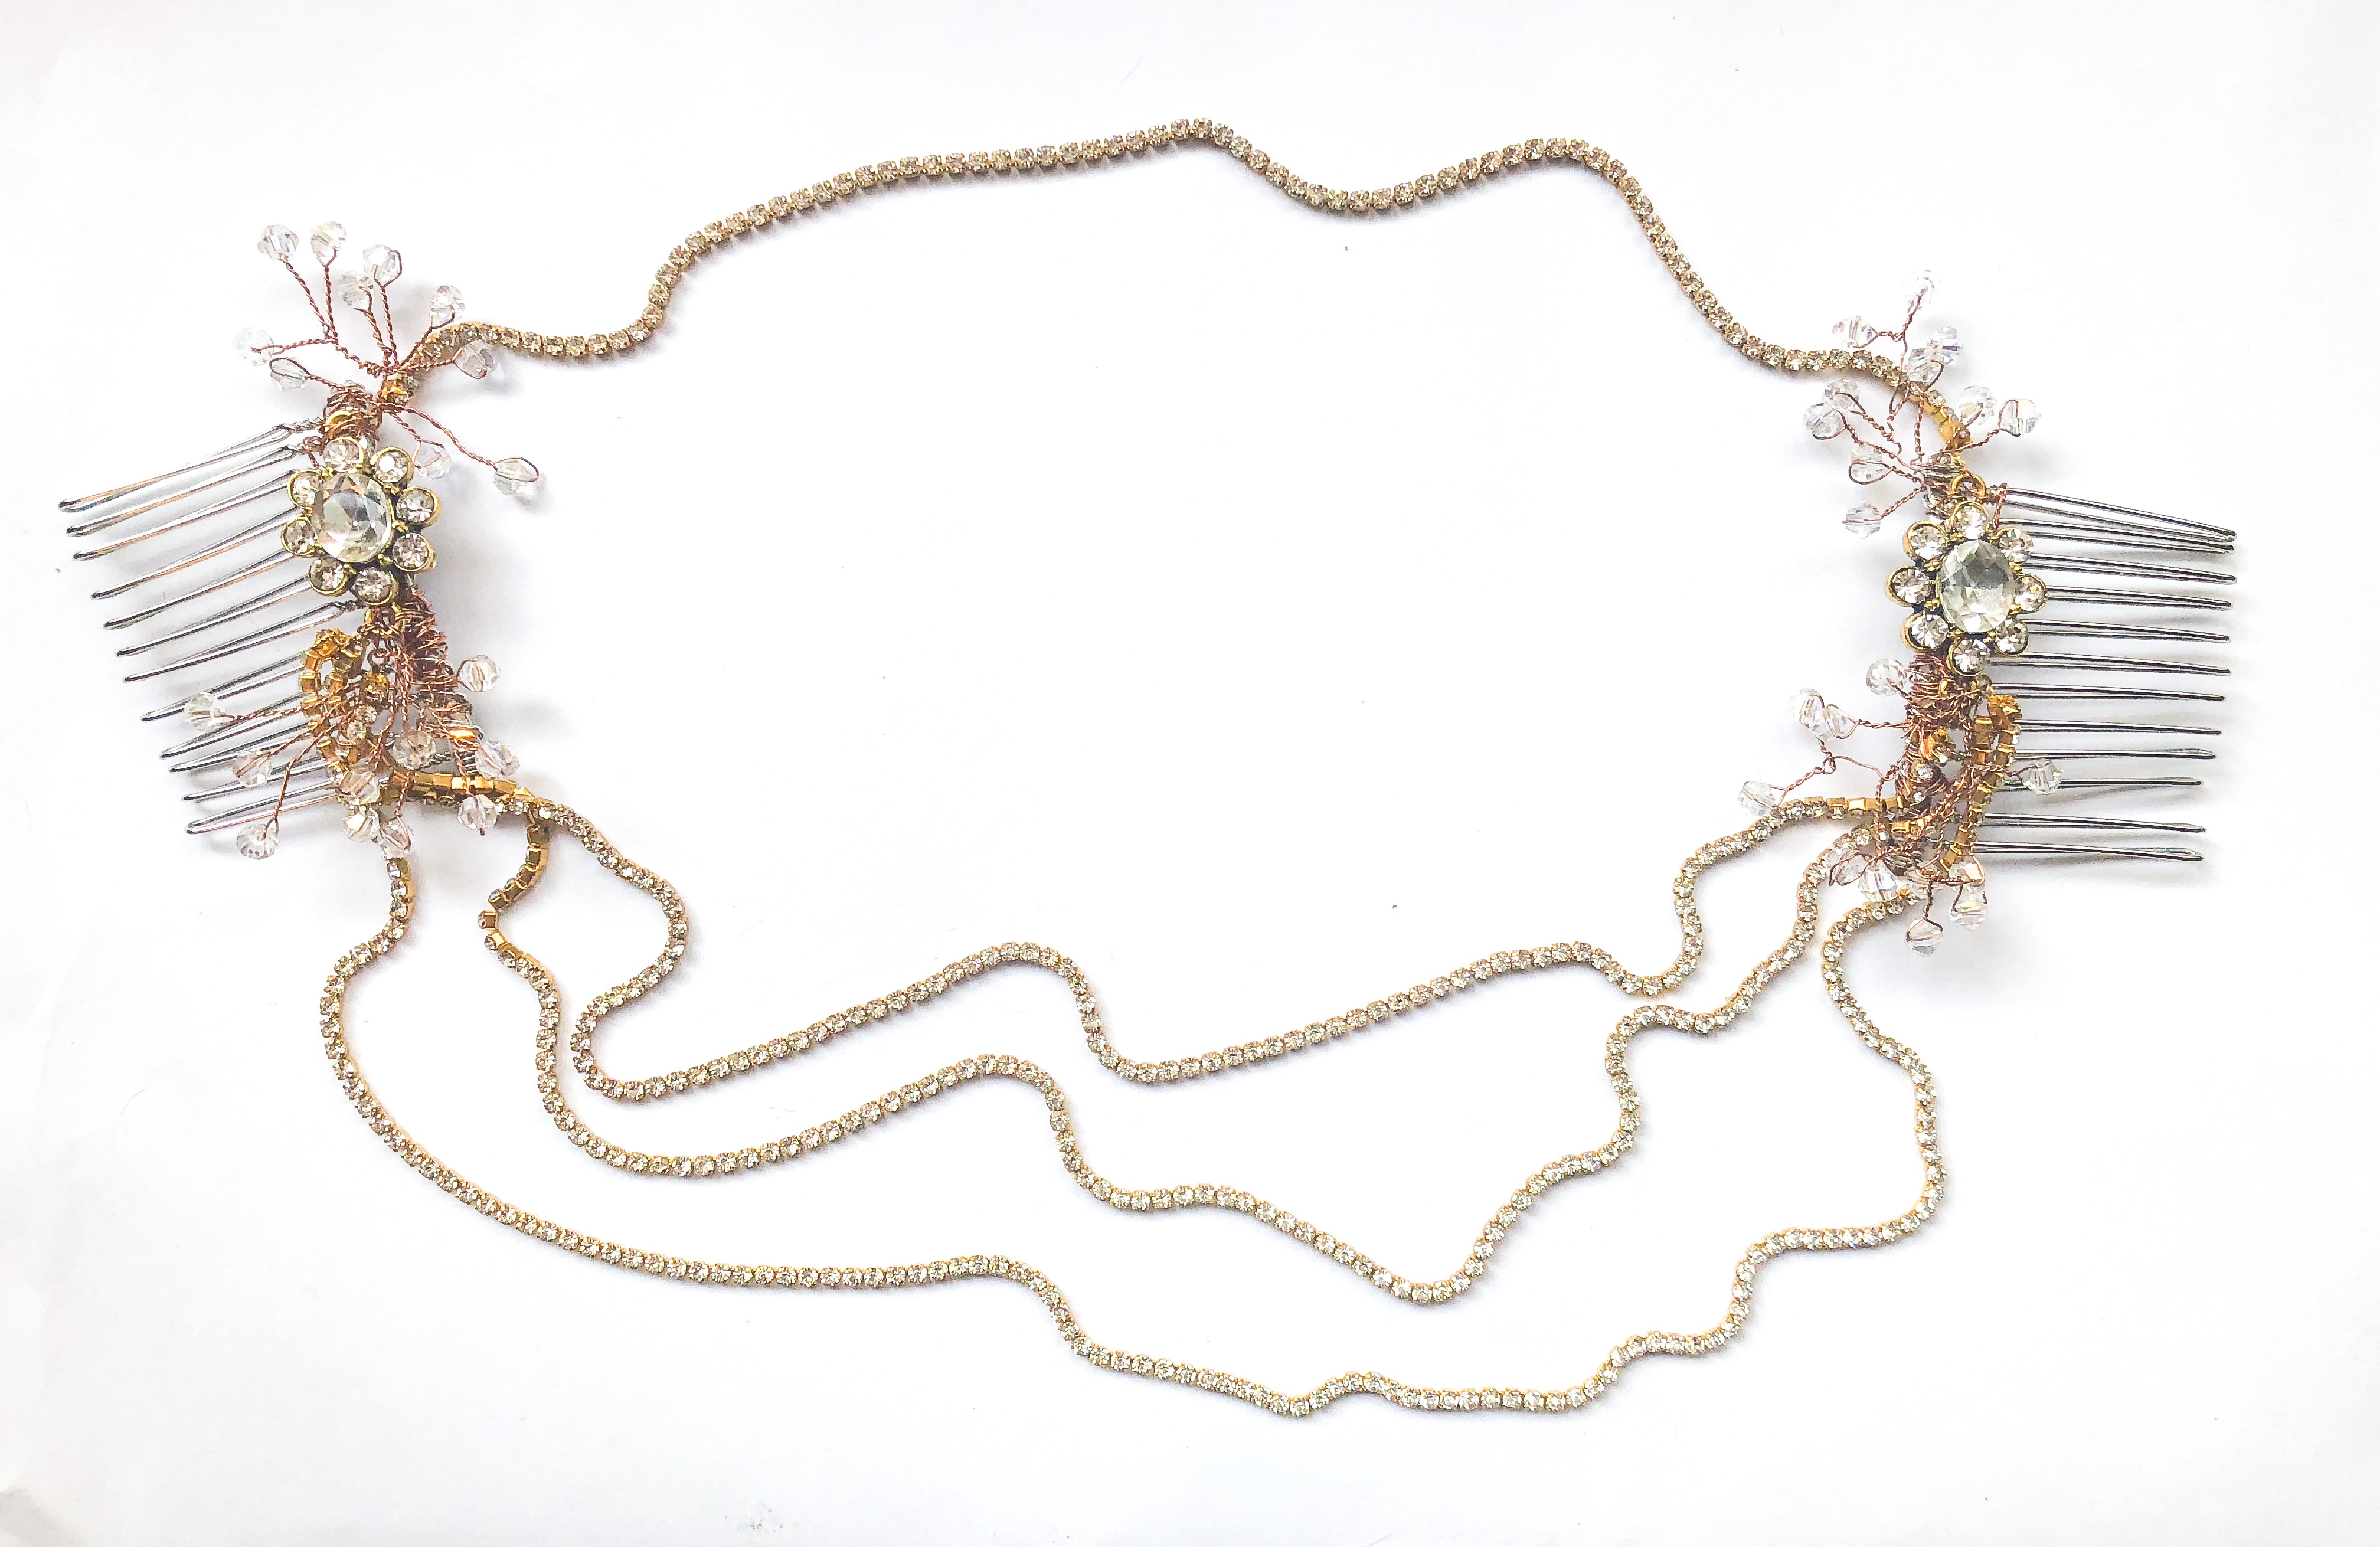
Attach a 9 inch piece of rhinestone trim (or any size that works for you) to the top of the halo.
As you can see, I added a third chain to the halo. This was 12 inches long and placed above the 13 and 14 inch chains. You can add as many or as few chains as you want! 🙂
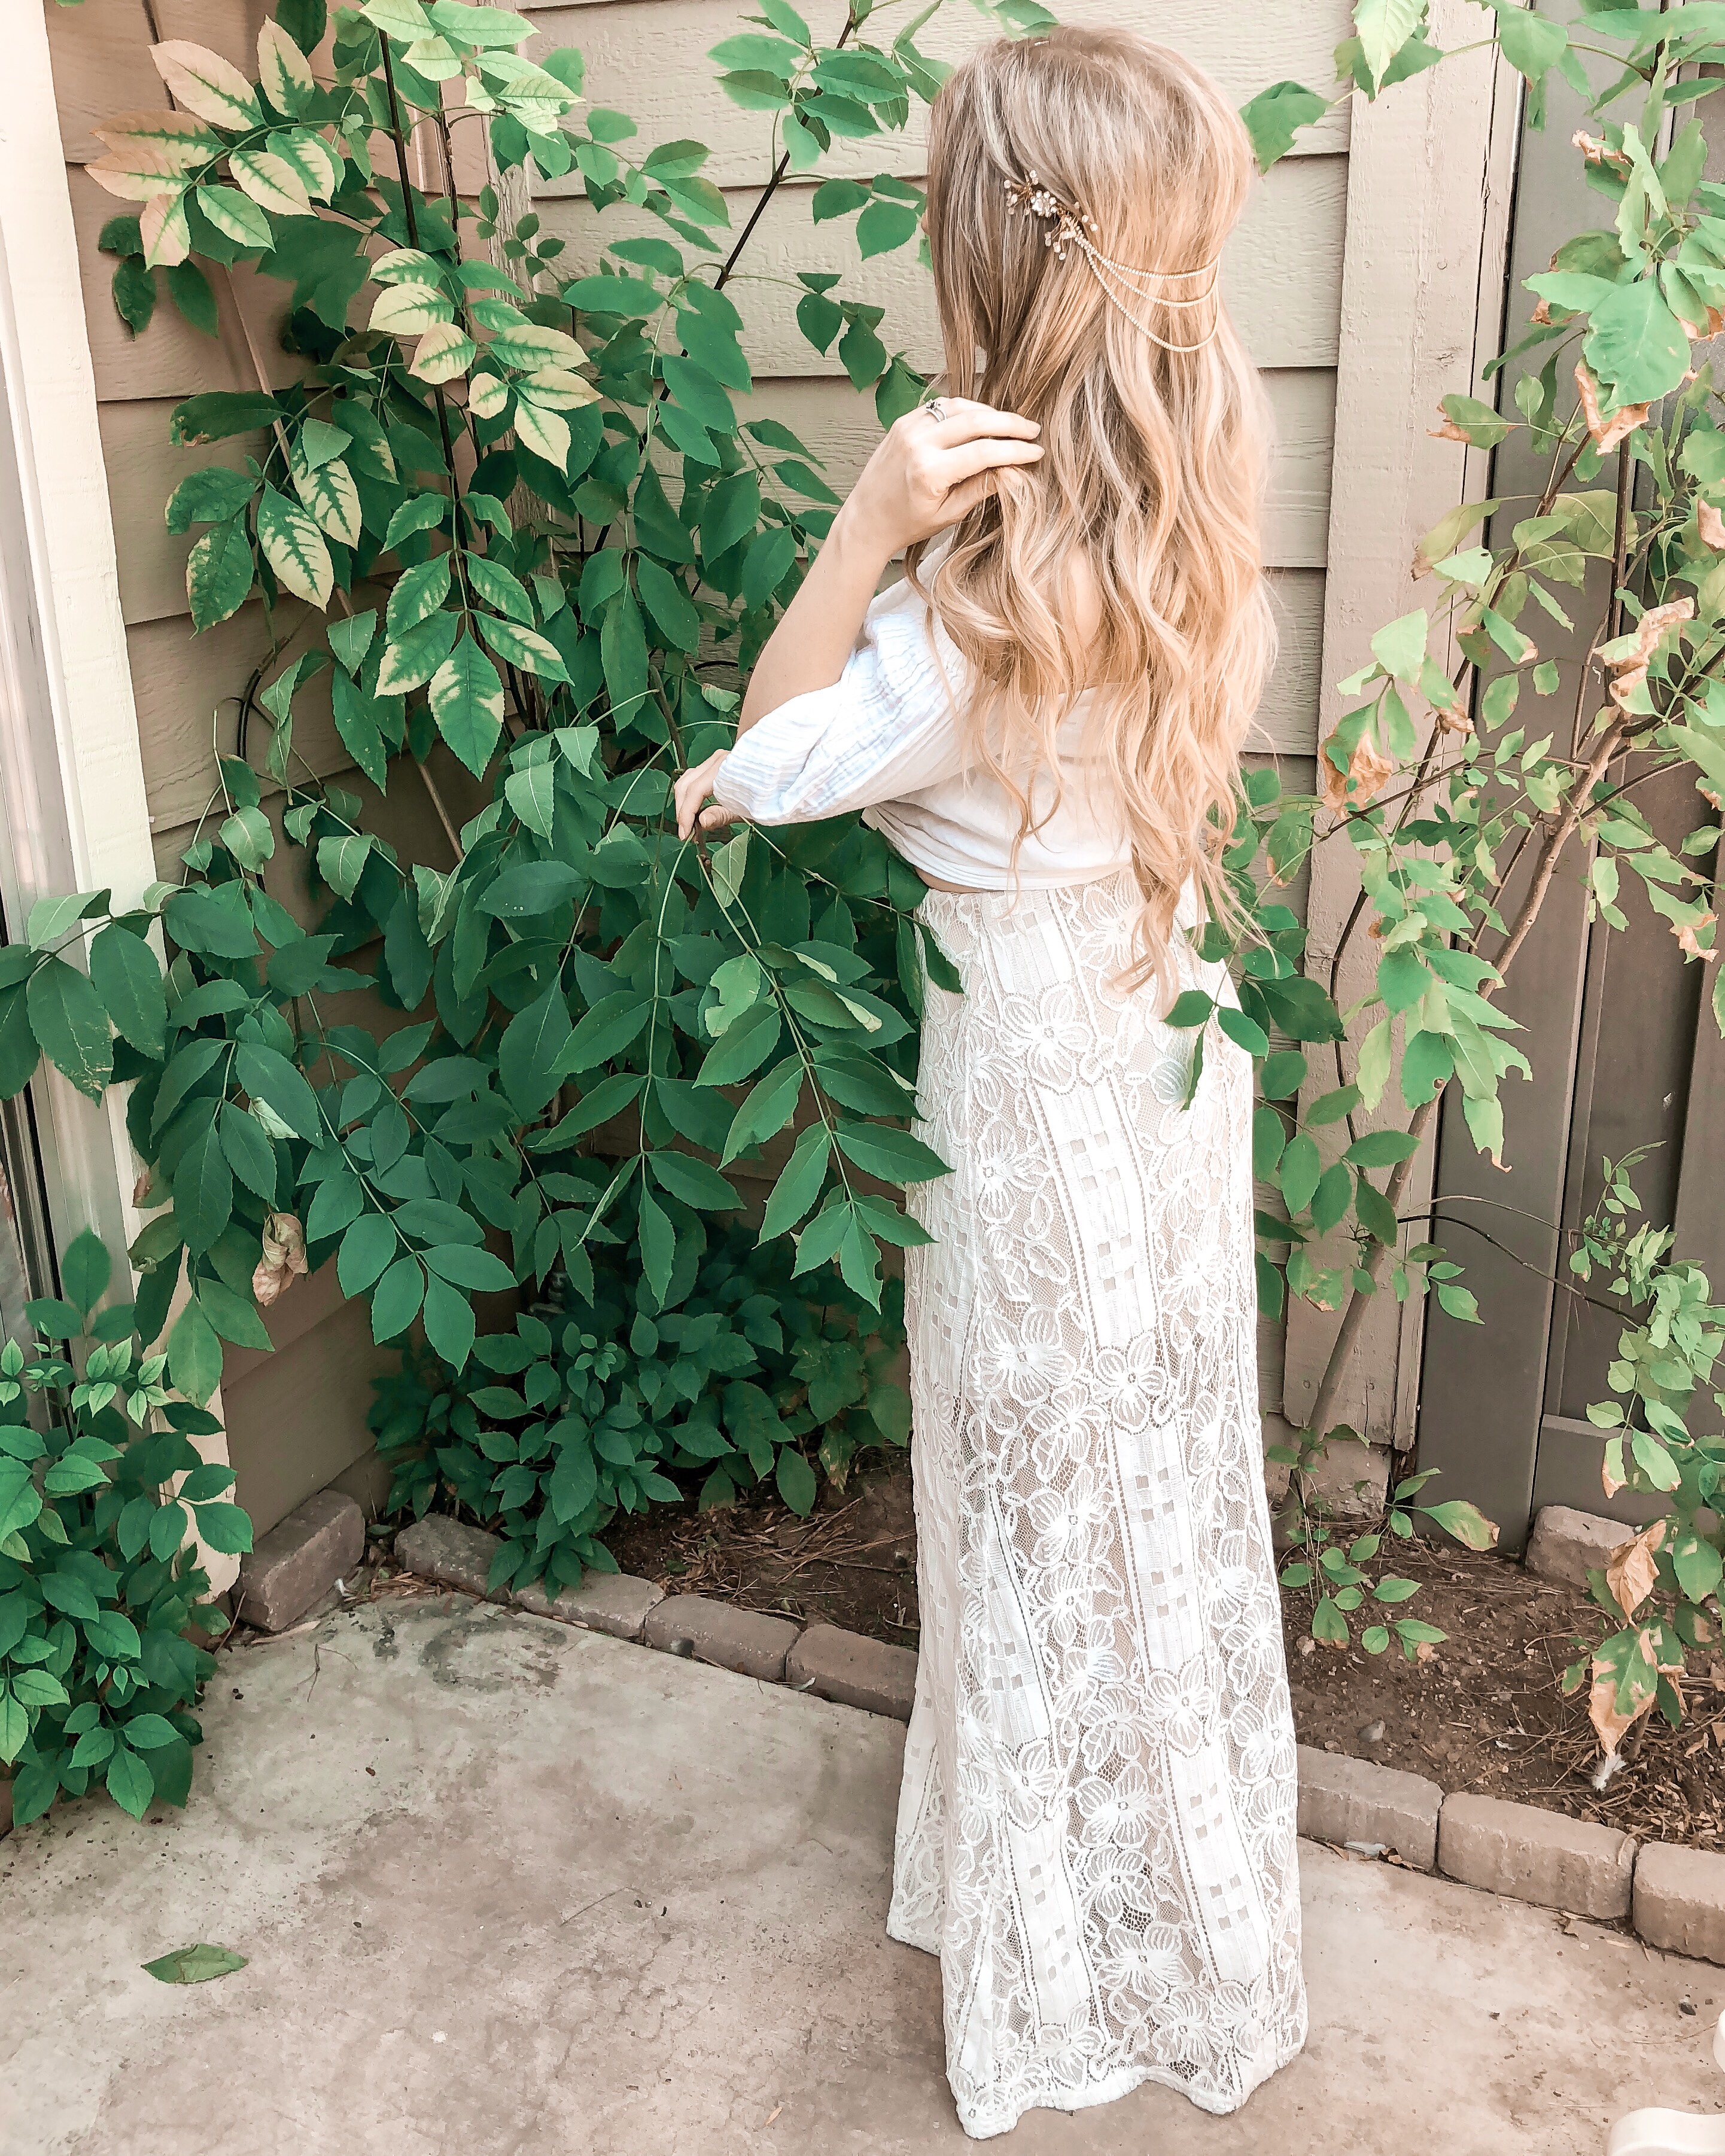
I was thrilled how it turned out! I hope you found this tutorial helpful! Let me know if you have any questions!
More DIY Wedding Tutorials
Pin it:
